RAG Agent を実装する
ドキュメントを AI agent の knowledge base に統合し、その後データに対してアクションを実行する
作成するもの
- 製品マニュアルをコンテキストとして使用し、家電に関する質問に回答する AI agent を備えたアプリ。さらに、要求に応じてメンテナンスタスクのリストを作成します。
このチュートリアルでは、次の機能を使用します:
| AI Abilities | Internal Connectors | Backend Functions |
|---|---|---|
| Knowledge base | Built-in Database | Webhooks |
Otairo のパートナーのみなさまに、このチュートリアルの共同制作で多大なご協力をいただきました。心より感謝します。
環境セットアップ
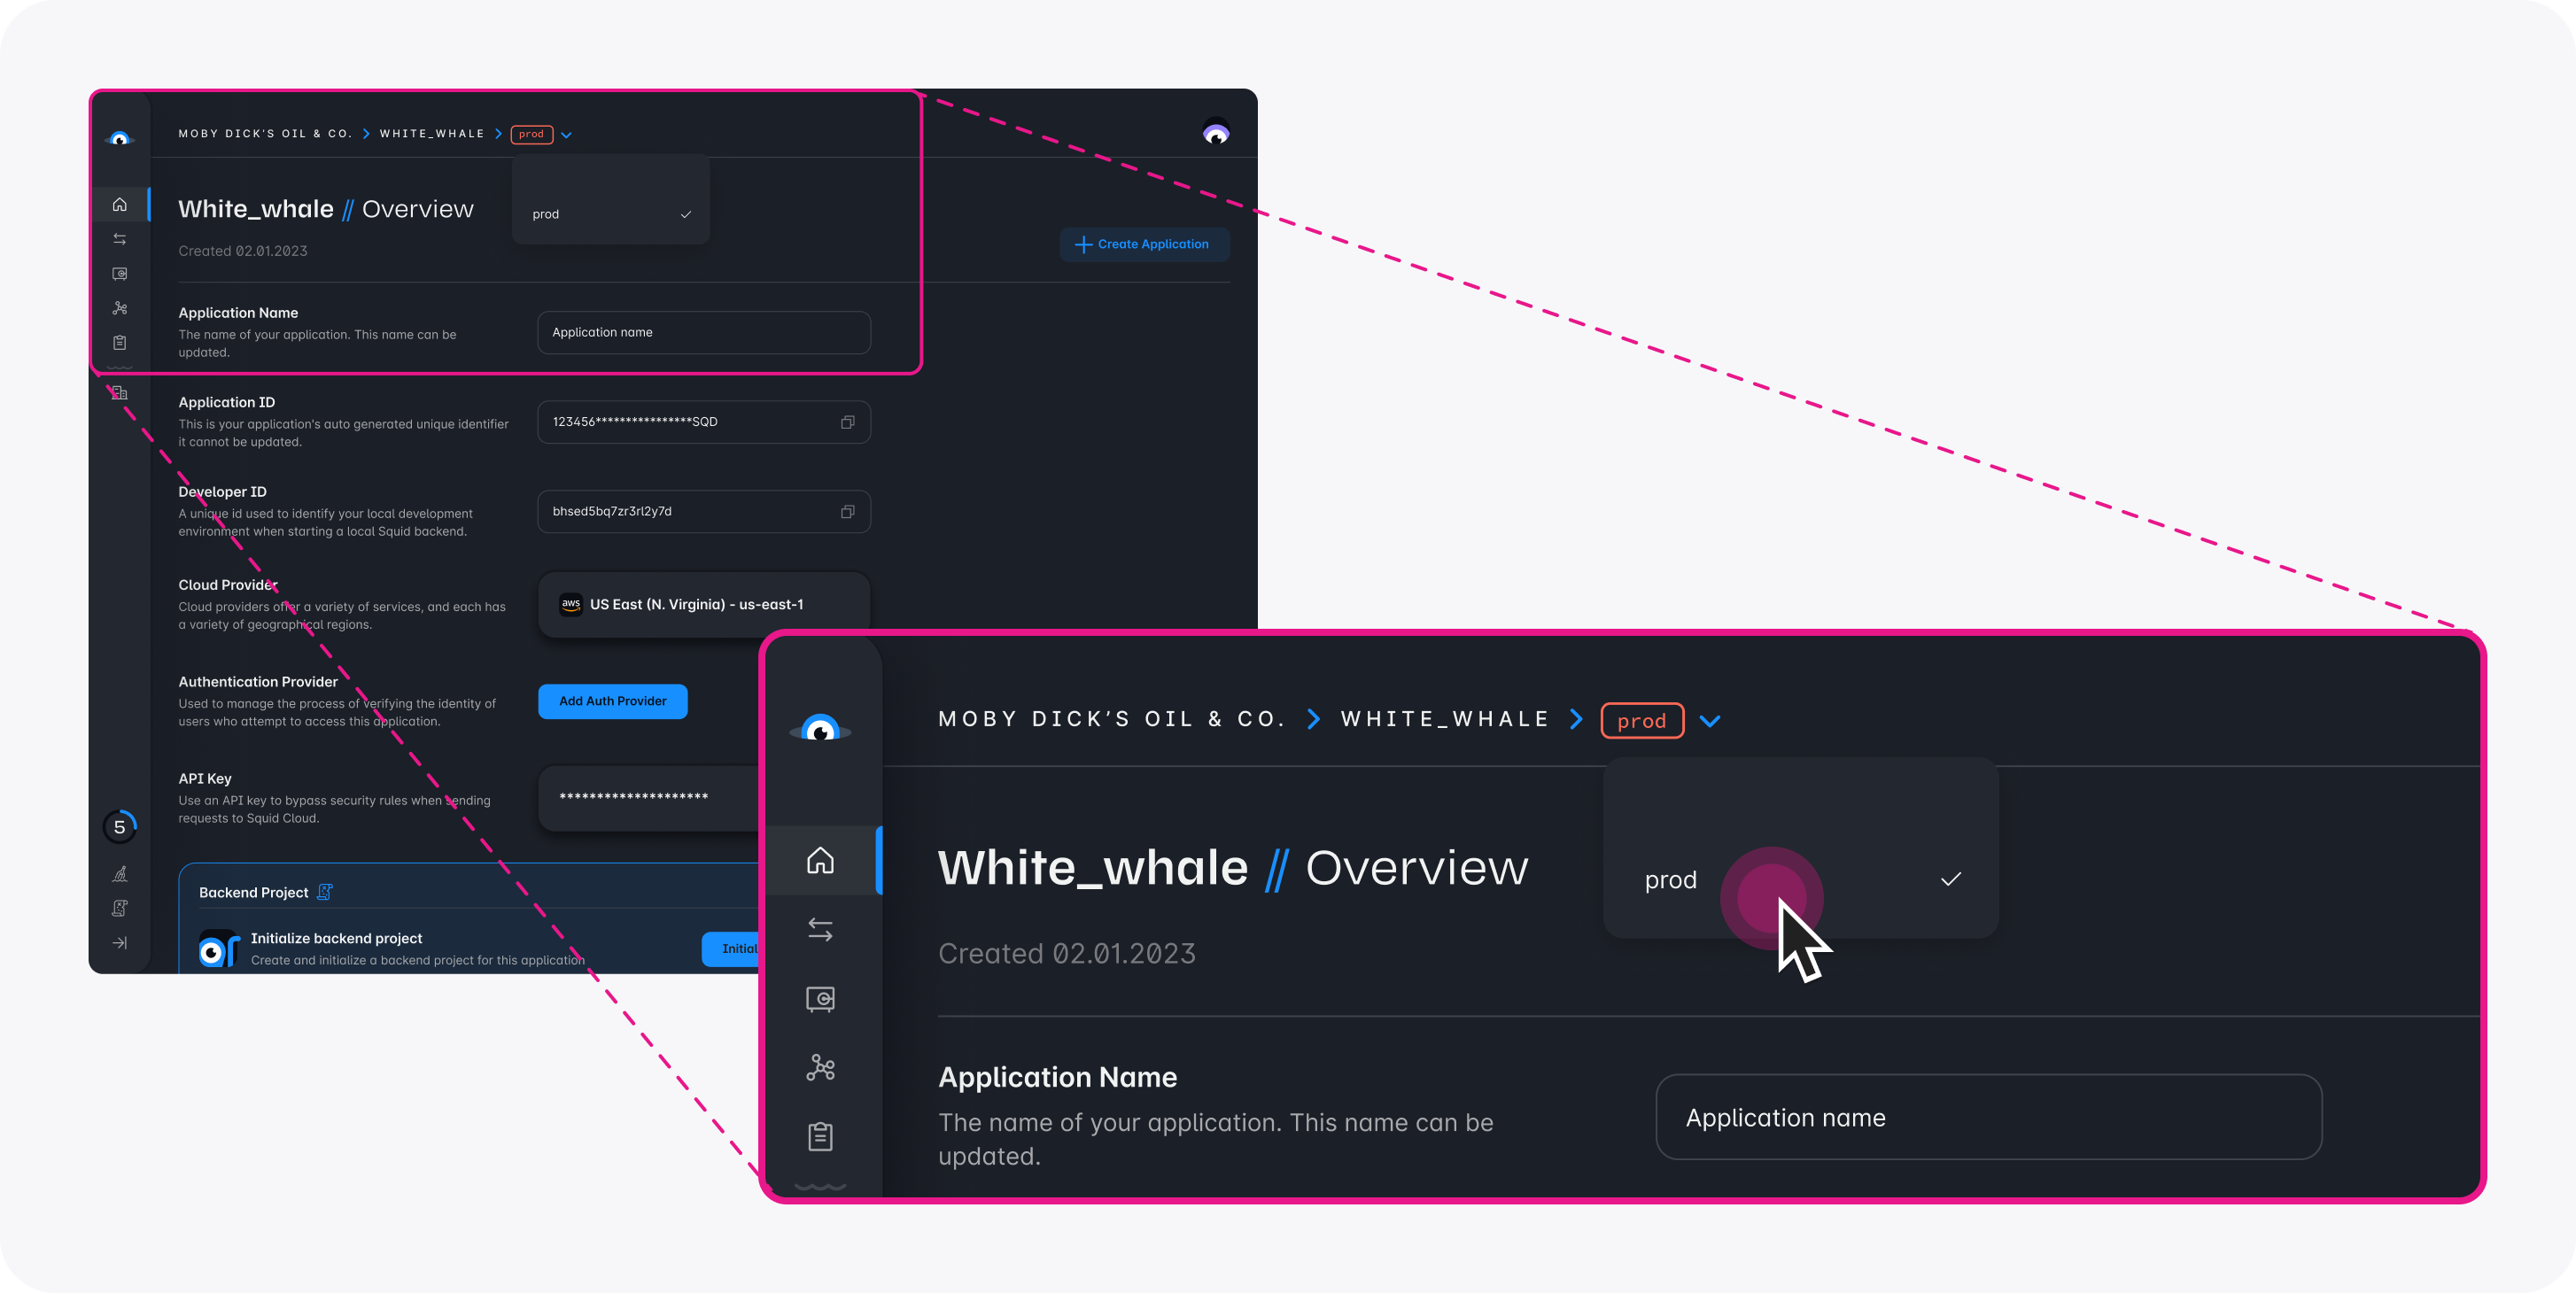
- In the Squid Console, switch to the
devenvironment.
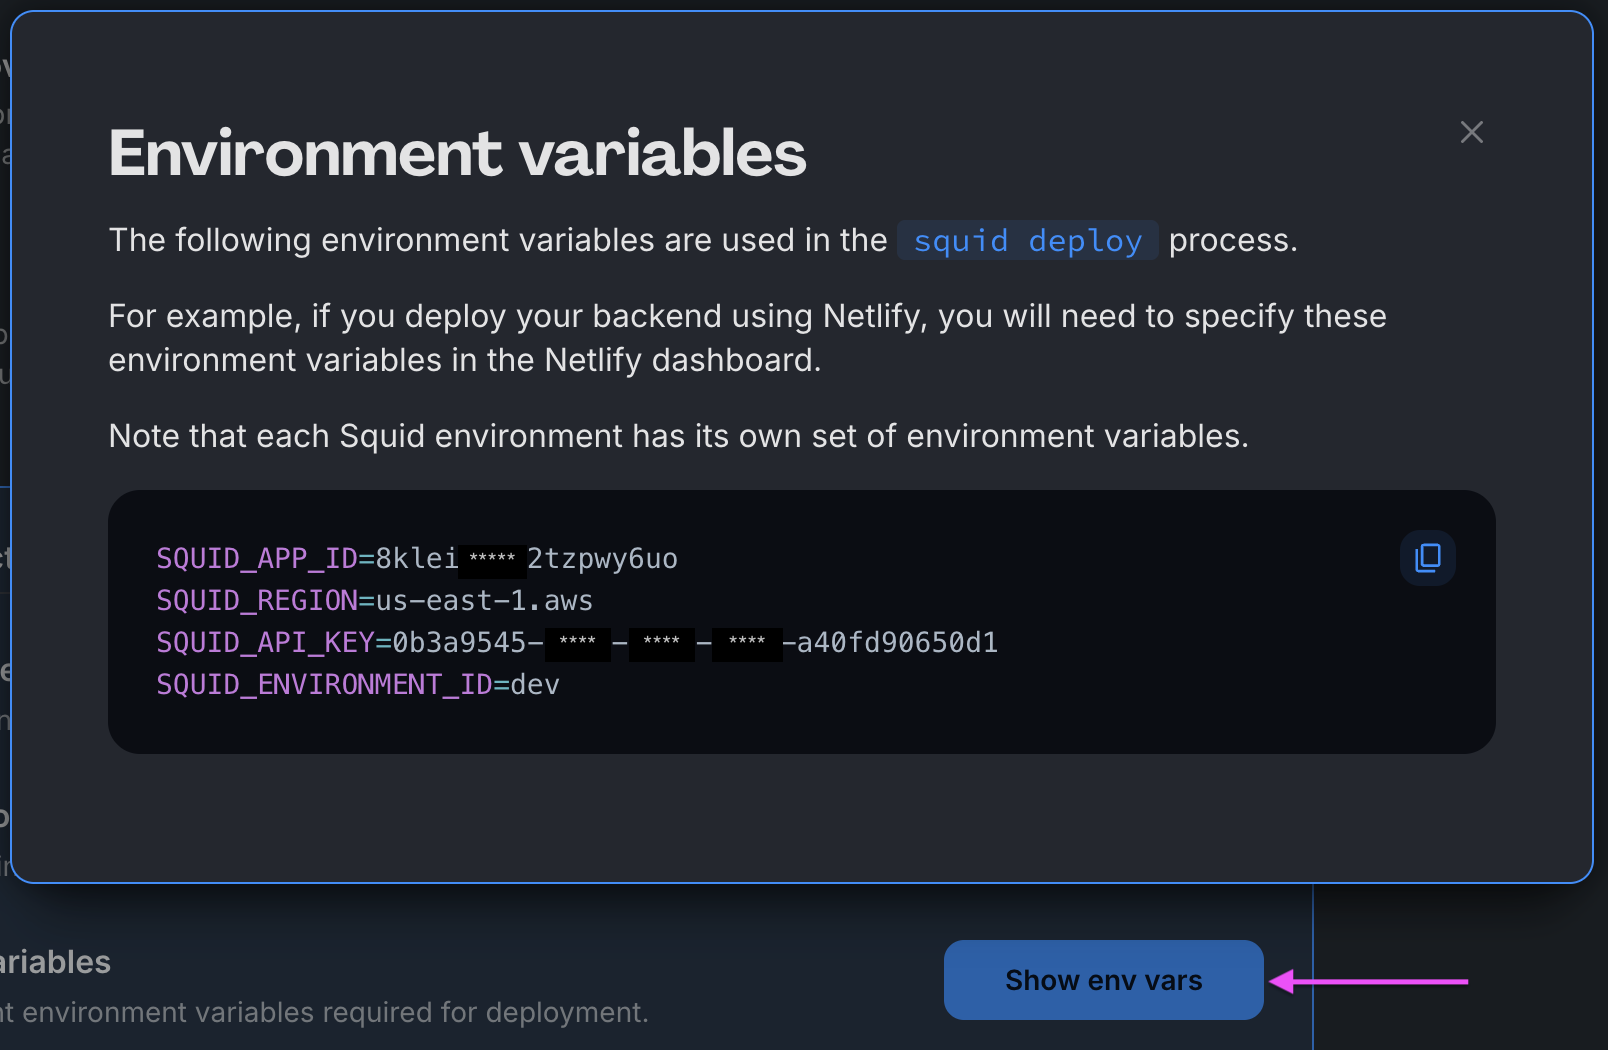
Download the ai-home-maintenance code sample using the following command. Replace the placeholders with the values from your Squid application as shown in the console.
npx @squidcloud/cli init-sample ai-home-maintenance --template ai-home-maintenance --appId YOUR_SQUID_APP_ID --apiKey YOUR_SQUID_API_KEY --environmentId dev --squidDeveloperId YOUR_SQUID_DEVELOPER_ID --region YOUR_REGION
You can find your environment variables under: 'Application' -> 'Show env vars' as seen below:
- Open the project in the IDE of your choice.
- Start the app locally by running the following command in the project folder:
npm run start
- To view the app, navigate to localhost:PORT, where PORT is logged in the terminal. The address will likely be
http://localhost:5173.
アプリケーションは正常に起動するはずですが、次のステップを完了するまでは完全には動作しません。
AI agent を追加する
各 agent は異なるペルソナやユースケースを表し、それぞれ固有の instructions と abilities のセットによって区別されます。
-
Squid Console で Agent Studio タブに移動します。
-
Create New Agent をクリックして agent を追加します。次の詳細を入力してください:
- Agent ID:
maintenance-scheduler - Description:
This is an agent for Squid AI's home maintenance tutorial
-
Create をクリックして agent を作成します。
-
Instructions フィールドに、次の instructions を agent に追加します:
Respond to queries about home maintenance documents. Only use the provided context to generate responses. Never respond based on your general knowledge. When applicable, list the source document used. If a question cannot be answered using the provided context, state that clearly and do not attempt to answer using general knowledge.
これらの instructions は、AI agent にどのようなアクションを取るべきかを伝えます。
- 次に Agent Settings タブに移動します。下にスクロールして Set Agent to Public を見つけ、この設定をオンに切り替えます。 これにより、セキュリティルールを書かなくても agent を公開アクセス可能にできます。
本番環境にデプロイする前に、適切なセキュリティルールが設定されていることを確認し、Public access を有効にしたまま agent を実行しないでください。agent を保護する方法については、このリファレンス を確認してください。
背景知識を追加する
knowledge base ability は、質問に回答する際に agent にコンテキストを提供します。コンテキストを追加することで、基盤となる AI model に含まれていない可能性のある特定トピックについて、関連性の高い回答を提供できます。
- 次の家電マニュアルを PDF ファイルとしてダウンロードします:
Oven:
https://media3.bosch-home.com/Documents/8001203758_A.pdf
Microwave:
https://media3.bosch-home.com/Documents/9001152447_B.pdf
Dishwasher:
https://media3.bosch-home.com/Documents/9001641455_A.pdf
Washer/dryer:
https://products-salsify.geappliances.com/image/upload/s--pdIsKW0u--/izid0w85hg3mbckeyyo1.pdf
代わりに、オンラインでご自身の家電のマニュアルを検索し、それらをコンテキストとして提供することもできます。そうすることで、それらについて気になっている質問を行えるようになります。
-
Add Abilities をクリックし、Knowledge Base 配下の File ability を選択します。
-
4 つのファイルをそれぞれアップロードします。各ファイルのアップロード中はしばらく待ってください。agent が自動的にドキュメントから内容を抽出し、そのテキストを knowledge base に追加します。
Squid アプリケーションを試す
プロジェクトのルートディレクトリで次のコマンドを実行し、両方のサーバーを起動します:
npm run start
両方のサーバーが起動したら、Web ブラウザで http://localhost:5173/ にアクセスします。これで Squid アプリケーションの機能を試す準備が整いました:
- 家電について質問してみてください。たとえば、次のように質問できます:
How do I clean my cooktop?
AI agent はマニュアルから取得した詳細を、チャットで返答します。
- 家電をメンテナンスするためのタスク一覧を作成するよう AI agent に指示します:
Create a list of maintenance tasks.
しばらくすると、新しいタスクがアプリケーション右側のリストとして表示されます。これは、AI agent がマニュアルをコンテキストとしてメンテナンスタスクを作成し、さらにあなたに代わってデータベースへタスクを書き込めたことを意味します。
-
いくつかのタスクを完了したら、Squid の Query with AI 機能を使ってさらに質問できます。この機能は、データベーススキーマの知識を使って、プロンプトに基づくクエリを生成します。
自動検出されたスキーマを保存するには、Squid Console に移動し、Connectors タブを開いて built_in_db の
...ボタンをクリックし、ドロップダウンメニューを開きます。ドロップダウンから Schema を選択します。 -
Save Schema をクリックして、アプリの自動検出スキーマを保存します。
-
いくつかのタスクにチェックを入れて完了としてマークし、その後 AI agent に次のように質問します:
Which maintenance tasks have I completed?
AI agent はデータベースにクエリを実行して、どの項目が完了したかを特定できます。つまり、AI agent はその場でデータベースクエリを生成できるということです!
- AI agent は、より複雑な instructions も認識して応答できます。たとえば、AI agent に次のプロンプトを与えます:
Look up in the manual to determine how often I should clean my washer-dryer lint filter. Based on that interval, if I run two loads of laundry a day, how often should I clean the filter?
AI agent はリントフィルターを掃除する頻度を判断し、それをあなたの質問に適用して、論理的な回答を返すことができます。
コードを見る
Squid によって動く AI agent を備えたフルスタックアプリの構築に成功しました! 内部で何が起きているのか気になりますか? このセクションではコードを掘り下げます。
フロントエンドで AI agent を設定する
Squid React SDK の useAiChat hook を使うと、次のコードで AI agent に接続できます:
const { history, chat, complete } = useAiChat('maintenance-scheduler');
AI agent に機能を追加する
Squid AI Agent は、プロンプトに応じて異なるアクションを実行できます。これは、Squid backend で @aiFunction decorator を付けた関数を指定し、options パラメータの一部としてプロンプトと一緒にその関数を渡すことで実現します。
たとえば、次の AI function は家電マニュアルからメンテナンスタスクのリストを作成し、logMaintenanceScheduleInternal() 関数を使用して built-in database にタスクを書き込みます:
  @aiFunction(
  'If someone asks for a list of maintenance tasks, run this function. This function creates a maintenance task for a list of tasks. Pass each created task to this function. If the user asks how to complete a specific task, then do not run this function. !Important: if a user asks questions about **existing** tasks in the database, then do not run this function.',
  [
    {
      name: 'task',
      description: 'the task to complete',
      type: 'string',
      required: true,
    },
    {
      name: 'interval',
      description: 'the frequency or interval at which the task needs to be done',
      type: 'string',
      required: true,
    },
    {
      name: 'appliance',
      description:
        'the appliance that requires the given maintenance. Provide the manufacturer name of the appliance, along with the type of appliance',
      type: 'string',
      required: true,
    },
  ],
)
async
createTaskItem(params
:
{
  task: string;
  interval: string;
  appliance: string
}
)
{
  const { task, interval, appliance } = params;
  await this.logMaintenanceScheduleInternal({ task, interval, appliance, completed: false });
}
@aiFunction decorator には、関数の目的を説明するパラメータが含まれている点に注目してください。AI agent はこの情報を使って、いつその関数を呼び出すべきかを判断します。
2 つ目の AI function は、プロンプトに基づいてデータベースへクエリを実行します:
  @aiFunction(
  " !Important: Call this function when a client prompt requests information about the **existing** tasks in their database. This function queries the database for tasks that meet the client's request. Include the exected query in your response",
  [
    {
      name: 'prompt',
      description: 'the request from the client',
      type: 'string',
      required: true,
    },
  ],
)
async
checkTasksAI(params
:
{
  prompt: string
}
):
Promise < string > {
  const { prompt } = params;
  const response = await this.squid.ai().executeAiQuery('built_in_db', prompt);
  return `${response.answer} \n ${response.executedQuery}`;
}
フロントエンドでは、次のコードを使って各プロンプトと一緒に functions を渡します:
chat(question, { functions: ['checkTasksAI', 'createTaskItem'] }); // Add functions in the second parameter
AI agent はプロンプトに応じて、いつ function を実行するかを判断します。
AI functions の詳細については、AI functions documentation を参照してください。
次のステップ
おめでとうございます! ドキュメントを読み取って質問に回答でき、ドキュメントの内容に基づいてデータベースへ書き込みでき、さらにクライアントプロンプトに基づいてデータベースから読み取りできる AI agent をアプリケーションに追加しました。
- Squid AI agents の詳細は、documentation を参照してください。
- Squid の real-time data 機能の詳細は、Client SDK documentation を参照してください。
- 独自のデータソースに接続する方法は、Database connectors documentation を参照してください。