Setup Frontend and Backend
Why Setup Frontend and Backend?
Setting up both frontend and backend components allows you to build custom experiences tailored to your application.
The creation script (see below) generates both components with pre-configured defaults, enabling immediate deployment without additional setup.
- Frontend: Create a personalized user interface that fits your exact needs using the Squid Client SDK.
- Backend: Implement advanced functionality using the Squid Backend SDK, from custom business logic and security rules to third-party integrations and automated workflows.
Prerequisites
Before you begin, ensure you have:
- Node.js installed (version 16 or higher recommended)
- npm or yarn package manager
- Squid CLI - can be installed via npm:
npm install -g @squidcloud/cli
If you encounter permission errors, refer to npm's official guide on fixing permissions.
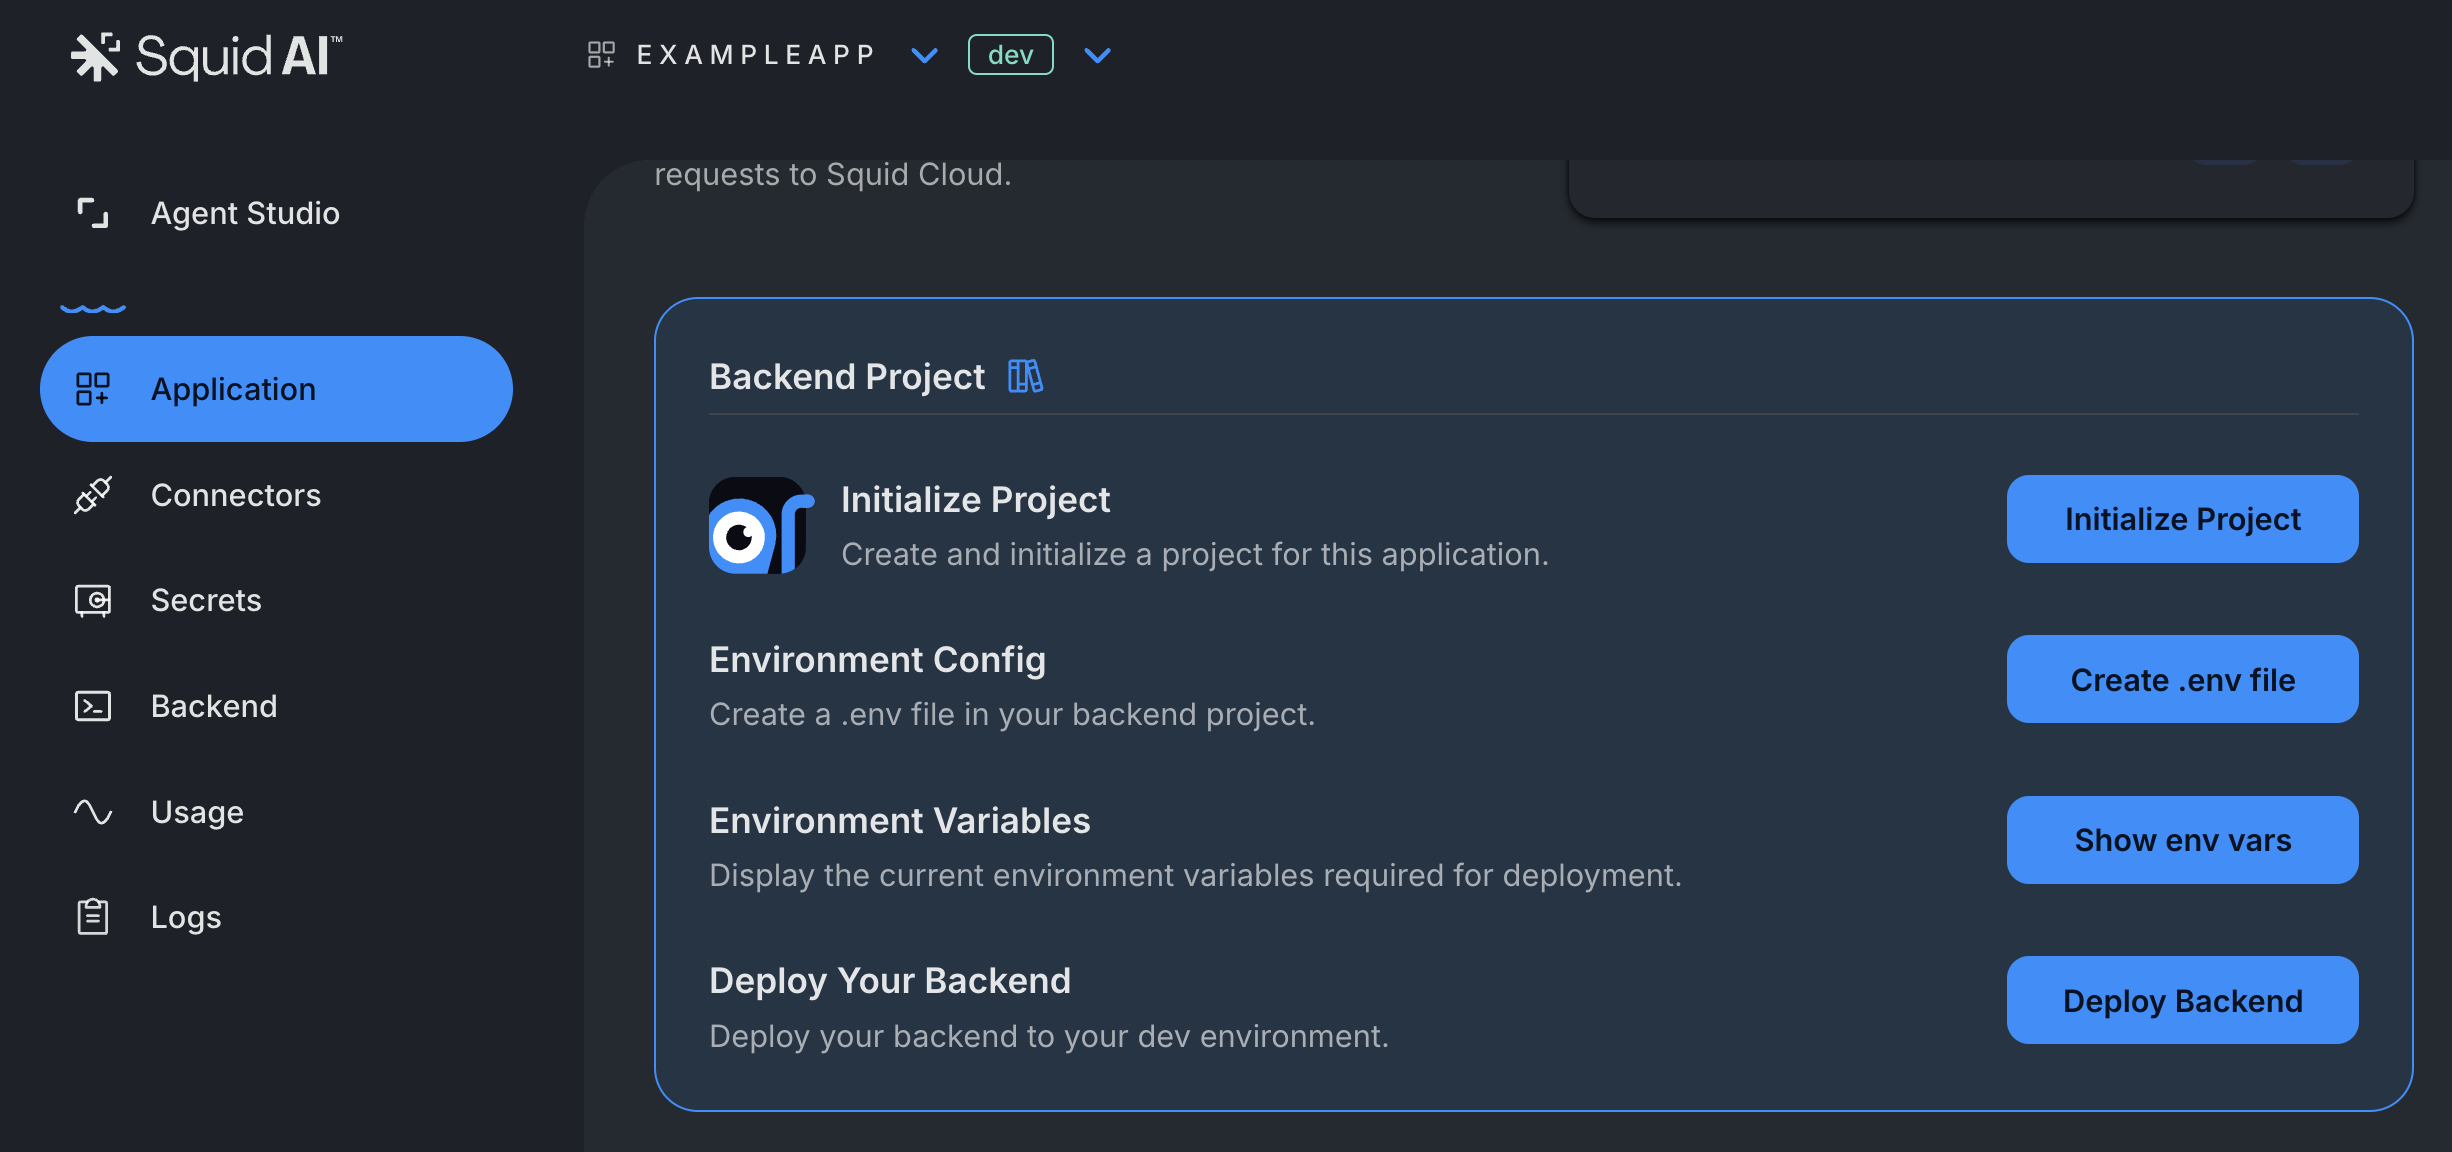
Initialize the Frontend and Backend
-
Navigate to the Application Overview page
-
Find the Backend Project section
-
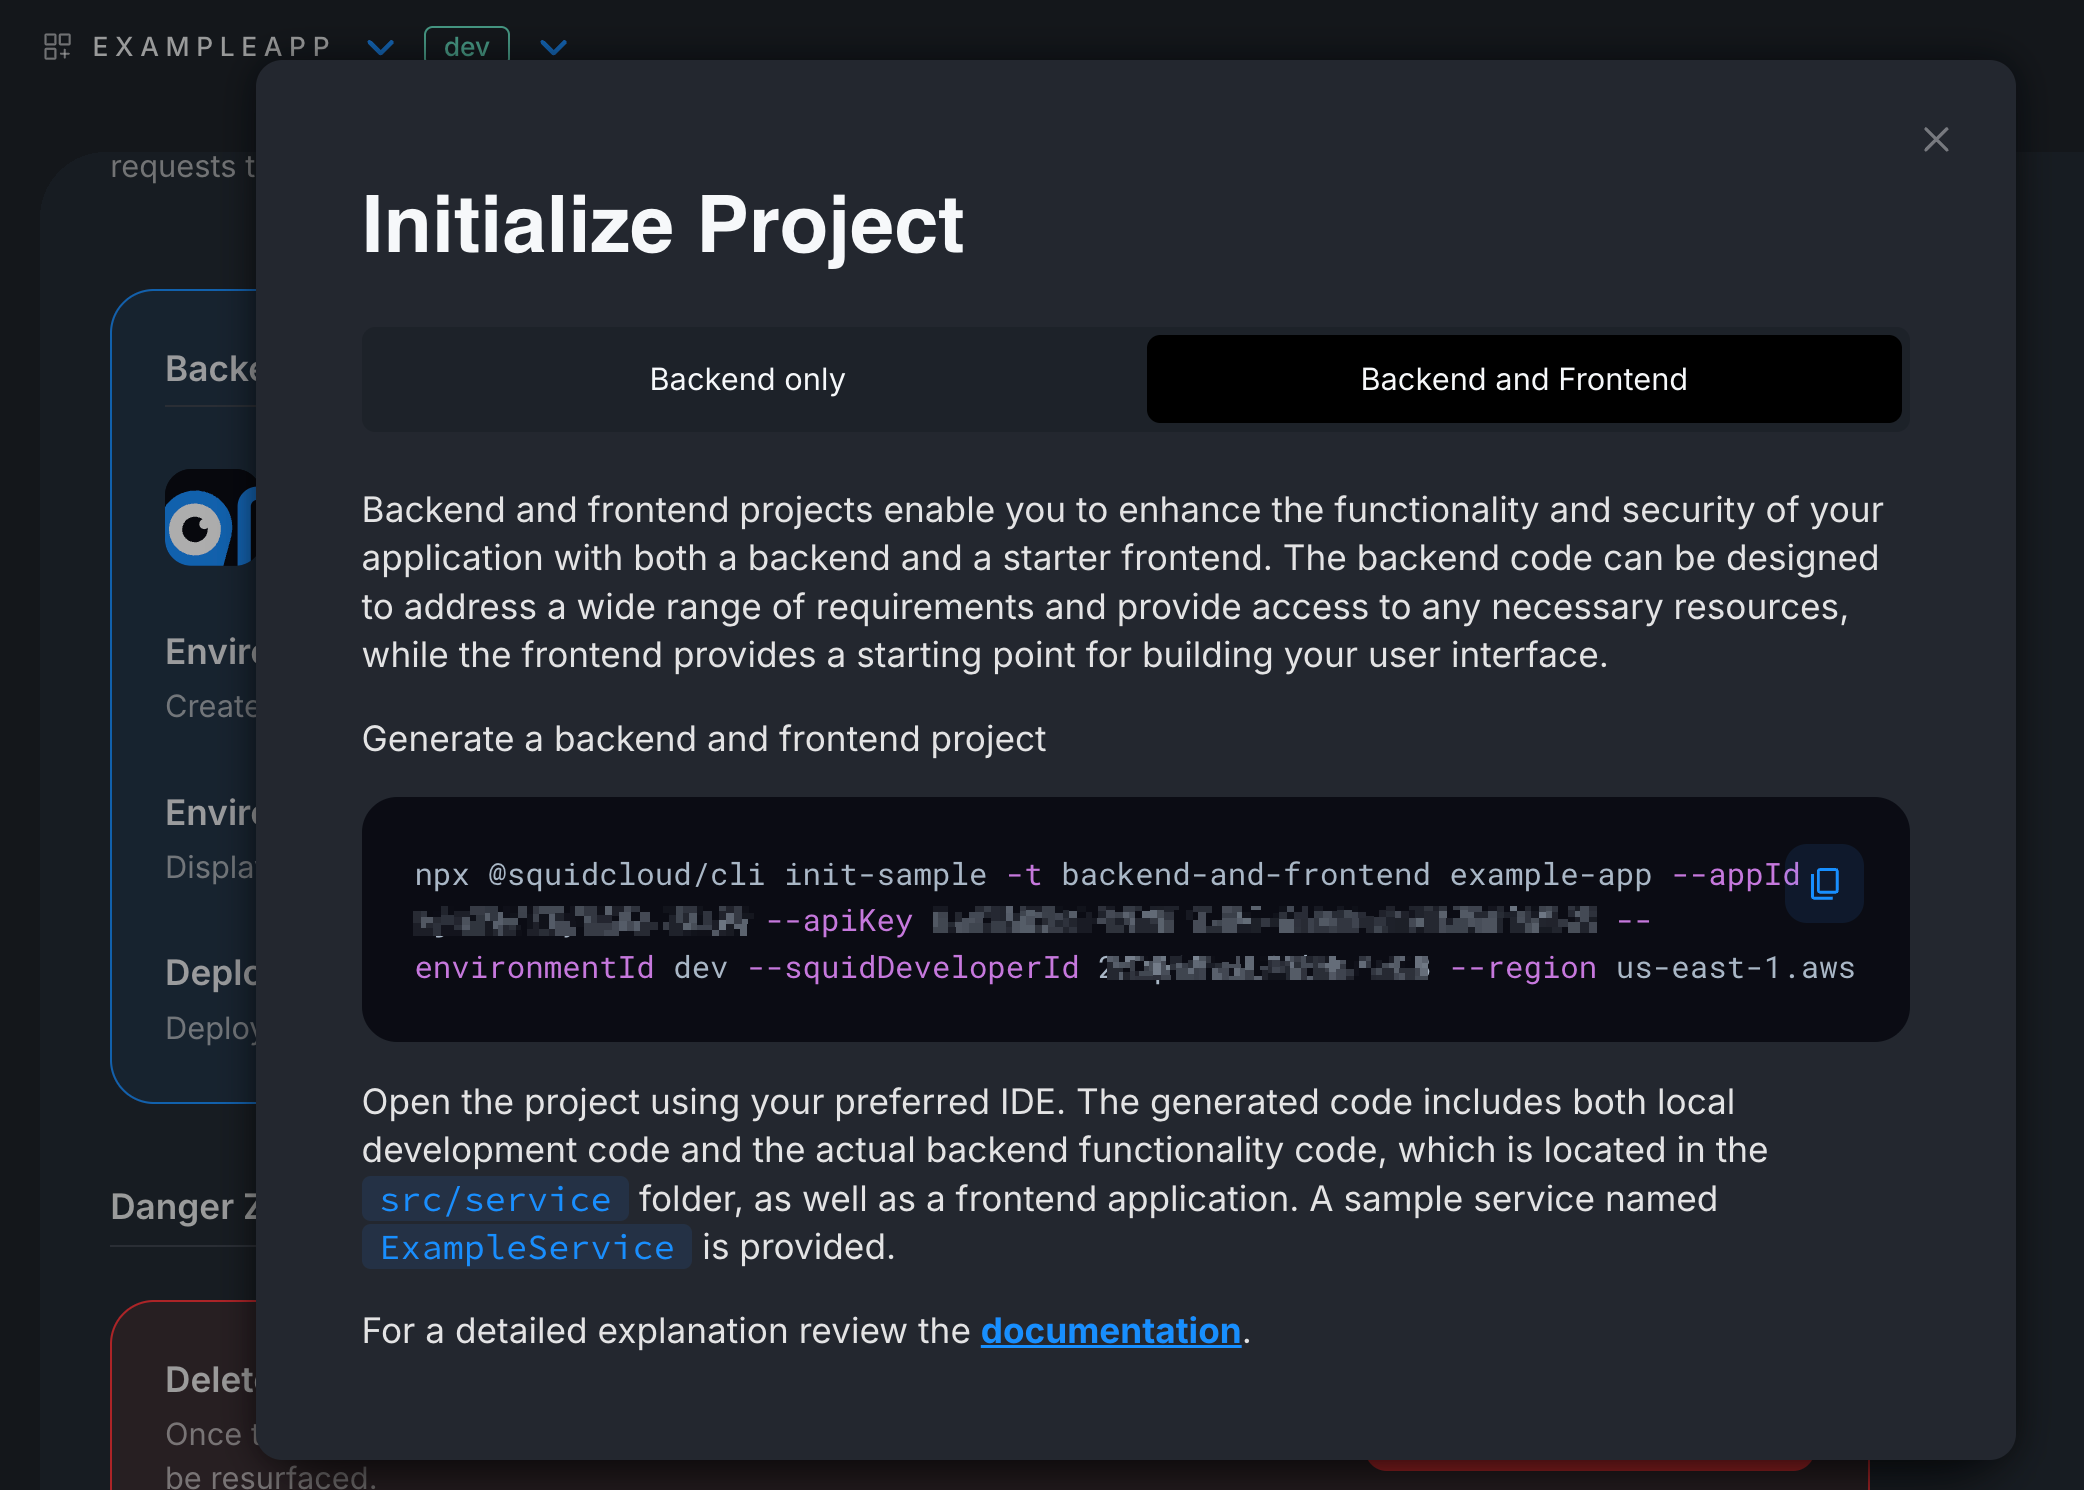
Click on Initialize Project and select Backend and Frontend
-
Copy the command to generate both Frontend and Backend projects
- Create a new directory for your application
mkdir ExampleApp
- Run the copied command to create your backend and frontend projects, which will be in the following form:
npx @squidcloud/cli init-sample -t backend-and-frontend example-app --appId YOUR_APP_ID
--apiKey YOUR_API_KEY --environmentId dev --squidDeveloperId YOUR_DEVELOPER_ID --region us-east-1.aws
Start the Backend and Frontend
Once the script finished running, a directory of your app should have been created and within will be a complete project structure with the following main directories: /frontend /backend
Start the Backend
cd backend
Run the backend development server:
squid start
Start the Frontend
cd frontend
Run the frontend development server:
npm run dev
Your frontend should now be running at http://localhost:5173 (or another port shown in the terminal).
Understanding the Setup
The script automatically created the following files:
- .env.local: Located in the frontend root folder
- .env: Located in the backend root folder
They both include the following application variables:
appId: Your application's unique identifier from the Squid Consoleregion: The cloud region where your app is hosted (e.g.,us-east-1.aws)environmentId: Usedevfor development,prodfor productionsquidDeveloperId: Your developer ID for local development
These environment variables are used by Squid SDKs and for deployments.
To run your frontend with the locally running version of your backend, you must include your Squid Developer ID in your frontend Squid Client SDK configuration:
<SquidContextProvider
  options={{
    appId: import.meta.env.VITE_SQUID_APP_ID,
    region: import.meta.env.VITE_SQUID_REGION,
    environmentId: import.meta.env.VITE_SQUID_ENVIRONMENT_ID,
    squidDeveloperId: import.meta.env.VITE_SQUID_DEVELOPER_ID,
  }}
>
  <App />
</SquidContextProvider>
What's Next
With your frontend and backend set up, here's what you can do:
- Build your first executable - Visit the Executables section to learn how the frontend invokes backend logic.
- Work with your data - Check the Database Docs to learn how to read and write data using the integrated database.