Create an Application
Set up a new Squid application to start building AI agents and integrations
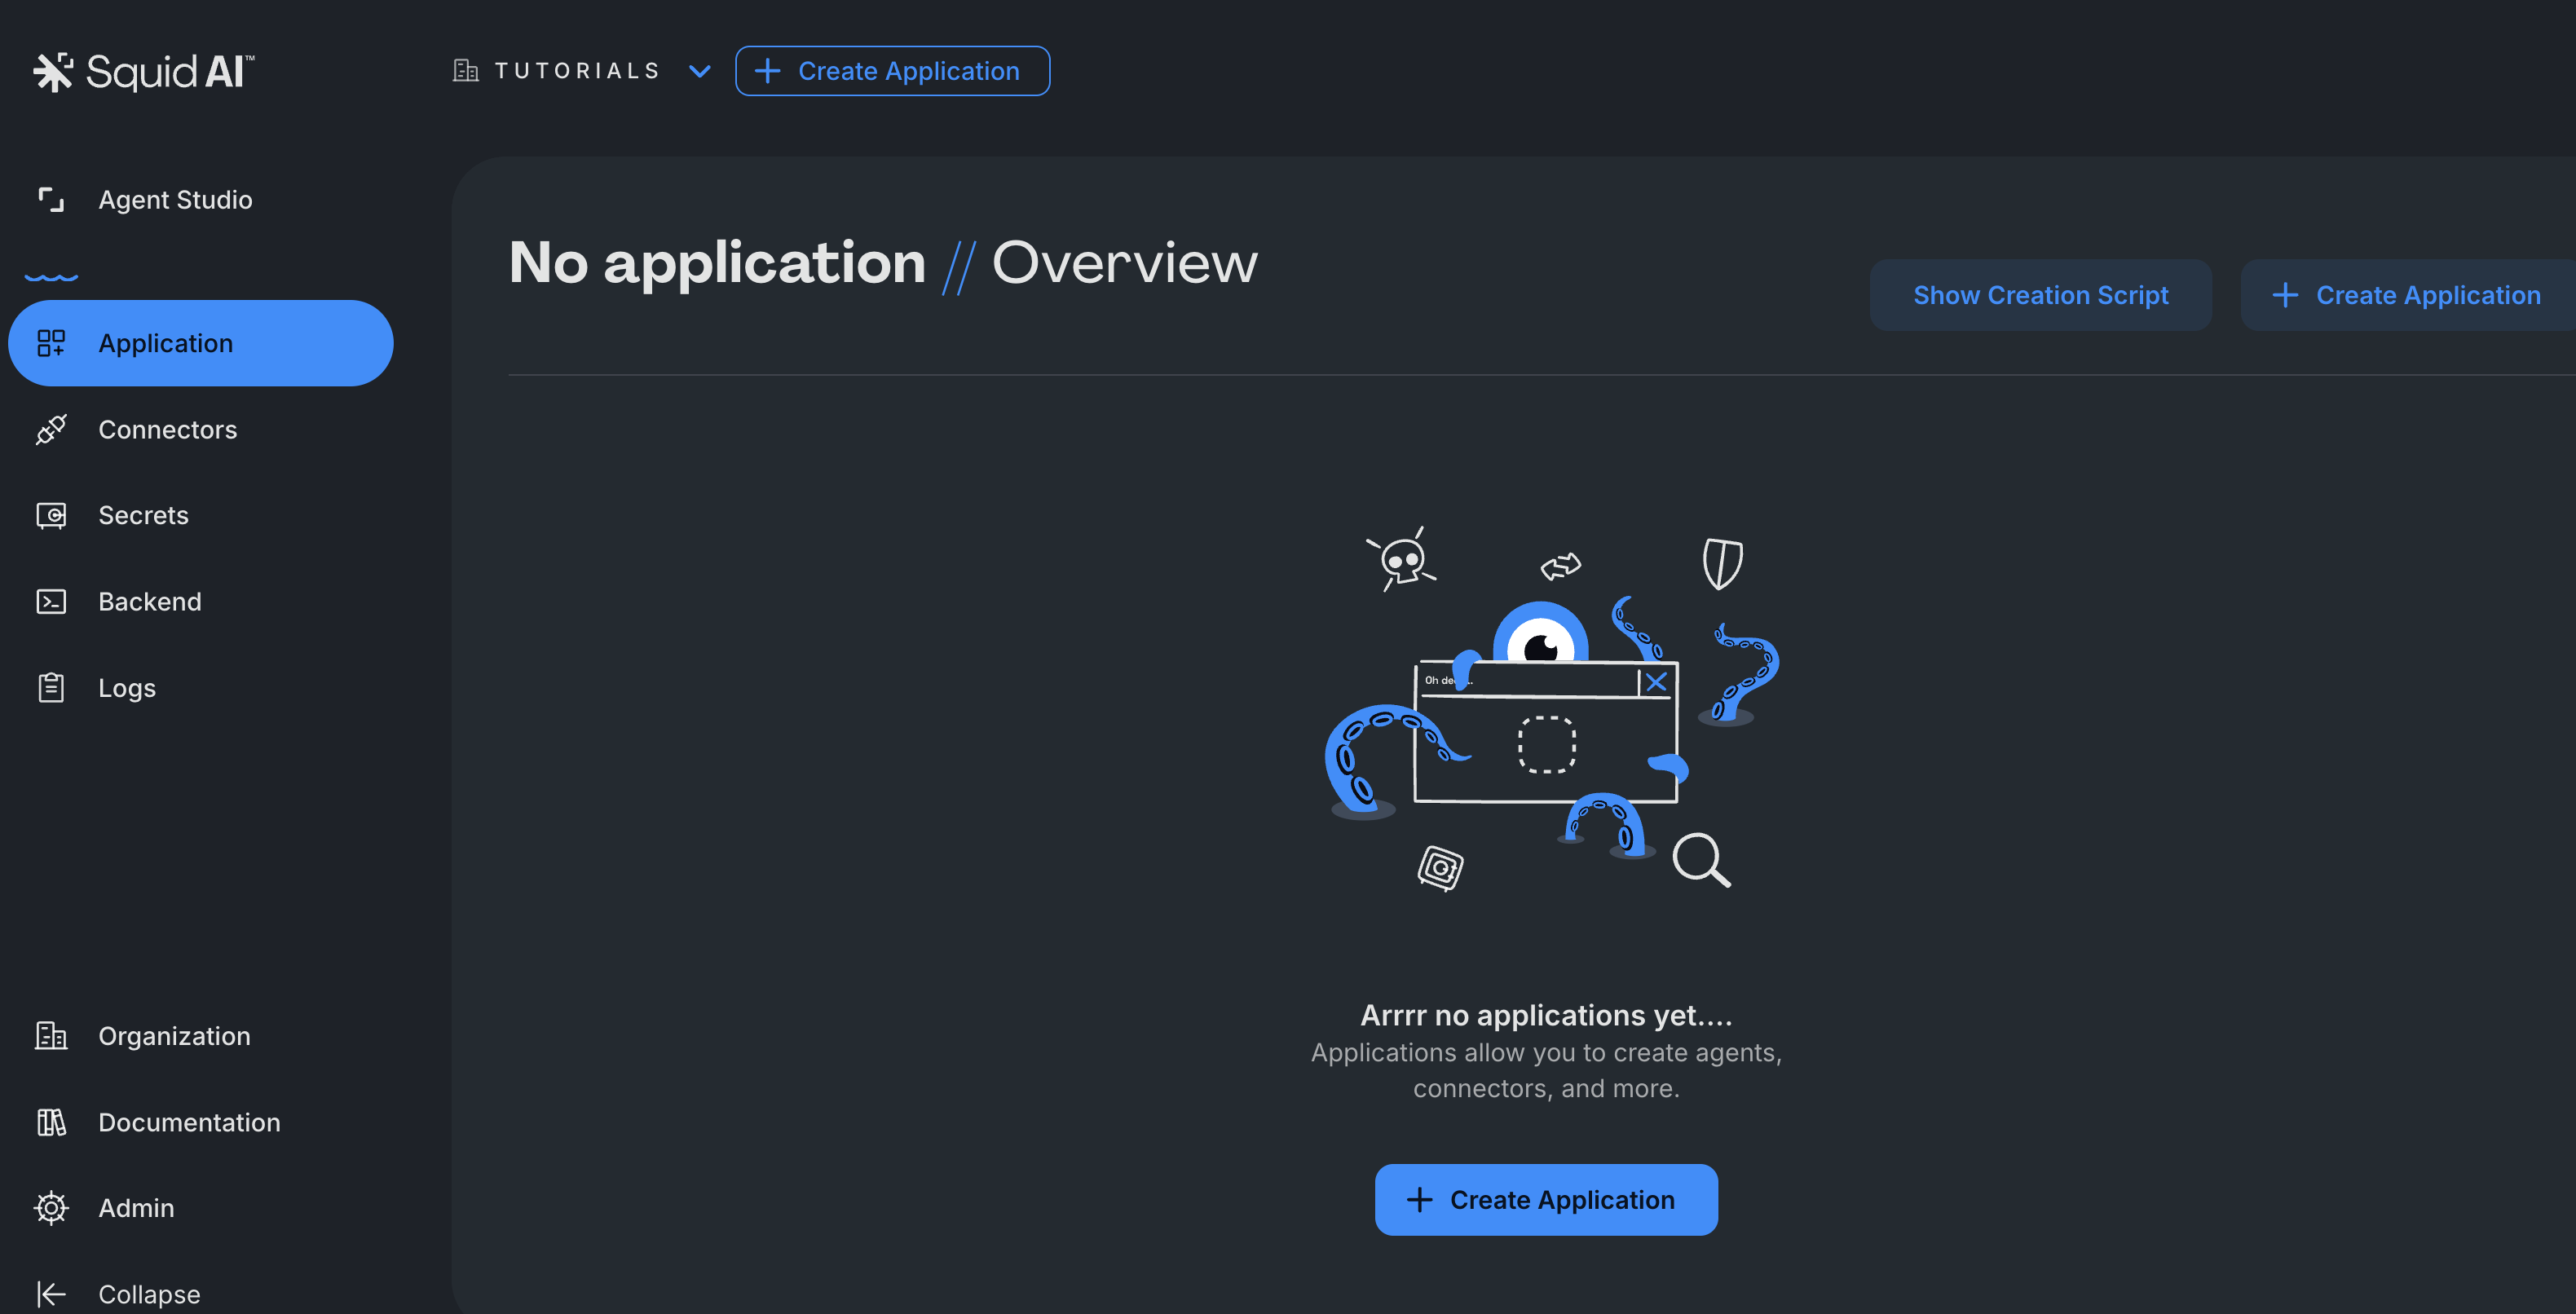
Creating an application is the first step to building with Squid. Each application provides an isolated workspace with its own connectors, AI agents, and configuration.
Create an application
-
Navigate to the Squid Console at console.getsquid.ai
-
Click "Create Application" in the console dashboard
- Name your application - Choose a descriptive name that reflects the project (e.g., "Wells Fargo Integration", "Sales Analytics")
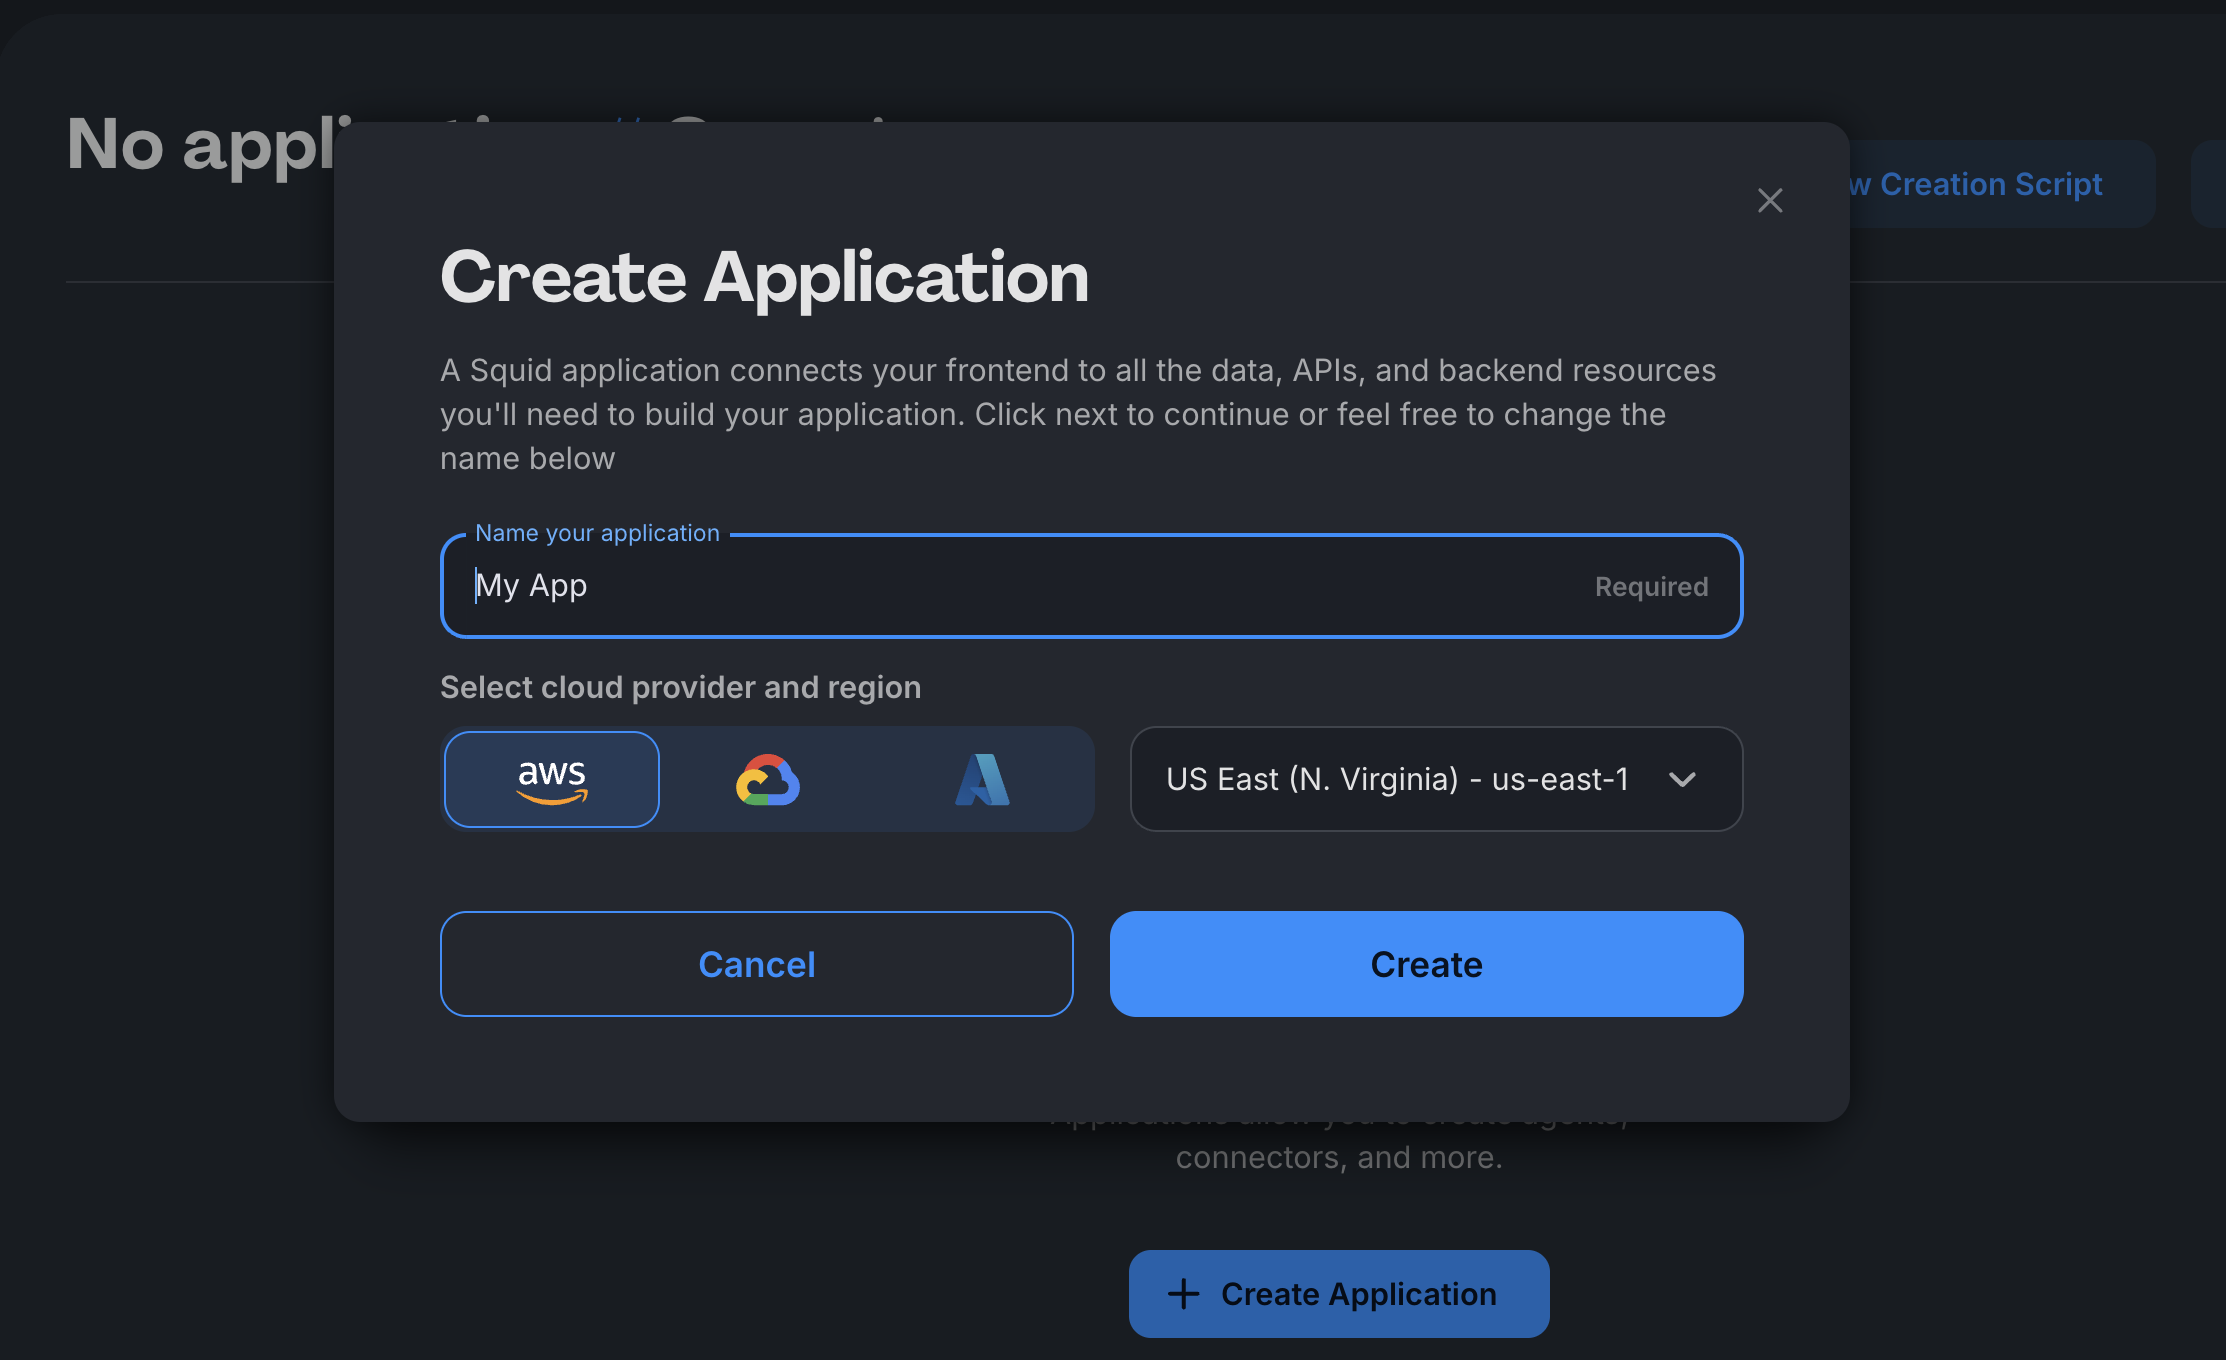
- Click "Create" - Squid automatically generates:
- A unique Application ID
- Development (
dev) and production (prod) environments - API keys for each environment
- A Squid Developer ID for local development
What happens after creation
Once created, your application includes:
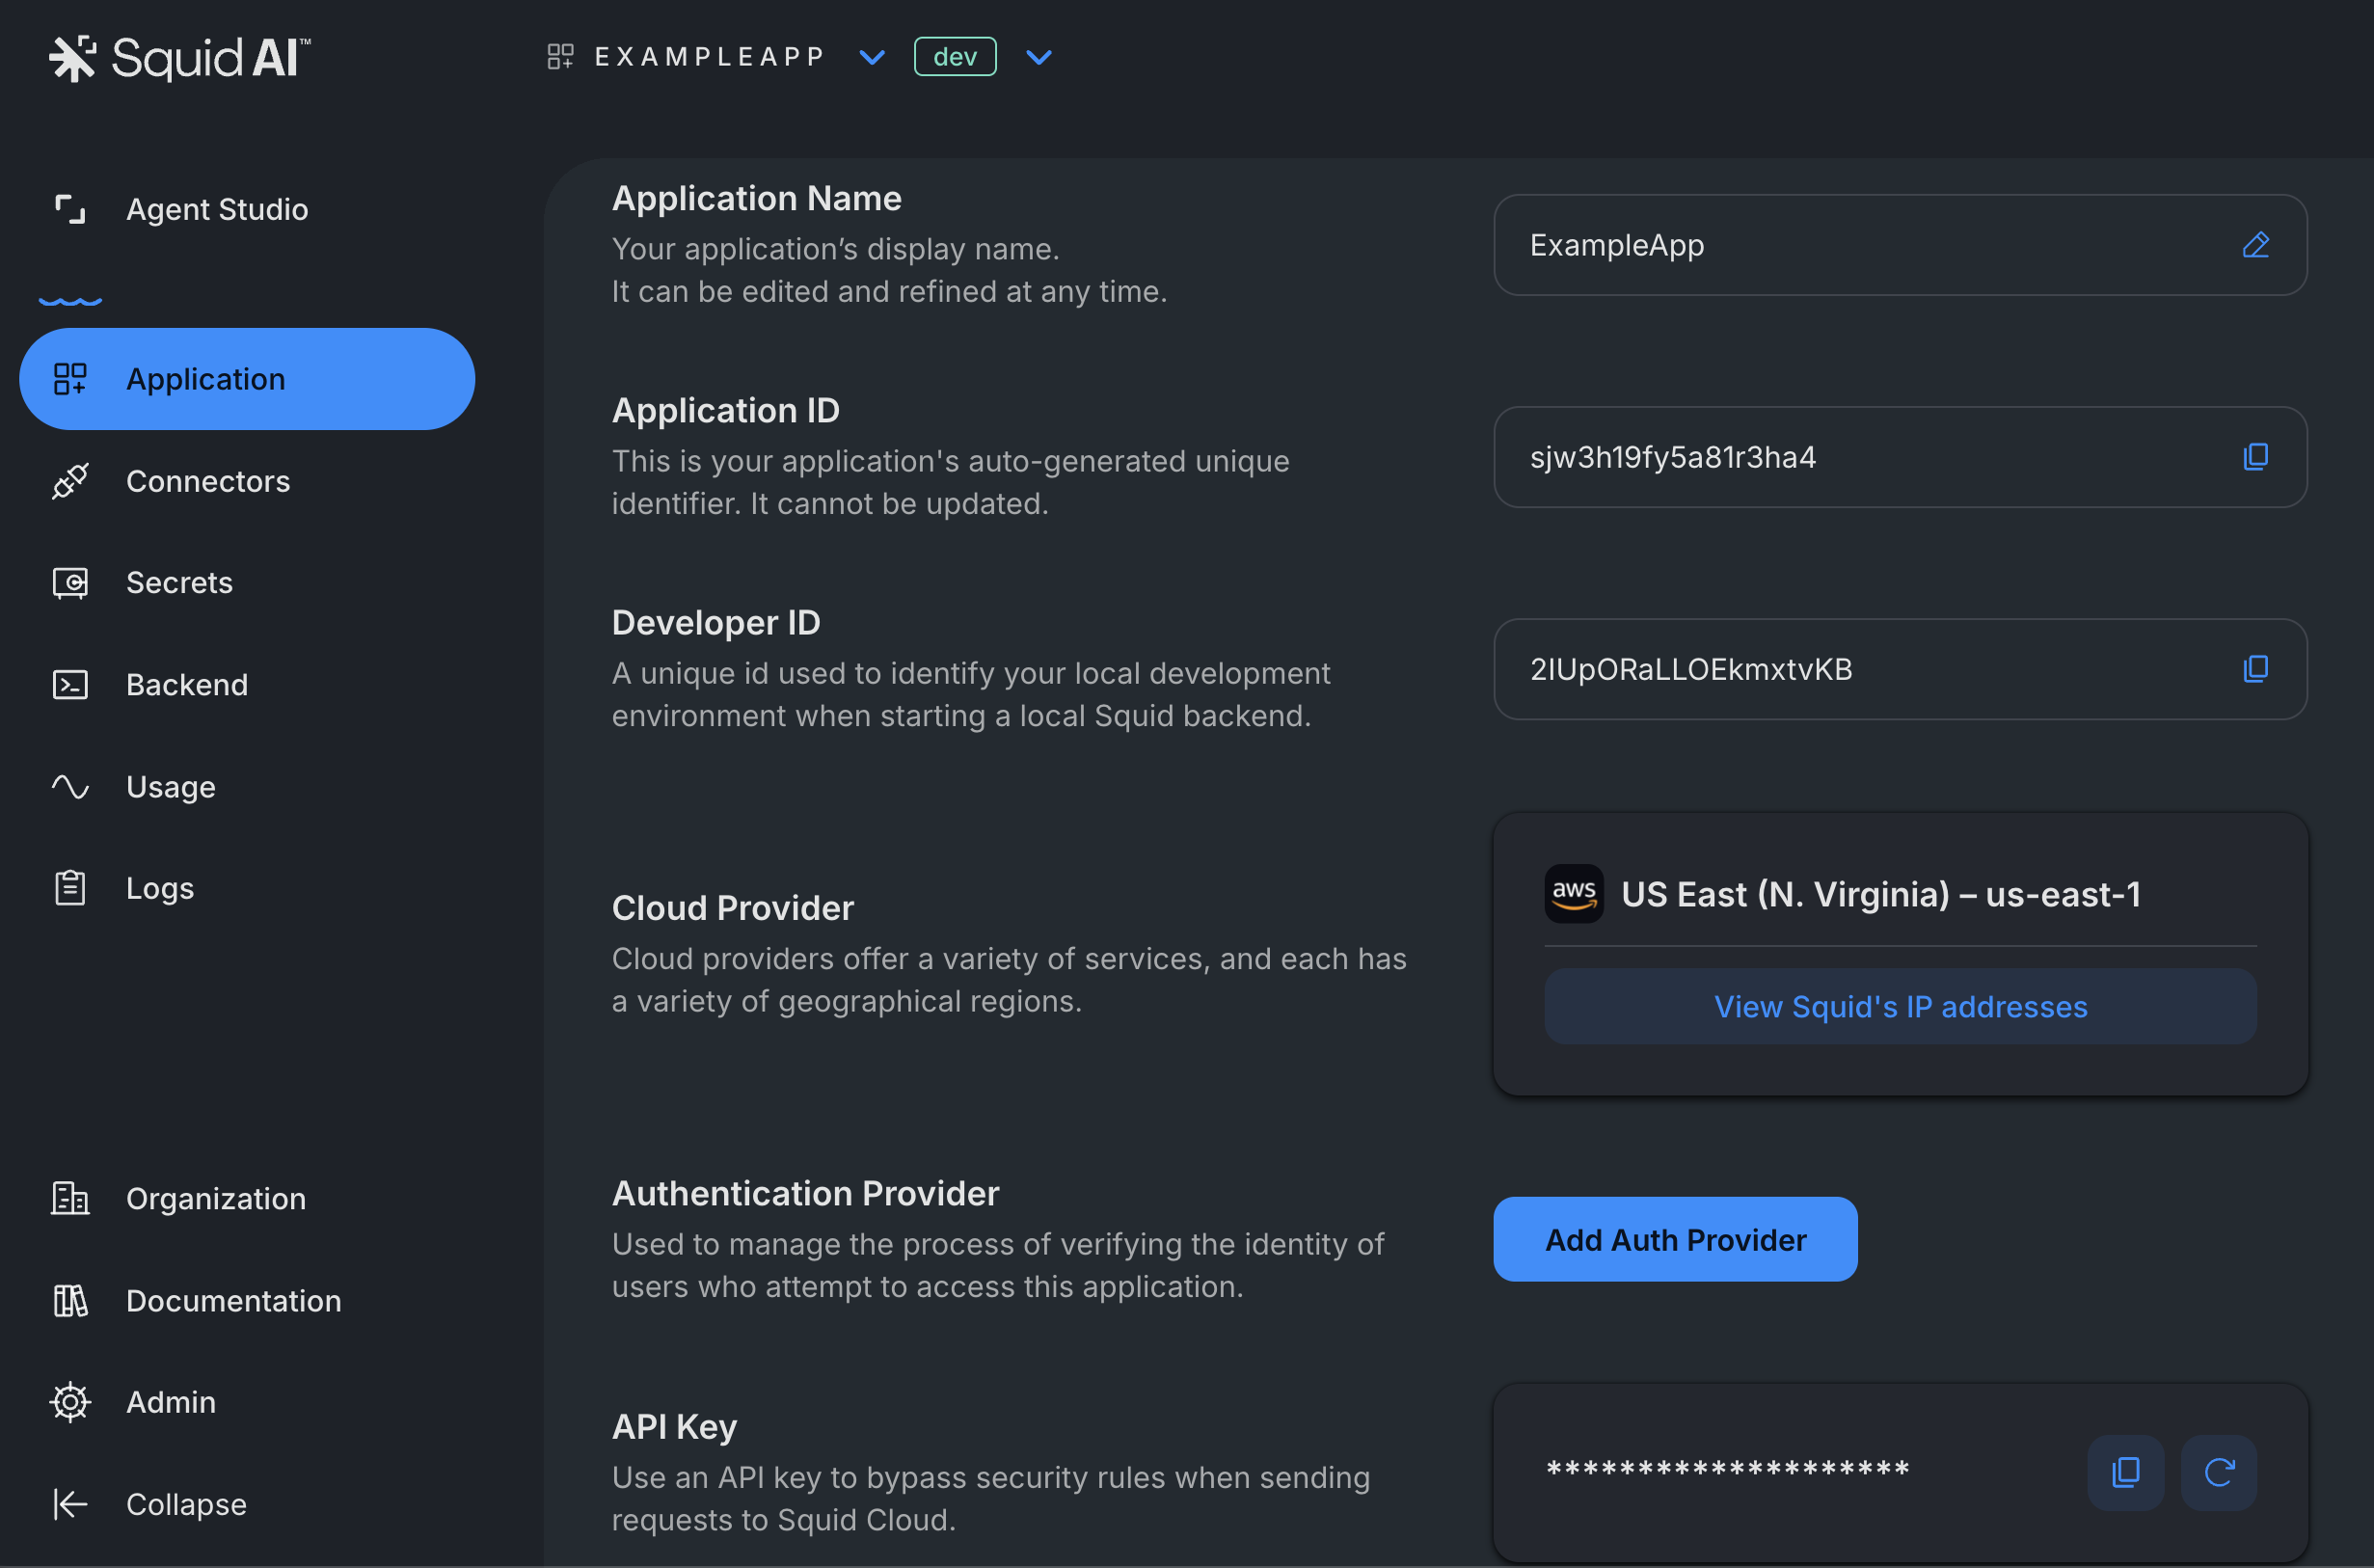
Application overview page - Central hub showing your app's ID, region, API keys, and quick-start commands
Key information is available in the application overview page:
- Application ID - Auto-generated unique identifier for your app
- Region - Cloud provider and region (currently
us-east-1.aws) - API Keys - Separate keys for
devandprodenvironments - Squid Developer ID - Required for local development
These values are used when initializing your frontend and backend.
Two environments - dev for development and testing, prod for production deployment — see Environments
Backend project section - Commands to initialize and deploy your backend code
Empty workspace - Ready for you to add connectors, AI agents, and custom logic
Managing applications
Switch between applications - Use the application selector in the Squid Console to work on different projects
Switch environments - Toggle between dev and prod in the console to manage each environment separately
Delete an application - Navigate to the application overview page and scroll to the bottom to delete if needed
Create separate applications for different clients or use cases. This isolation ensures changes to one project don't affect others and allows independent deployment cycles.
Next steps
After creating your application, you can:
Build AI agents - Use the Agent Studio to create your first 0 code AI assistants
Create frontend and backend - Develop custom and advanced experiences by coding your own frontend and backend