アプリをデプロイする
バックエンドは Squid に、フロントエンドは Netlify に push する
フロントエンドとバックエンドをローカルで動かせたら、次のステップは他の人もアプリケーションを使えるようにデプロイすることです。このガイドでは、Squid バックエンドをクラウドにデプロイし、フロントエンドを Netlify にデプロイする方法を説明します。
各要素のつながり
フロントエンドとバックエンドは同じアプリケーション認証情報(App ID、Region、Environment ID)を共有します。これらの値が両者を結び付けます。
- backend はデプロイ時に
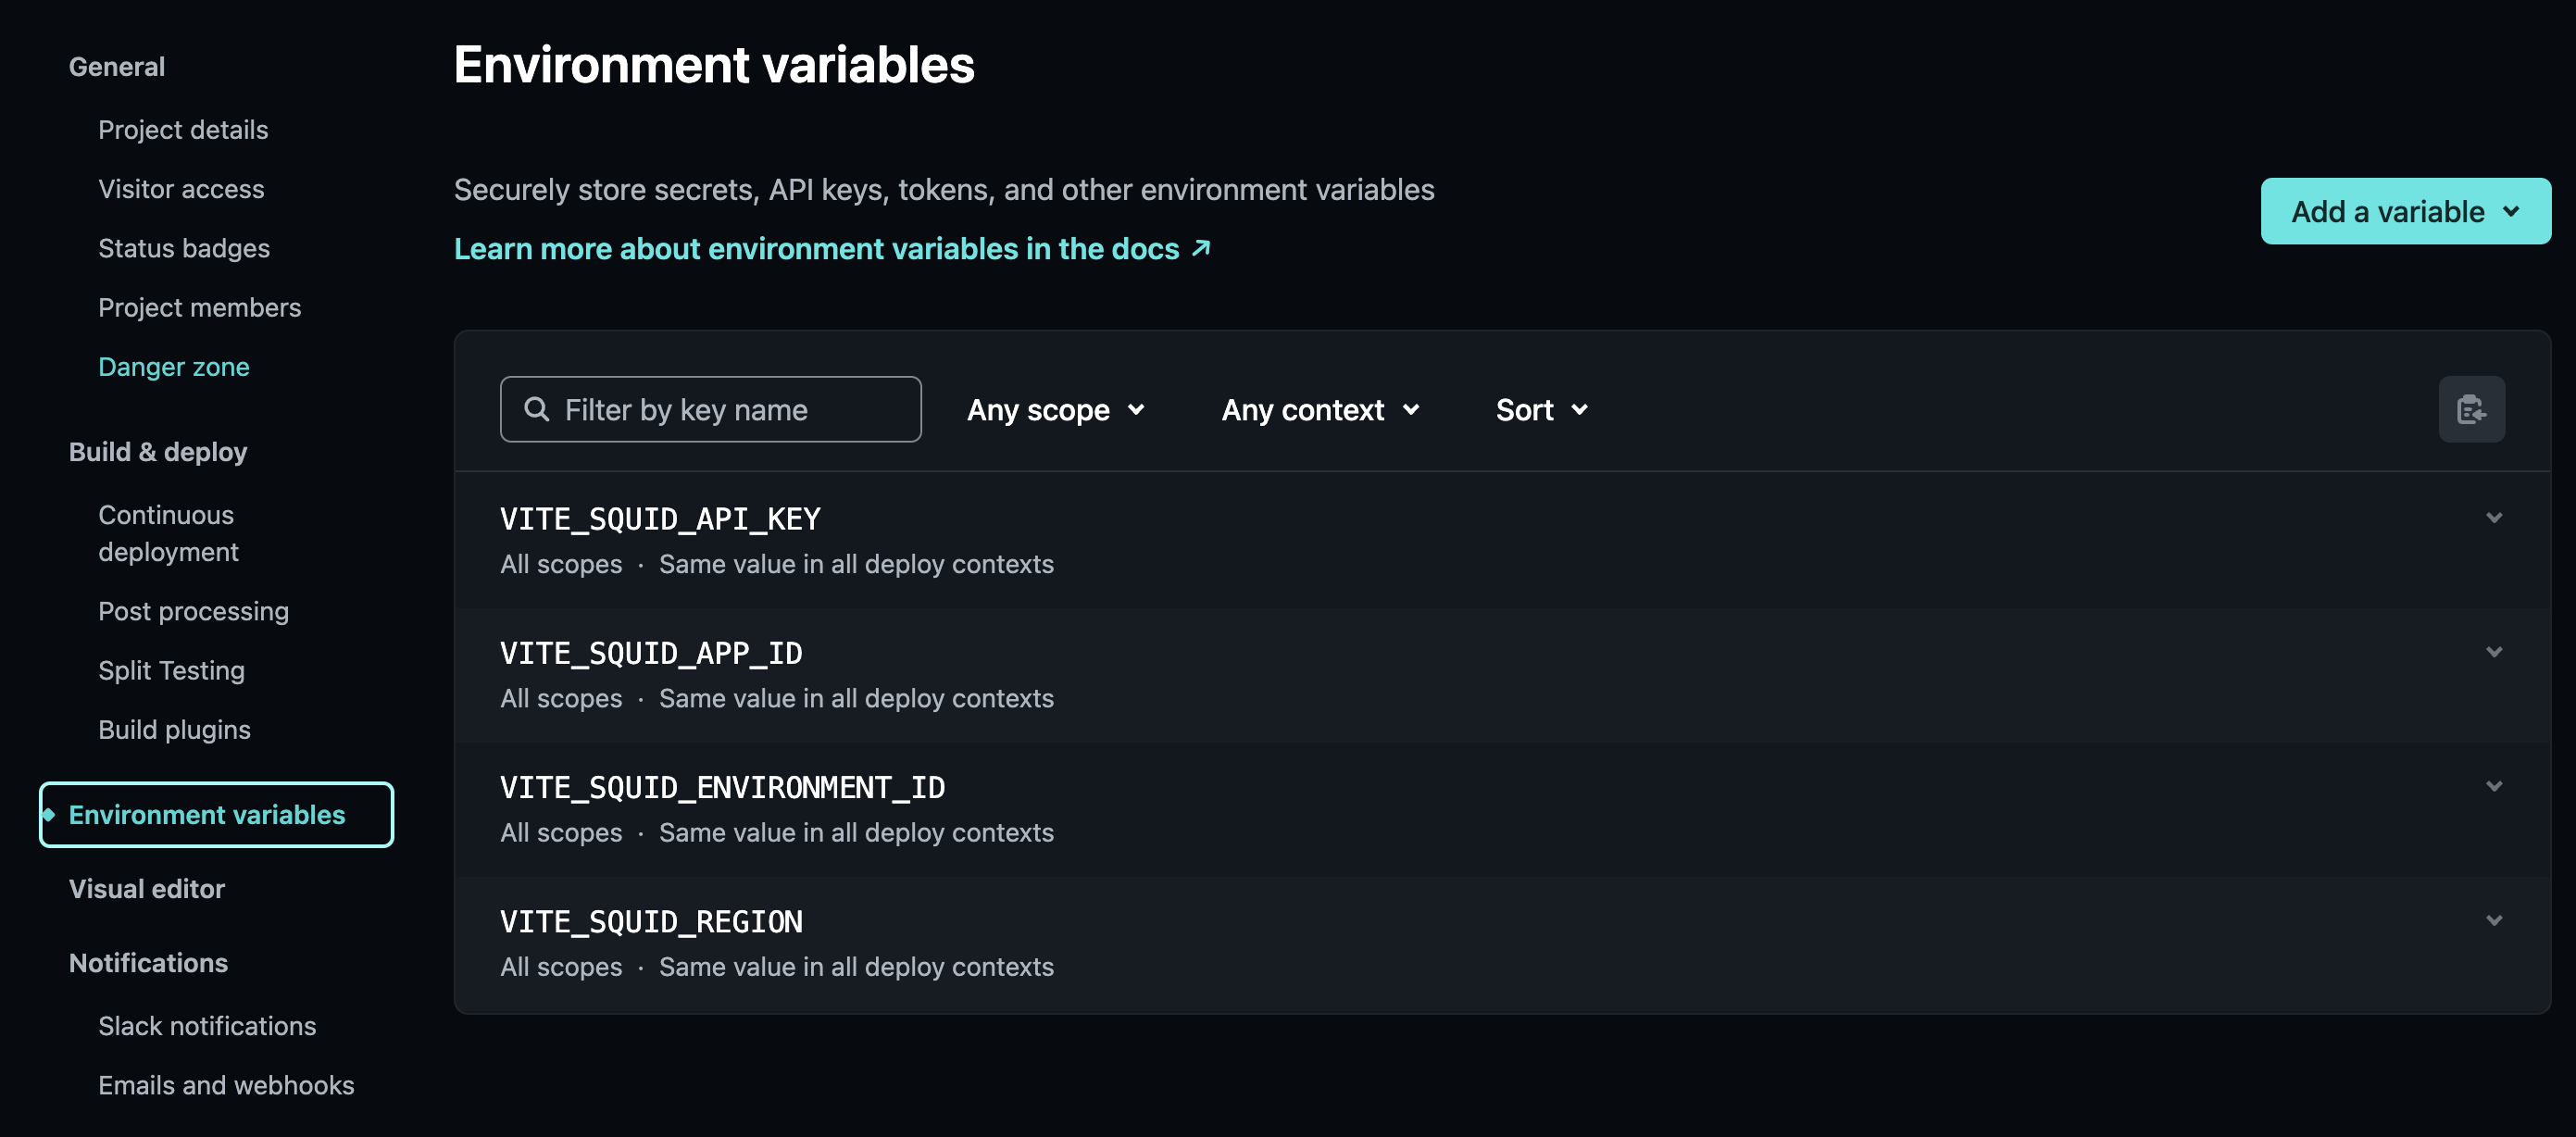
.envファイルからそれらを読み込みます。 - frontend はビルド時に環境変数からそれらを読み込みます(Vite を使う場合は
VITE_のプレフィックス付き)。
両方が同じ appId、region、environmentId で設定されていると、フロントエンドは自動的に正しいデプロイ済みバックエンドと通信します。
dev から始める最初は dev にデプロイしてください。これにより、チームが本番公開前にテストできる共有のステージング環境が得られます。確認できたら、同じ手順を prod に対して繰り返します。
Step 1: バックエンドを Squid にデプロイする
backend ディレクトリから次を実行します。
squid deploy
これにより、バックエンドが dev 環境にデプロイされます。必要な認証情報(appId、region、apiKey、environmentId)はバックエンドの .env ファイルから自動的に読み込まれます。
デプロイが完了すると、バックエンドはクラウド上で稼働します。フロントエンドでは、ローカル開発でのみ使用される squidDeveloperId パラメータは不要になります。
本番環境にデプロイする
本番公開の準備ができたら、prod にデプロイします。
squid deploy --environmentId prod --apiKey YOUR_PROD_API_KEY
prod の API key と完全なデプロイコマンドは Squid Console で確認できます。Application Overview ページに移動し、Backend project セクションの Deploy backend をクリックしてください。
npm install -g @squidcloud/cli を実行して Squid CLI がインストールされていることを確認してください。squid deploy が失敗する場合があります。
Step 2: フロントエンドを Netlify にデプロイする
Squid と Netlify でアプリケーションのデプロイを効率化しましょう。Squid Netlify integration を使うと、アプリケーションのビルドとデプロイを自動化できます。アプリケーションリポジトリを更新すると、フロントエンドと Squid バックエンドの両方の変更が自動的にデプロイされます。
リポジトリを接続する
- プロジェクトを GitHub リポジトリに push します。
- Netlify コンソールで Add new site をクリックし、次に Import an existing project を選択して、リポジトリを選びます。
- フロントエンドのビルド設定を行います。Vite ベースのフロントエンドの場合:
- Base directory:
frontend - Build command:
npm run build - Publish directory:
frontend/dist
- Base directory:
Squid integration を追加する
- Netlify で Integrations に移動し、Squid を検索します。Enable from a site をクリックしてサイトを選択します。
- Squid の Region、API key、Environment ID を入力します。これらはデプロイしたい環境と一致している必要があります(本番サイトには
prodの API key を使用してください)。 - Environment variable prefix を
VITE_に設定します(Vite アプリで必須)。
auto-deploy を有効にする
- Auto-Deploy セクションで Auto deploy を有効にします。以降、リポジトリに変更を push すると、フロントエンドと Squid バックエンドの両方が自動的に再デプロイされます。
- Backend directory を、base directory から見たバックエンドへの相対パスに設定します(例:
../backend)。 - Save をクリックします。これでアプリが公開されます。
Squid バックエンドのデプロイがトリガーされるのは production(prod)ビルドのみである点に注意してください。この設定はいつでも無効化できます。
本番向けに squidDeveloperId を削除する
ローカル開発中、フロントエンドには squidDeveloperId が含まれており、リクエストをローカルで実行中のバックエンドへルーティングします。
<SquidContextProvider
  options={{
    appId: import.meta.env.VITE_SQUID_APP_ID,
    region: import.meta.env.VITE_SQUID_REGION,
    environmentId: import.meta.env.VITE_SQUID_ENVIRONMENT_ID,
    squidDeveloperId: import.meta.env.VITE_SQUID_DEVELOPER_ID, // local dev only
  }}
>
デプロイ済み環境では squidDeveloperId を設定しないでください。この値は .env.local ファイルの VITE_SQUID_DEVELOPER_ID から来ているため、Netlify のビルドに明示的に追加しない限り存在しません。そのため、デプロイ済みフロントエンドは自動的にデプロイ済みバックエンドへ接続します。
本番ビルドで squidDeveloperId を公開したり、バージョン管理にコミットしたりしないでください。これはローカル開発専用です。
バックエンドの Undeploy
必要に応じて、アプリからバックエンドを削除できます。Squid Console の Application Overview ページに移動し、ページ下部までスクロールして Undeploy Backend をクリックします。
環境と環境変数の詳細については、Environments を参照してください。