Keycloak
Keycloak server を Squid に接続し、data の query や update、executable の呼び出しなどの user action を authorize します。
Keycloak は、single sign-on、user federation、fine-grained authorization を提供する open-source identity and access management solution です。
Squid で Keycloak connector を使用するには、まず次の step で Keycloak server を Squid に接続します。
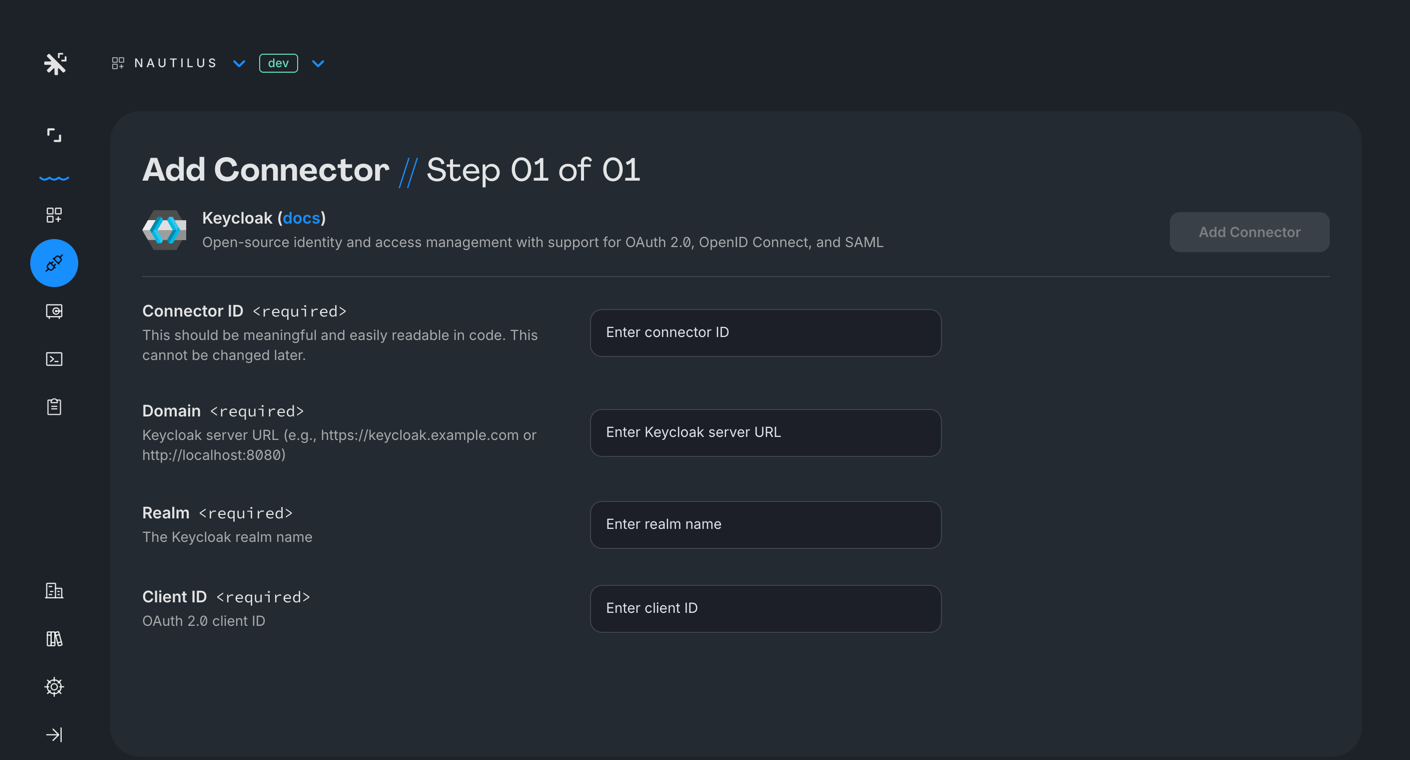
- Squid Console に移動します。app と environment(dev または prod)を選択し、Integrations tab をクリックします。
- 次の detail を入力します。
- Integration ID - 簡潔で integration の識別に役立つ ID を選択します。
- Domain - Keycloak server URL(例:
https://keycloak.example.com)。 - Realm - Keycloak realm の name。
- Client ID - Keycloak realm で構成した OAuth 2.0 client ID。
- Add integration をクリックします。
Connector の使用
connector を作成したら、Squid Client SDK を使用して Keycloak token を Squid に渡すことができます。
Client code
import Keycloak from 'keycloak-js';

const keycloak = new Keycloak({
  url: 'https://keycloak.example.com',
  realm: 'your-realm',
  clientId: 'your-client-id',
});

// Initialize Keycloak before setting the auth provider
await keycloak.init({ onLoad: 'login-required' });

squid.setAuthProvider({
  integrationId: 'KEYCLOAK_INTEGRATION_ID',
  getToken: () => keycloak.token,
});
token が client に渡されると、Squid は backend function で使用できる user の authentication information を自動的に設定します。
Backend code
@secureCollection('users', 'read')
secureUsersRead(context: QueryContext<User>): boolean {
  const userAuth = this.getUserAuth();
}