Query your data with AI
Use Squid AI's Query with AI feature to get information about your data in real time.
What you'll build
- An app that lets you ask questions about healthcare data.
- Data is randomly generated and stored in Squid's built-in database.
What you'll learn
- How to use Squid's
executeAiQuerymethod to ask questions about your data. - Configuring an executable function to enable the client to interface with the backend.
You'll need some experience with TypeScript. Experience with React is useful, but not required.
Huge thanks to our partners at Otairo for collaborating with us on this tutorial!
Environment setup
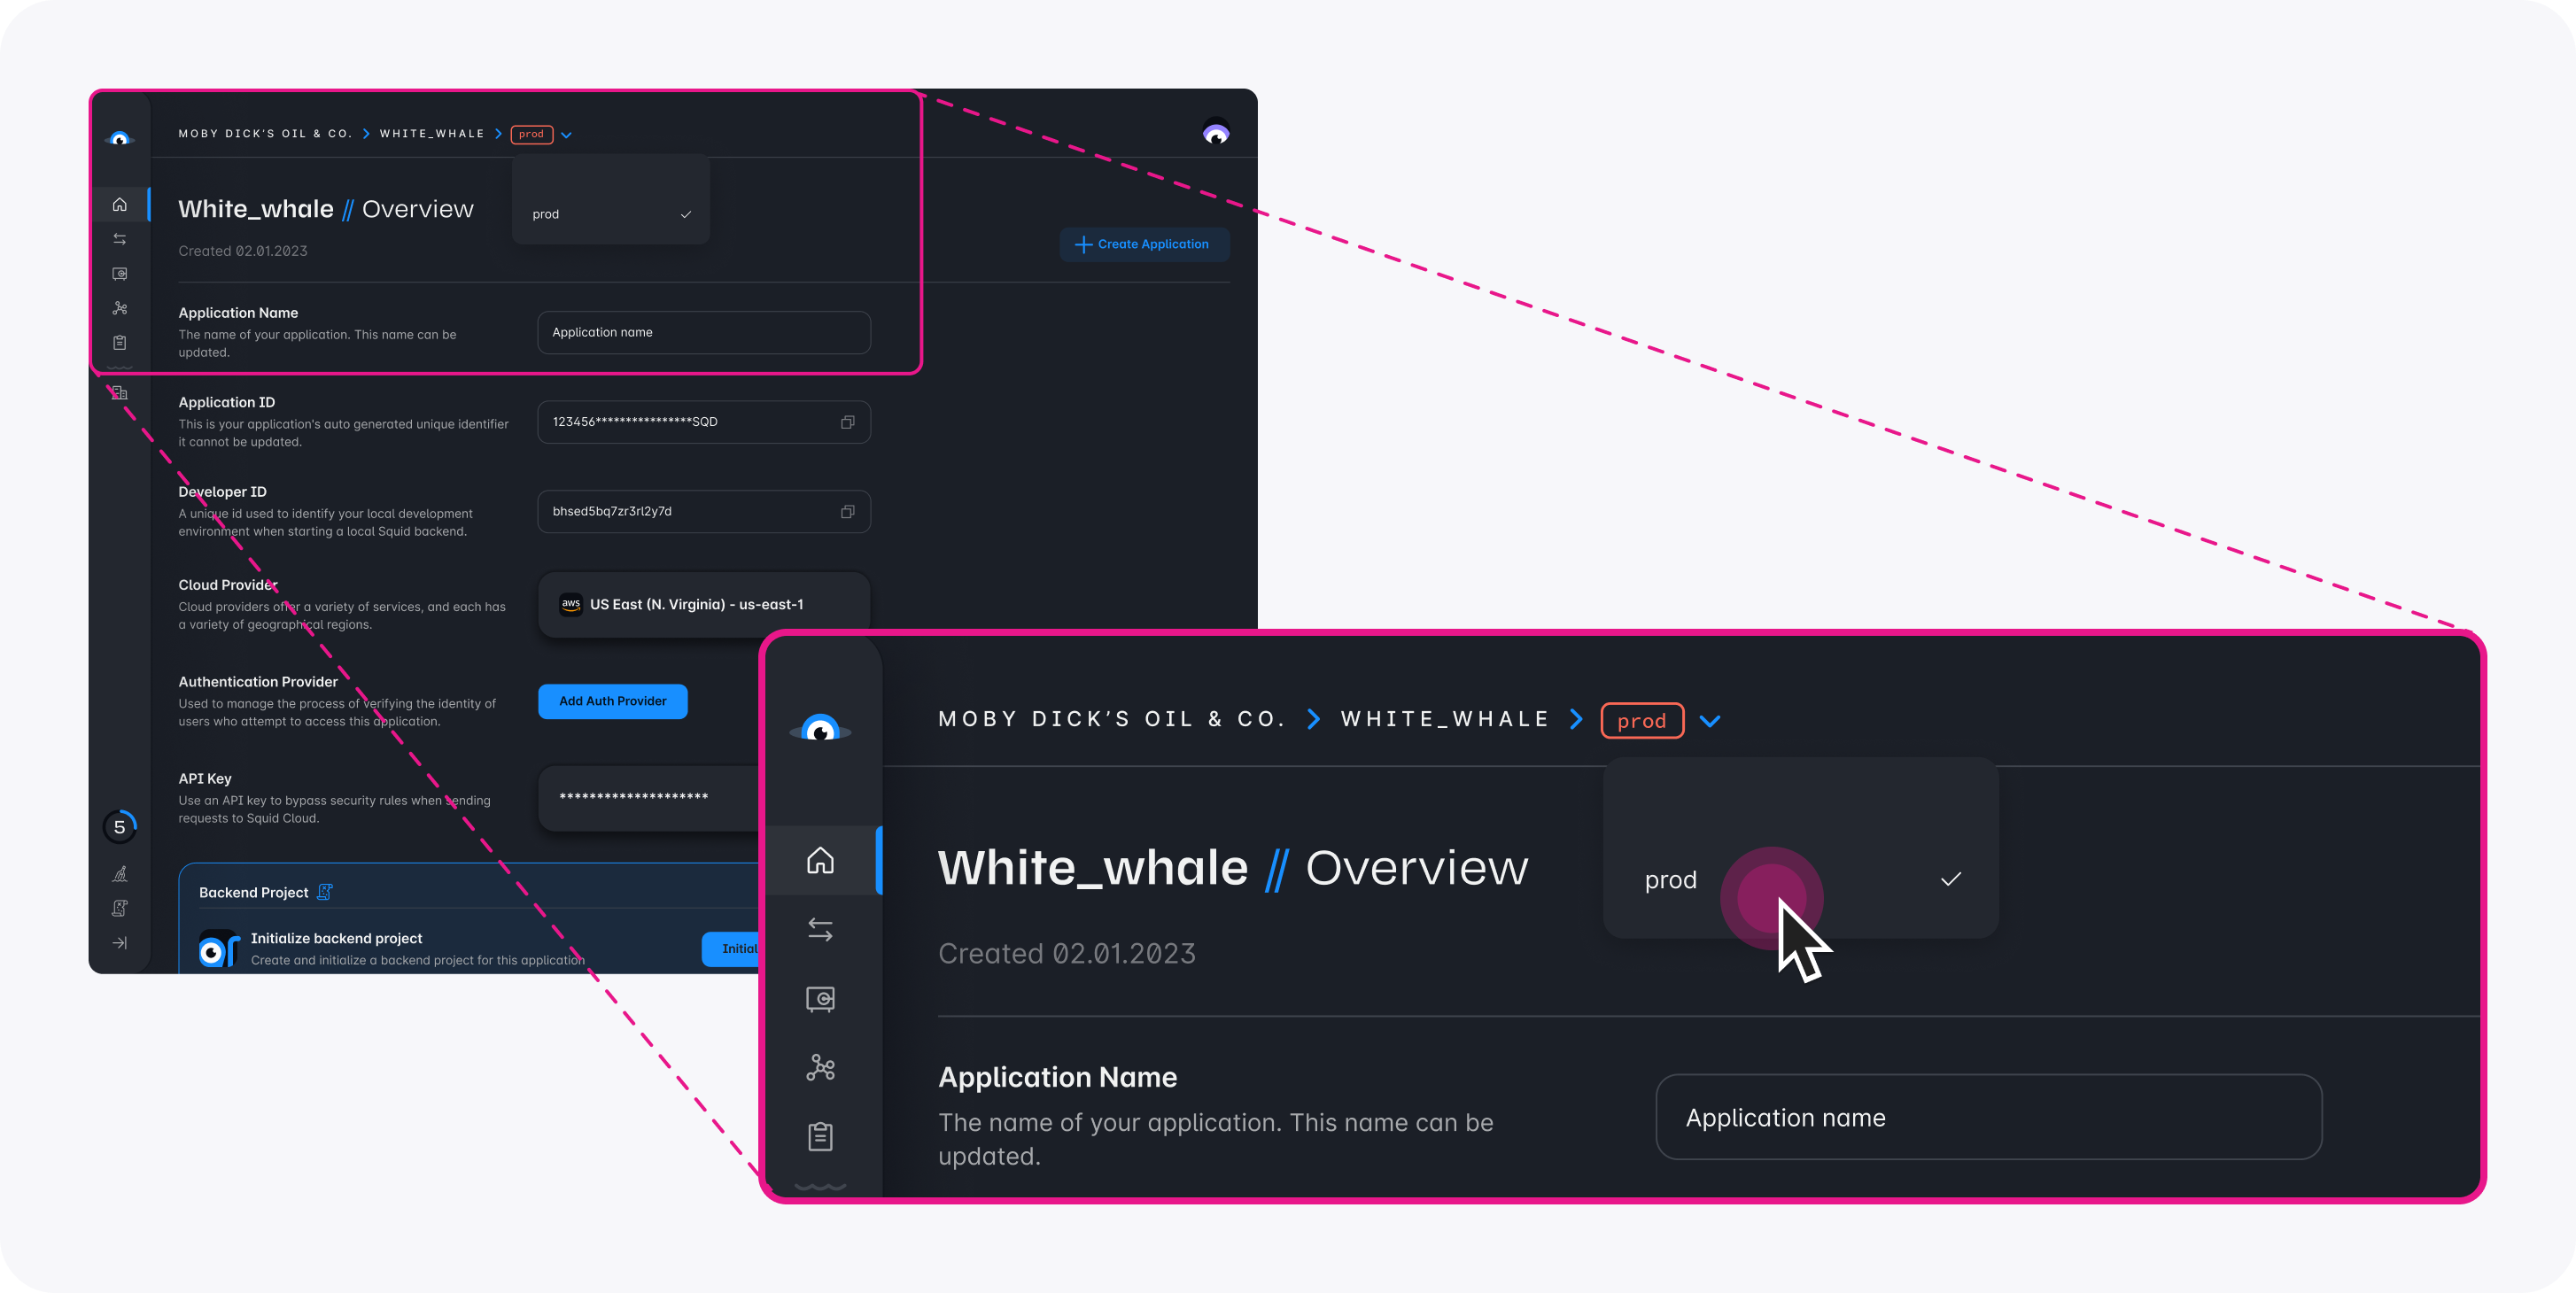
- In the Squid Console, switch to the
devenvironment.
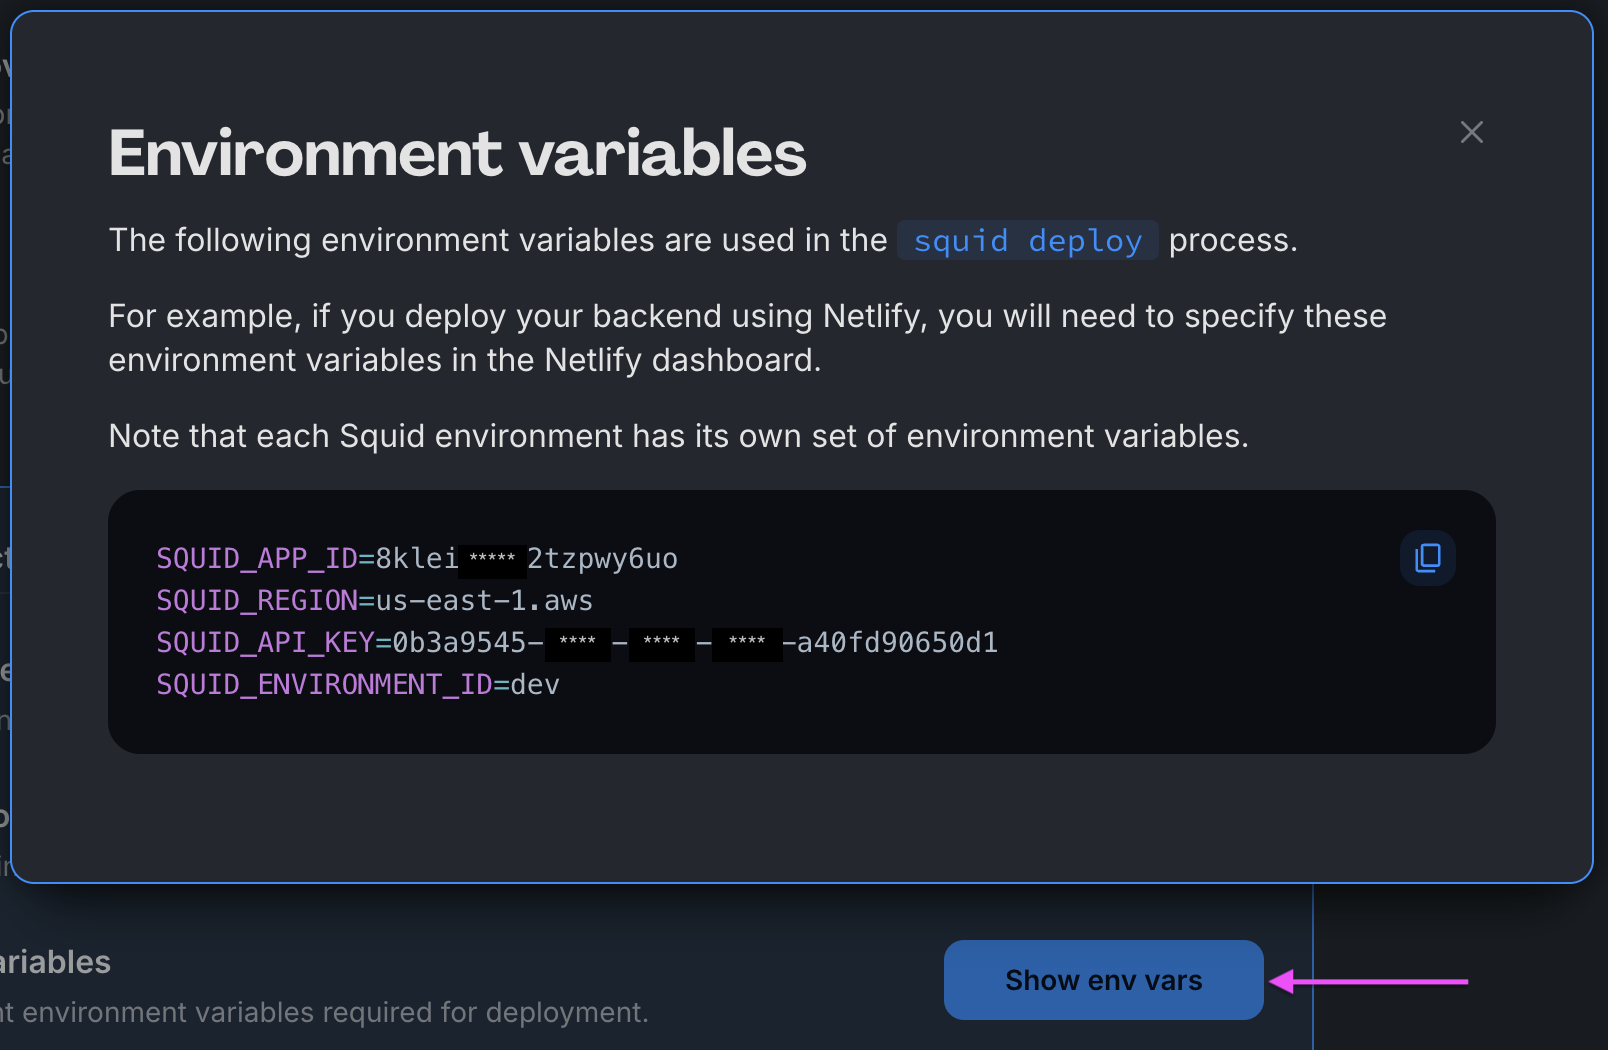
Download the ai-for-data code sample using the following command. Replace the placeholders with the values from your Squid application as shown in the console.
npx @squidcloud/cli init-sample ai-for-data --template ai-for-data --appId YOUR_SQUID_APP_ID --apiKey YOUR_SQUID_API_KEY --environmentId dev --squidDeveloperId YOUR_SQUID_DEVELOPER_ID --region YOUR_REGION
You can find your environment variables under: 'Application' -> 'Show env vars' as seen below:
- Open the project in the IDE of your choice.
- Start the app locally by running the following command in the project folder:
npm run start
- To view the app, navigate to localhost:PORT, where PORT is logged in the terminal. The address will likely be
http://localhost:5173.
View the app's functionality
-
Click the Add mock data button to add randomly-generated data to the database. The data is syncing to the client in real time, so you can observe that it has been added.
-
In the Squid Console, click the Connectors tab for your app.
-
Click the
...in the built_in_db connector, and select Schema from the dropdown. -
Next, add descriptions for the collections and fields of the schema. This allows Squid AI to better understand your data and provide more accurate answers to your questions.
Click the pencil button on the
health_datacollection. Add the following to the collection description:
Each document contains patient information regarding their age, patient ID, and their medical diagnosis.
- Click the
...button on theagefield and select Edit field from the dropdown menu. Add the following description, and then click Update.
The age of the patient
- Click the
...button on thediagnosisfield and selecting Edit field from the dropdown menu. Add the following description, and then click Update.
The patient's medical diagnosis
- Click the
...button on thepatentIdfield and selecting Edit field from the dropdown menu. Add the following description, and then click Update.
The patient's ID
-
Click Save schema. This provides a schema and descriptions to Squid AI so it knows how to form queries for your data.
-
In the sample app, ask the chatbot questions about the data. Squid AI will automatically generate database queries based on your prompts. Here are some suggestions:
- How many people were diagnosed with the flu?
- What is the most common diagnosis among people over 50 years old?
- What is the average age of patients diagnosed with asthma?
Code breakdown
Execute the AI query in the backend
In the Squid backend, the data-ai-service.ts file has a class with the @executable decorator. A Squid executable provides the client with a function that runs on the server.
Executables can be accessed directly from the client and have unlimited permissions to access backend resources and secrets. This means that you need to take extra care to make sure that only authorized users are able to execute them.
The executeAiQuery method takes the connector ID of the database and the question as parameters, and returns a promise that resolves to Squid AI's response. Learn more in the AI queries documentation.
export class SquidAiDataService extends SquidService {
  @executable()
  async askQuestion(question: string): Promise<AiResponse> {
    const aiResponse = await this.squid.ai().executeAiQuery('built_in_db', question);
    return {
      author: 'ai',
      answer: aiResponse.answer,
      executedQuery: aiResponse.executedQuery,
      explanation: aiResponse.explanation,
    };
  }
}
Ask the question in the client
On the frontend, the client passes their question to the backend using the executeFunction method, passing the name of the executable function and the parameters for that function.
squid.executeFunction('askQuestion', question).then((response) => {
    // Handle the response
}
And that's it!
Congratulations! You have successfully built and run a web app that uses a chatbot run on Squid AI to answer questions about data. Here are some things to try next:
- Use Squid with your favorite database. View available database connectors.
- Find out what else you can do with Squid AI!
- Create and secure an AI agent in this tutorial.
Additional notes
Squid environments
- Squid provides two different target environments:
devfor development andprodfor production. For this tutorial, we use thedevenvironment. To learn more, read about Squid's environments. - Your Squid developer ID is only used when running the project locally.
Squid functionality
- When using the Squid built-in database, your Squid backend is fully functional without additional customization. You can also add features to the Squid backend like Schedulers, Triggers in response to database events, native queries for executing raw SQL or database-specific queries, and more. See the Backend SDK docs to check out all the options.
- Since the built-in database is document-based, the notes collection represents a collection of documents. When using a SQL database, the collection represents a table where documents are rows of the table.