Stripe と Squid の Webhook
Squid の @webhook デコレーターを使って Stripe のイベントに応答する
Webhook は、イベントが発生したときにアプリやサービスから送信される HTTP リクエストです。リクエストのペイロードにはイベントに関する有用な情報が含まれており、これを使って自分のコード内でアクションを実行できます。通常、プロダクトのダッシュボードを通じて、サービスに HTTP エンドポイントを提供します。各プロダクトには Webhook を持てる独自のイベントがありますが、一般的なシナリオの例を以下に示します。
- 新規ユーザーの作成
- ユーザープロフィールの更新
- データベースまたはストレージの変更
- Analytics イベント
このチュートリアルでは、Stripe の customer の invoice ステータスが 'paid' に変わったときに実行される webhook を作成します。
作成するもの
- Stripe webhook に応答して、ビルトインデータベースにデータを追加する Squid backend。
学ぶこと
- Stripe イベントにフックする Squid Service の作成方法
- データベースにセキュリティを追加する Squid Service の作成方法
必要なもの
- Squid CLI
- Squid アカウント
- Stripe アカウント
- Stripe CLI
- 任意: Auth0 アカウント(React を使用する single-page application を設定済み)
環境セットアップ
- 以下のコマンドで Squid CLI をインストールします。
npm install -g @squidcloud/cli
- notes-app のコードサンプルをダウンロードします。
squid init-sample stripe-webhooks --template stripe-webhooks
- 任意の IDE でプロジェクトを開きます。
starter プロジェクトには frontend と backend の 2 つのフォルダーがあることに注意してください。今回書くコードは backend のみなので、現時点では frontend に変更は不要です。チュートリアルの最後で、ドキュメント更新をリアルタイムで確認できるように frontend を設定するオプションがあります。
Squid backend をセットアップする
There are two subfolders that make up the stripe-webhooks project: frontend and backend. The backend folder contains the Squid backend for the app.
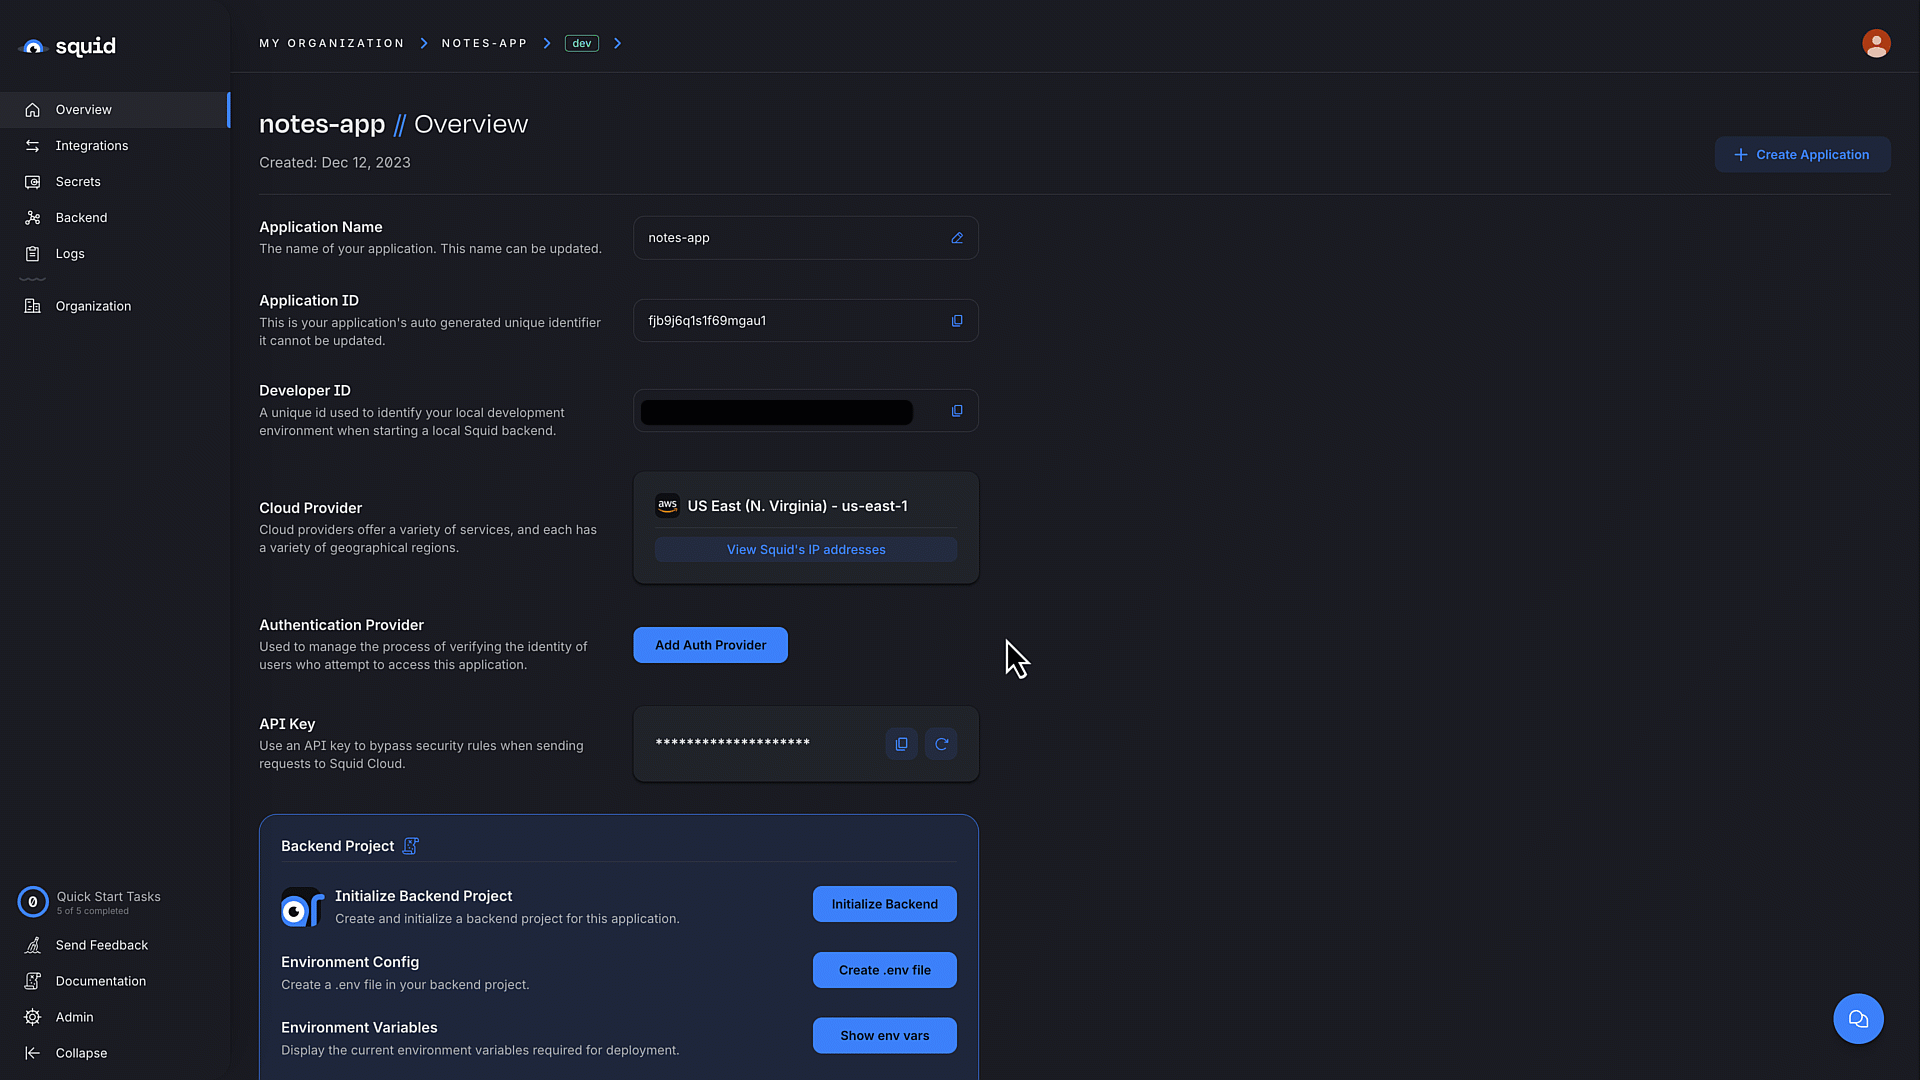
Navigate to the Squid Console and create a new application named
stripe-webhooks.
- In the Squid Console, navigate to the application overview page and scroll to the Backend project section. Click Create .env file and copy the command.
- In the terminal, change to the backend directory:
cd backend
- Create the
.envfile using the command you copied from the console. The command has the following format:
squid init-env --appId YOUR_APP_ID --apiKey YOUR_API_KEY --environmentId dev --squidDeveloperId YOUR_SQUID_DEVELOPER_KEY --region us-east-1.aws
- Install the required dependencies:
npm install
The backend is now set up and ready to use with a frontend!
webhook service を作成する
このセクションで作成する webhook Squid Service は、新しい invoice をそのステータス付きで追加するか、既存の invoice をステータス 'paid' で更新するように設計されています。各フィールドの key は Stripe の invoice ID、value は 'paid' または 'unpaid' です。
ドキュメント ID はユーザーの認証 ID です。セキュリティルールは、ユーザーが自分の invoice のみを閲覧できるように設定されています。イメージしやすいように、構造は次のようになります。
userPayments:
  squidUserId123: {
    kaglautA235980A: 'paid'
    Edg26GH697dk104: 'unpaid'
    ...
  squidUserId456: {
    SFHGhg995gja0435: 'unpaid'
    ...
backend/src/service/に移動し、stripe-webhook-service.tsファイルを開きます。StripeWebhookServiceクラスに、以下の関数を追加します。
async addInvoiceToDatabase(stripeUserId: string, invoiceId: string, paid: boolean): Promise<string | any> {
    const paidStatus = paid ? 'paid' : 'unpaid';

    try {
      // Find user in database
      const userDocs = await this.squid.collection('userPayments').query().eq('stripeUserId', stripeUserId).snapshot();

      if (userDocs.length === 0) {
        console.log('new user found, adding to database');
        const newInvoices = { [invoiceId]: paidStatus };
        await this.squid
          .collection('userPayments')
          .doc('squidUserId123')
          .insert({ stripeUserId: stripeUserId, invoices: newInvoices });
        return 'new user, database update complete';
      }

      const newInvoices = { ...userDocs[0].data.invoices, [invoiceId]: paidStatus };
      await userDocs[0].update({ invoices: newInvoices });
      return 'database update complete';
    } catch (error) {
      console.error(error);
      return error.message;
    }
}
このヘルパー関数は 3 つのパラメーター(Stripe customer ID、Stripe invoice ID、invoice の 'paid' ステータス)を受け取ります。userPayments というコレクションをクエリして、指定された Stripe customer ID を持つユーザーに属するドキュメントを見つけ、その invoices を更新して新しい invoice を含めます。
ドキュメントが見つからない場合は、key が squidUserId123 の新しいドキュメントを追加します。これはデモ用で、各 Stripe customer には対応する Squid user ID が存在し、その user ID を key に持つドキュメントがあるはずだからです。実際のアプリでは、このシナリオは別の場所(データベース内)にログを残すエラーとして扱うことになるでしょう。
addInvoiceToDatabase関数の後に、以下のコードを追加します。
@webhook('handleStripePayment')
  async handleStripePayment(request: WebhookRequest): Promise<WebhookResponse | any> {
    const stripeUserId = request.body.data.object.customer;
    const invoiceId = request.body.data.object.id;
    const response = await this.addInvoiceToDatabase(stripeUserId, invoiceId, true);
    return this.createWebhookResponse(response);
  }
この関数は @webhook デコレーターを使用し、Squid webhook としてマークします。文字列 handleStripePayment はエンドポイント URL に使われるため、エンドポイントの目的が明確になる値を選ぶとよいでしょう。
customer と id プロパティは、Stripe から送信されるリクエスト body 内で利用できます。利用可能なプロパティの詳細は、Stripe の webhooks ドキュメント を参照してください。
これらの属性は addInvoiceToDatabase 関数に渡されます。その後、Squid の createWebhookResponse 関数を使って Stripe にレスポンスが送信されます。
backendフォルダーで、以下のコマンドを使って Squid backend をローカルで実行します。
squid start
ターミナルログには webhook 用の URL が含まれます。ログは次のようになります。
| Available webhooks:
| Webhook URL for handleStripePayment: https://YOUR_APP_ID-dev-YOUR_SQUID_DEVELOPER_ID.us-east-1.aws.squid.cloud/webhooks/SQUID_WEBHOOK_NAME
この URL は次のセクションで必要になるため、控えておいてください。
Stripe customer を追加する
このセクションでは、Stripe アカウント が必要です。
- テストモードで、Stripe ダッシュボードの Customers セクション に移動します。
- Add customer をクリックします。customer の名前を John Doe など任意の名前にします。
- Add customer をクリックして、新しい customer を保存します。
Stripe に webhook を追加する
- Stripe ダッシュボードで Developers をクリックします。
- Developers ページで Wehooks タブをクリックします。
- Add endpoint をクリックします。
- ターミナルログに表示されたエンドポイント URL を貼り付けます。念のため、Endpoint URL は次の形式になります。
https://YOUR_APP_ID-dev-YOUR_SQUID_DEVELOPER_ID.us-east-1.aws.squid.cloud/webhooks/handleStripePayment
ここで使用している URL 形式は dev 環境用です。prod 環境のエンドポイント形式は https://YOUR_APP_IDYOUR_SQUID_DEVELOPER_ID.APP_REGION.squid.cloud/webhooks/SQUID_WEBHOOK_NAME です。
-
Select events をクリックし、invoice.paid を選択します。検索バーを使うと便利です。
-
Add endpoint をクリックします。
webhook をテストする
-
新しいターミナルウィンドウを開きます。これでターミナルウィンドウが 2 つ開いている状態になります。まだの場合は、Stripe CLI をインストールしてください。
-
Stripe customer ID を保存するための環境変数を追加します。Stripe customer ID は、Stripe の Customers ダッシュボードで追加した customer の details セクションにあります。
export customer=YOUR_STRIPE_CUSTOMER_ID
- 次の Stripe コマンドを使用して、customer の新しい paid invoice を作成します。
stripe trigger invoice.paid --override invoiceitem:customer=$customer --override invoice:customer=$customer --override payment_method:customer=$customer
このチュートリアルの目的上、これらのフラグの意味を深く気にする必要はありません。Stripe CLI の詳細を知りたい場合は、Stripe の reference docs を参照してください。
このコマンドは設定した一時的な環境変数を使用します。別のターミナルウィンドウでこのコマンドを実行する場合は、customer 変数を再度追加する必要があります。
-
Stripe ダッシュボードで、webhooks タブから自分の endpoint を選択します。発生したイベント、Squid のレスポンス、リクエスト body を確認できます。
-
Stripe ダッシュボードで Customers タブを選択し、customer プロフィールの Invoices セクションまでスクロールします。paid invoice が追加されていることが分かります。
また、customer のリストに名前のない新しい cusotmer も追加されています。Stripe CLI で invoice.paid イベントをテストすると、新しい user が作成されます。これは live events では発生しません。
できました!
おめでとうございます!Stripe でトリガーされたイベントに応答する Squid Service webhook を作成しました。目的を達成したのでここで終えても構いませんが、希望する場合はさらに追加できます。
ボーナスセクション: frontend app を追加する
backend 側で更新されたドキュメントデータを見るには、クエリを追加してドキュメントを取得し、その結果をログに出力することもできます。しかし、アプリでデータを使う方法により近づけるには、frontend で更新を表示するのがベストです。
次のボーナス手順では、Stripe イベントに応答してデータベースがリアルタイムに更新される様子を確認できる frontend を設定します。
Auth0 アカウント(React を使用する single-page application を設定済み)が必要です。
Auth0 integration を追加する
- まだ Auth0 app を作成していない場合は、Auth0 アカウント を作成し、React を使用する single-page application を設定 してください。
callback と logout URL を追加する際は
http://localhost:5173を使用します。 dev環境の Squid Console で Integrations タブを選択します。- Available integrations タブをクリックして、すべての integrations を表示します。
- Auth0 integration までスクロールし、Add integration をクリックします。
- Integration ID に auth0 を入力します。
- Auth0 app の client ID と domain を入力します。これらは Auth0 console で確認できます。
- Add integration をクリックします。
frontend に Squid を追加する
The following steps add configuration parameters to connect the application to Squid.
- Open a new terminal window and navigate to the project's frontend. You should now have two open terminal windows: one for the app's backend and one for the frontend.
cd frontend
- Install the required dependencies:
npm install
- Run the following command to create a
.env.localfile with the Squid environment configuration needed to initialize Squid:
npm run setup-env
frontend/src/main.tsxに移動します。Auth0Providerコンポーネントがあり、設定が必要なことに注意してください。
ReactDOM.createRoot(document.getElementById('root') as HTMLElement).render(
  <Auth0Provider
    domain="AUTH0_DOMAIN"
    clientId="AUTH0_CLIENT_ID"
    authorizationParams={{
      redirect_uri: window.location.origin,
      audience: 'auth0-api-id',
    }}
  >
    <SquidContextProvider
      options={{
        appId: import.meta.env.VITE_SQUID_APP_ID,
        region: import.meta.env.VITE_SQUID_REGION,
        environmentId: import.meta.env.VITE_SQUID_ENVIRONMENT_ID,
        squidDeveloperId: import.meta.env.VITE_SQUID_DEVELOPER_ID,
      }}
    >
      <App />
    </SquidContextProvider>
  </Auth0Provider>
);
-
Auth0Providerコンポーネントのプレースホルダーを、Auth0 application の domain と client ID に置き換えます。 -
frontend/src/App.tsxファイルを開きます。stripeUserId変数内のプレースホルダーを、作成した customer の Stripe Customer ID に置き換えます。この ID は Stripe ダッシュボードで確認できます。
...
function App() {
  const stripeUserId = '[YOUR_STRIPE_CUSTOMER_ID]'
...
frontendフォルダーで、以下のコマンドを実行します。
npm run dev
-
frontend app を表示するには、ターミナルにログ出力される PORT を使って localhost:PORT に移動します。アドレスはおそらく
http://localhost:5173です。 -
Log in ボタンでログインします。
-
Add mock data をクリックして、架空の invoices を生成します。
-
Stripe コマンド用のターミナルウィンドウで、customer に対して別の paid invoice を作成します。可能であれば、別画面でコマンドを実行するか、web app も見えるようにターミナルを縮小してください。
stripe trigger invoice.paid --override invoiceitem:customer=$customer --override invoice:customer=$customer --override payment_method:customer=$customer
- web app 上で新しい paid invoice が追加されていることを確認します。Awesome sauce!
おめでとうございます! 🦑
お疲れさまでした!Stripe のイベントに応答する webhook を作成しただけでなく、変更をリアルタイムに確認できる frontend も設定しました。
次のステップ
Squid にエンドポイントを作成したので、次のようなことを試してみてください。
- Squid にさらにエンドポイントを追加し、他の Stripe イベントに接続する。
- Squid のエンドポイントを、webhooks を使う他のプロダクトに接続する。
- Squid Backend SDK で利用できる他の機能について学ぶために、ドキュメント を確認する。