Database
Squid offers the capability to seamlessly integrate with multiple databases to allow easy access to your data. Each database can be configured with different authorization and access controls to ensure that only the data that you want to expose can be accessed by your users.
Squid's database connectors are incredible for their power and simplicity. Once you add a database connectors, you can access and interact with your data using a streamlined SDK.
Squid provides many database features, including endlessly customizable security functions, Query with AI for asking ad-hoc questions about your data in natural language, and fine-grained data querying that can even join results from separate database connectors.
Connecting to a database
- Navigate to the Connectors tab of the Squid Console.
- Click on "Available Connectors" and select the database type.
- Enter the necessary connection details and test the connection.
- Click "Next" and verify that the displayed schema is accurate. If necessary, remove any tables that are not intended for use with Squid (these can always be added back later).
- Click "Save" to finalize the connectors.
Squid's IP address
To prevent denial-of-service attacks, brute force password attacks, and other forms of malicious activity, some providers recommend restricting your network to allow access only from specific IP addresses. This procedure is commonly known as allowlisting, and it limits access to your resources by only accepting connections from a specific list of endpoints.
Refer to your resource provider to determine if you need to add Squid's IP addresses to your access list. If allowlisting is required, you can find Squid's IP addresses on the application overview page of the Squid Console (located in the Cloud Provider section).
Query with AI
Query with AI lets you ask questions about your data in natural language. Squid AI will return answers in natural language format along with the database queries and steps taken to get the answer. It allows you to explore your data or ask ad-hoc questions without writing SQL or NoSQL queries. Query with AI is found in the Schema tab of your database connector, or within Squid's AI Agent Studio.
Learn more about what you can do with Query with AI by reading the documentation.
Using a connected database
To access data from the client, use your connector ID, which is the value you provided when creating the connector. You can view the connector ID on the connectors page of the Squid Console.
await squid
  .collection('COLLECTION_NAME', 'YOUR_CONNECTOR_ID')
  .query()
  .eq('field', 'value')
  .snapshots()
  .subscribe((data) => {
    // Do something with your data
  });
To learn more about how to interact with a database connector in a fullstack application, read the documentation.
Securing your database
To secure your database connector, write one or more functions that use a database security decorator, @secureDatabase or @secureCollection. Here is a more complex example of a security rule you can add to your backend project to make sure users cannot change the userId field in a document:
export class ExampleService extends SquidService {
  @secureCollection('table_name', 'update', 'CONNECTOR_ID')
  secureUpdate(context: MutationContext): boolean {
    // If the user is not authenticated, the update is not allowed.
    const auth = this.getUserAuth();
    if (!auth) return false;

    // If the userId has changed, the update is not allowed.
    const { after, before } = context.beforeAndAfterDocs;
    if (after.userId !== before.userId) return false;

    // The update is only allowed if the user making the request
    // matches the user being updated.
    return after.userId !== auth.userId;
  }
}
To learn more about securing your database connectors, view the documentation on securing data.
Database schema
Upon connecting your database to Squid, a schema is automatically generated based on the existing schema of data in your database. To view your schema, navigate to your database connector in the Squid Console, click the ... button, and select Schema from the dropdown menu.
Use this interface to verify schema structures, make schema changes, and manage validation of rules, ensuring data correctness.
Understanding collections and fields
Collections are the main organizational units in your database, with their underlying structure varying based on the database connector type. In SQL databases, a collection represents a table, while in NoSQL databases a collection represents a collection of documents.
Collections are identified by a unique name within a connector. They comprise one or more documents, with a document representing a row in SQL databases and representing a document in NoSQL databases. A document contains one or more fields that denote different data elements. Each field within a collection is characterized by a specific set of attributes, facilitating streamlined data management and connector.
Here's a closer look at the general structure and attributes of collections and fields:
Collections:
Name: A unique identifier within an connector that helps in grouping and referencing a set of related rows or documents.
Documents:
ID: A unique identifier within a collection. IDs can be random, but can also be a user ID or other significant data point.
Fields:
Name: The name of the field. The name should match the document field name when inserting/updating/querying.Type: Specifies the data category a field belongs to, encompassing types like string, number, boolean, date, map, and array. The chosen type may dictate additional validation rules:String: Allows the setting of minimum and maximum lengths.Number: Allows the setting of minimum and maximum values.
Primary Key: Indicates if the field serves as a unique identifier within the collection, aiding in distinguishing records.Required: Marks whether the data entry in the field is mandatory.Default Value: Assigns a preset value to the field.
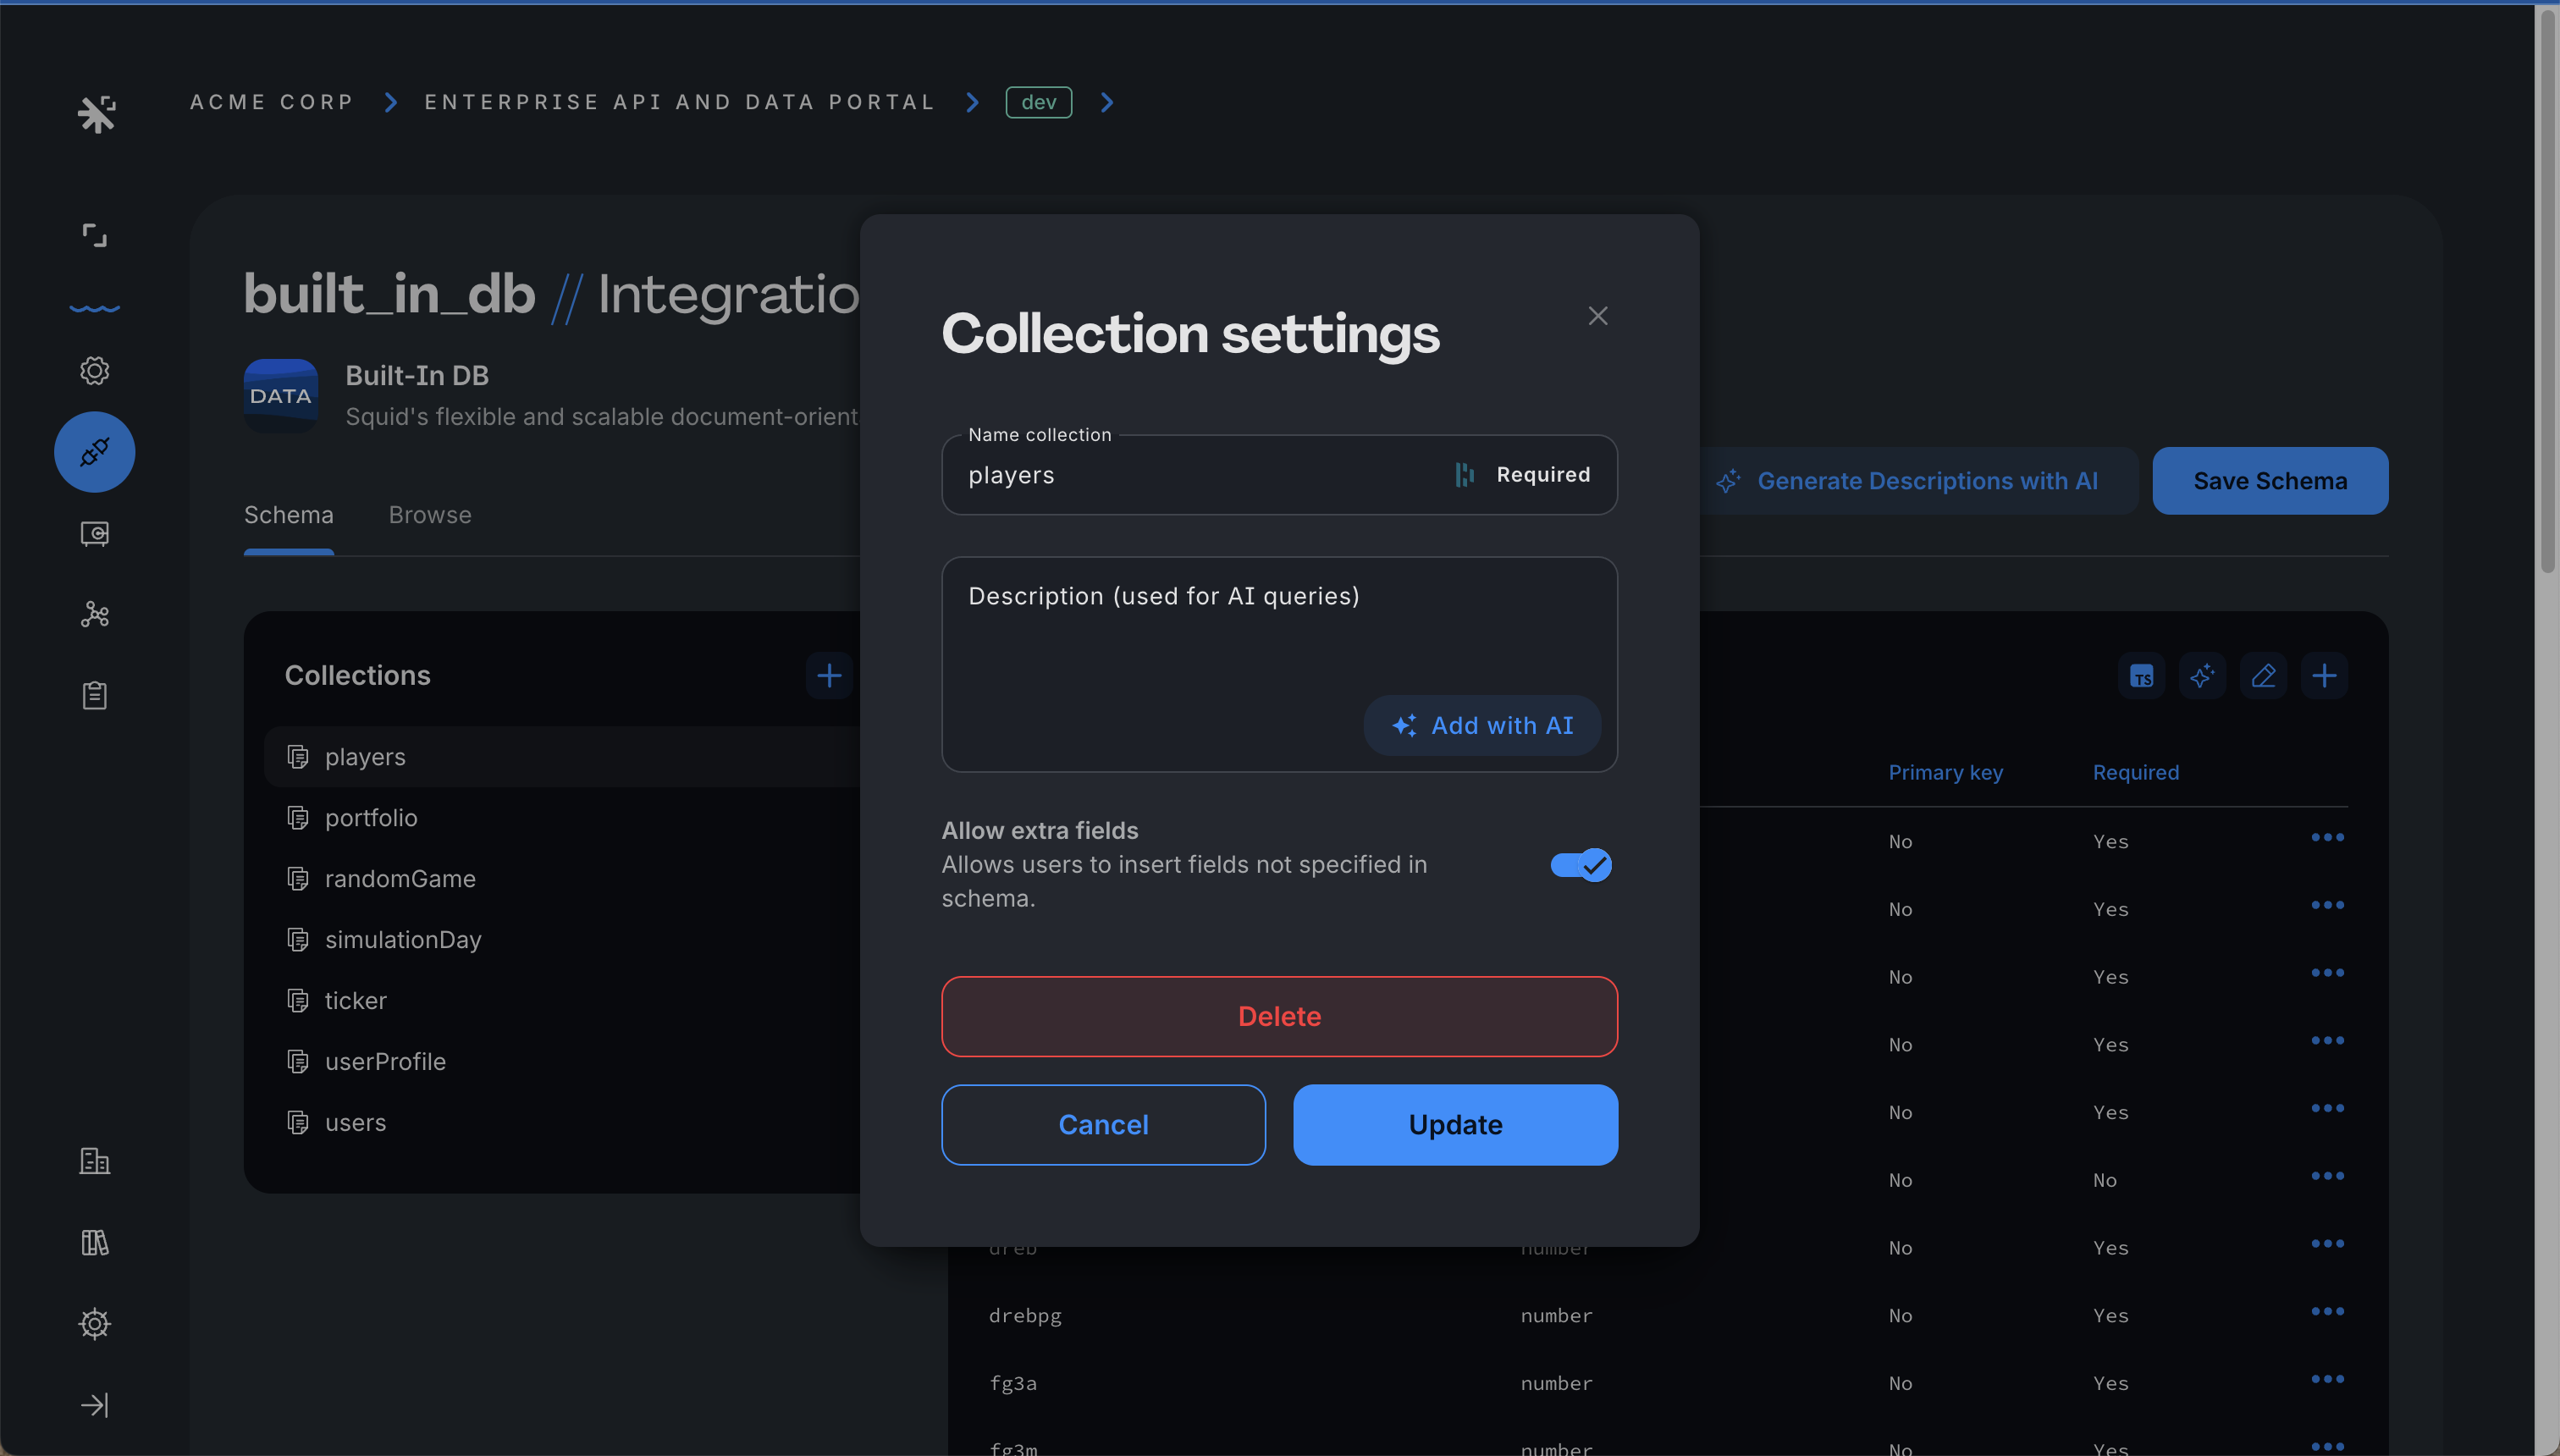
Allowing extra fields
Some database connectors – often those with a NoSQL data structure – support dynamic schemas. A dynamic schema changes as you add data, so you don't have to define a schema in advance. When data is inserted, updated, or removed, the database builds a schema automatically. Refer to your database connector's documentation to see if dynamic schema is supported.
For connectors that support a dynamic schema, extra fields are allowed by default. To prevent schema changes on a collection, navigate to the Schema, select the desired collection, and then toggle off Allow extra fields. Once disabled, document insertions or updates with extra fields are rejected.
When a previously unknown field becomes part of the known schema after clicking Rediscover schema, the new field is accepted seamlessly, even if Allow extra fields is disabled.