Keycloak
Connect your Keycloak server to Squid to authorize user actions like querying and updating data, calling executables, and more.
Keycloak is an open-source identity and access management solution that provides single sign-on, user federation, and fine-grained authorization.
To use the Keycloak connector with Squid, first connect your Keycloak server to Squid using the following steps:
- Navigate to the Squid Console. Choose your app and environment (dev or prod), and then click the Integrations tab.
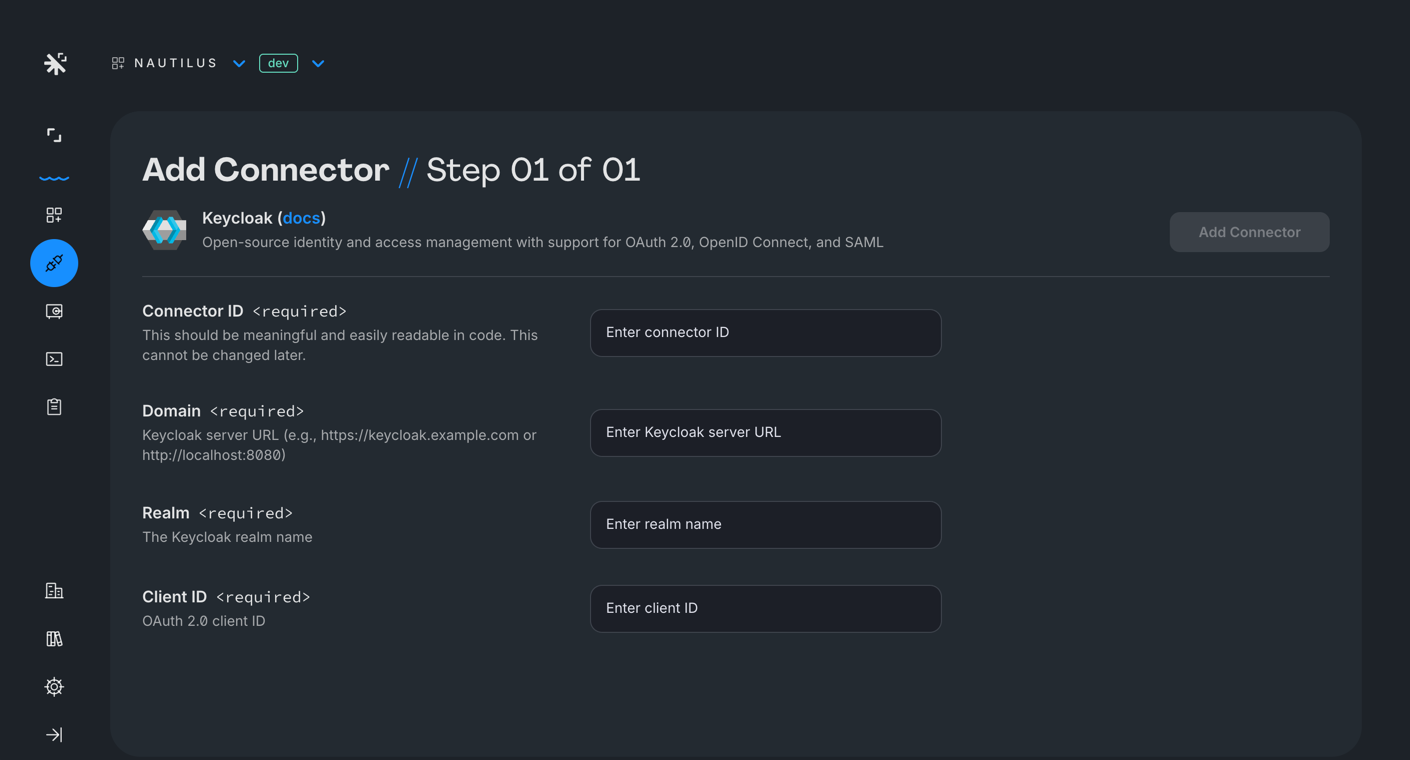
- Provide the following details:
- Integration ID - Choose an ID that is brief and helps identify the integration.
- Domain - Your Keycloak server URL (e.g.,
https://keycloak.example.com). - Realm - The name of your Keycloak realm.
- Client ID - Your OAuth 2.0 client ID configured in the Keycloak realm.
- Click Add integration.
Using the connector
Once you've created a connector, you can use the Squid Client SDK to pass the Keycloak token to Squid:
Client code
import Keycloak from 'keycloak-js';

const keycloak = new Keycloak({
  url: 'https://keycloak.example.com',
  realm: 'your-realm',
  clientId: 'your-client-id',
});

// Initialize Keycloak before setting the auth provider
await keycloak.init({ onLoad: 'login-required' });

squid.setAuthProvider({
  integrationId: 'KEYCLOAK_INTEGRATION_ID',
  getToken: () => keycloak.token,
});
Once the token is passed to the client, Squid will automatically populate the user's authentication information for use in your backend functions:
Backend code
@secureCollection('users', 'read')
secureUsersRead(context: QueryContext<User>): boolean {
  const userAuth = this.getUserAuth();
}