Connect an AI agent to a database
Connect APIs to Squid to build an agent that writes to the database to create a packing list
What you'll build
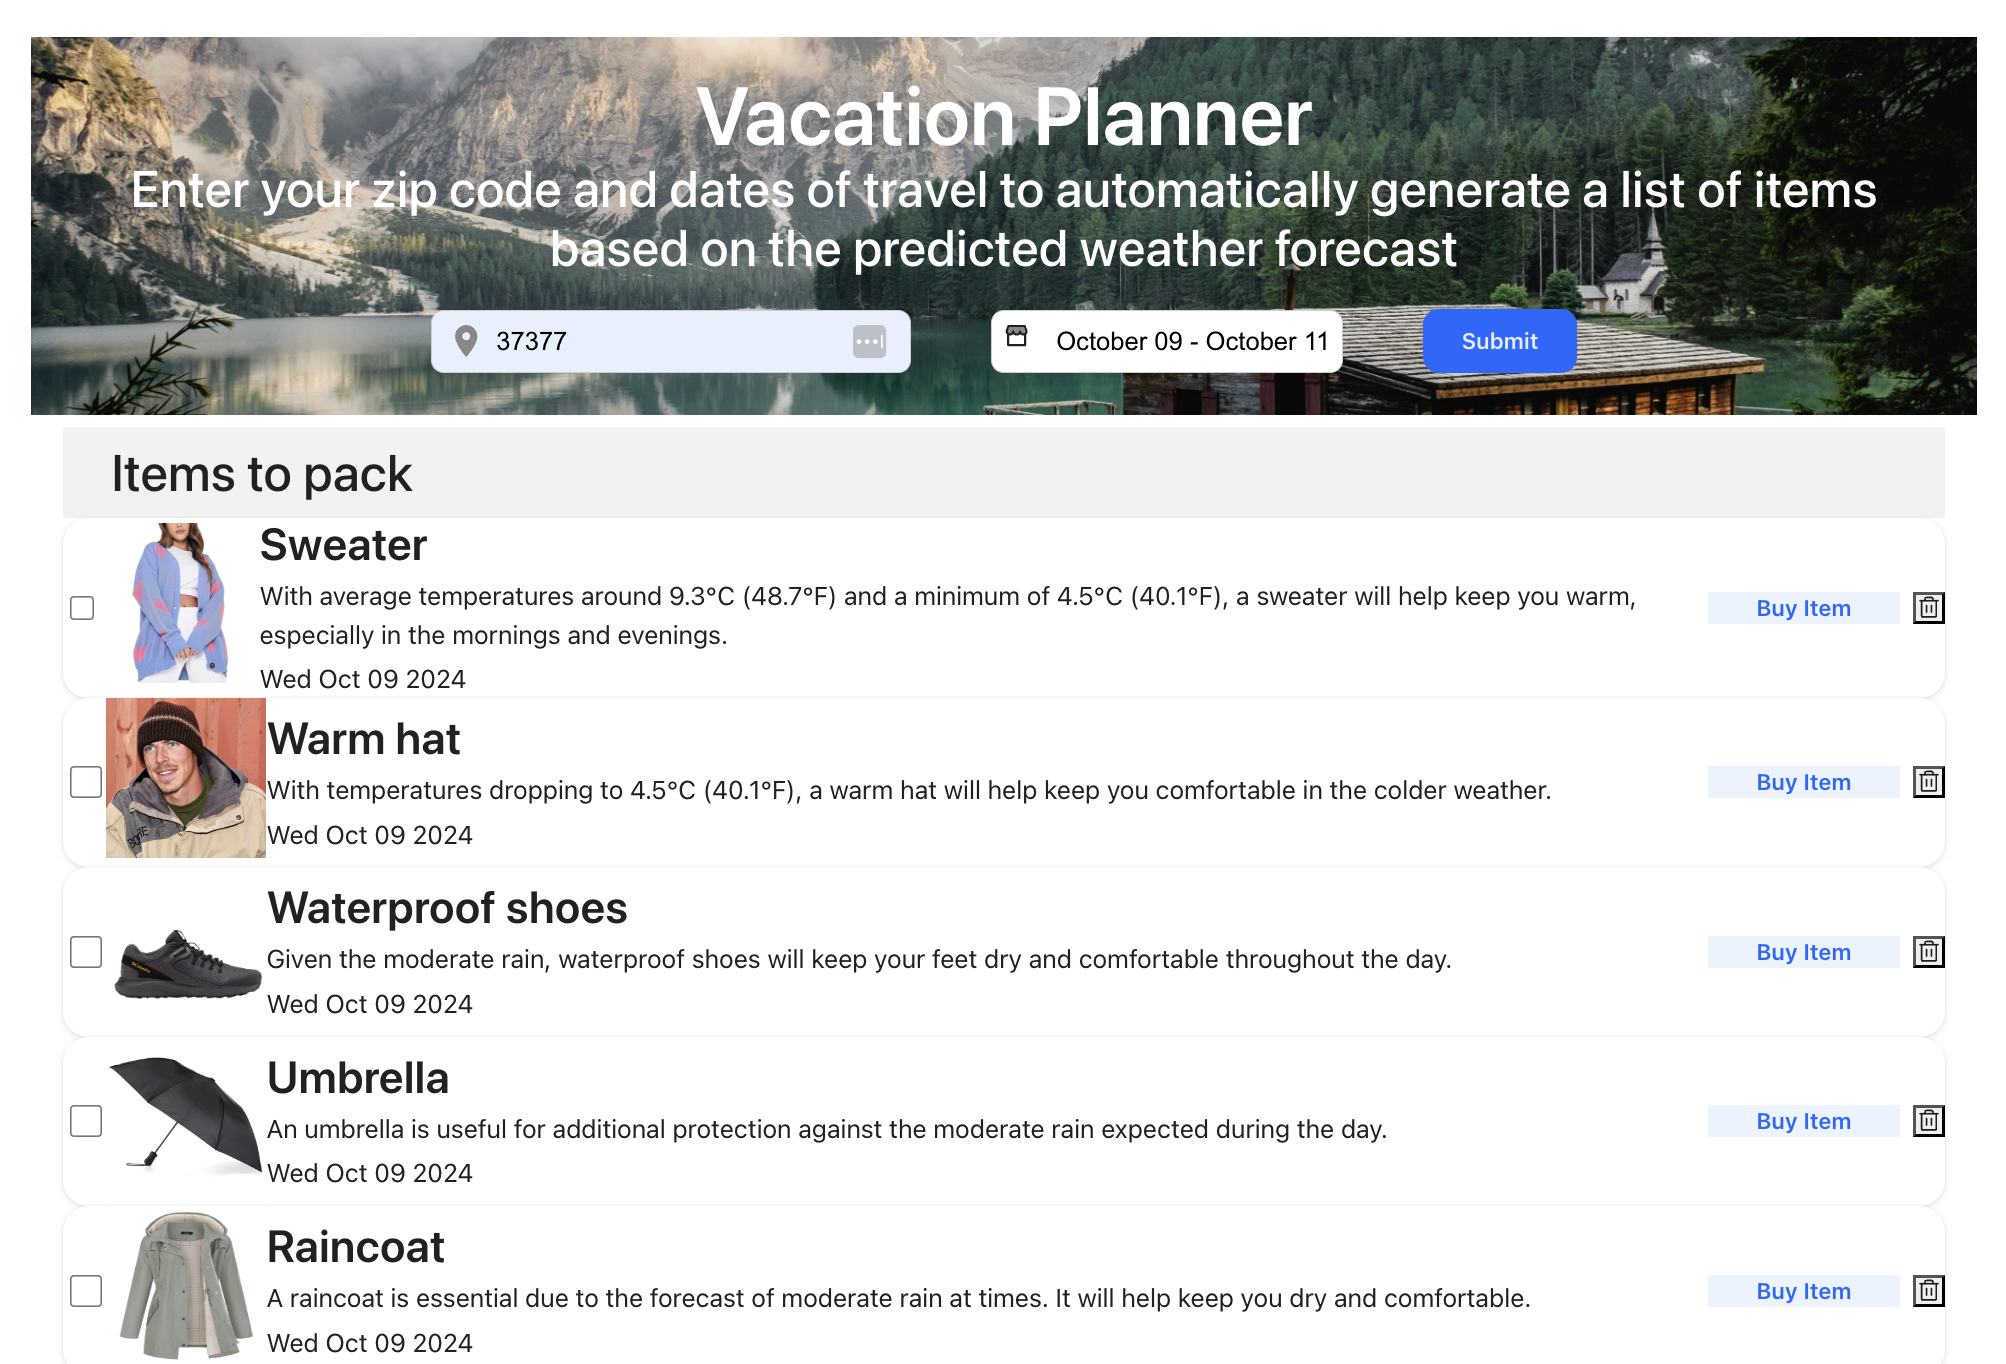
- An app that creates a list of items to pack for a vacation based on the zip code and travel dates you provide.
- The app checks the predicted weather using an external API, creates a list of items to pack based on the weather, and writes these items to your database.
This application integrates with WeatherAPI.com to get the forecast for a given location and date, and then passes the information to a Squid AI Assistant that uses an AI function to write suggested packing items to Squid's built-in database, and even provides links to suggested items to purchase from Google Shopping using a Real-time Product Search API, showcasing how simple it is to integrate multiple services with AI functionality using Squid.
What you'll learn
- How to create an AI agent using Squid AI.
- How to add functions to an agent.
You'll need some experience with TypeScript. Experience with React is useful, but not required.
Environment setup
- In the Squid Console, switch to the
devenvironment.
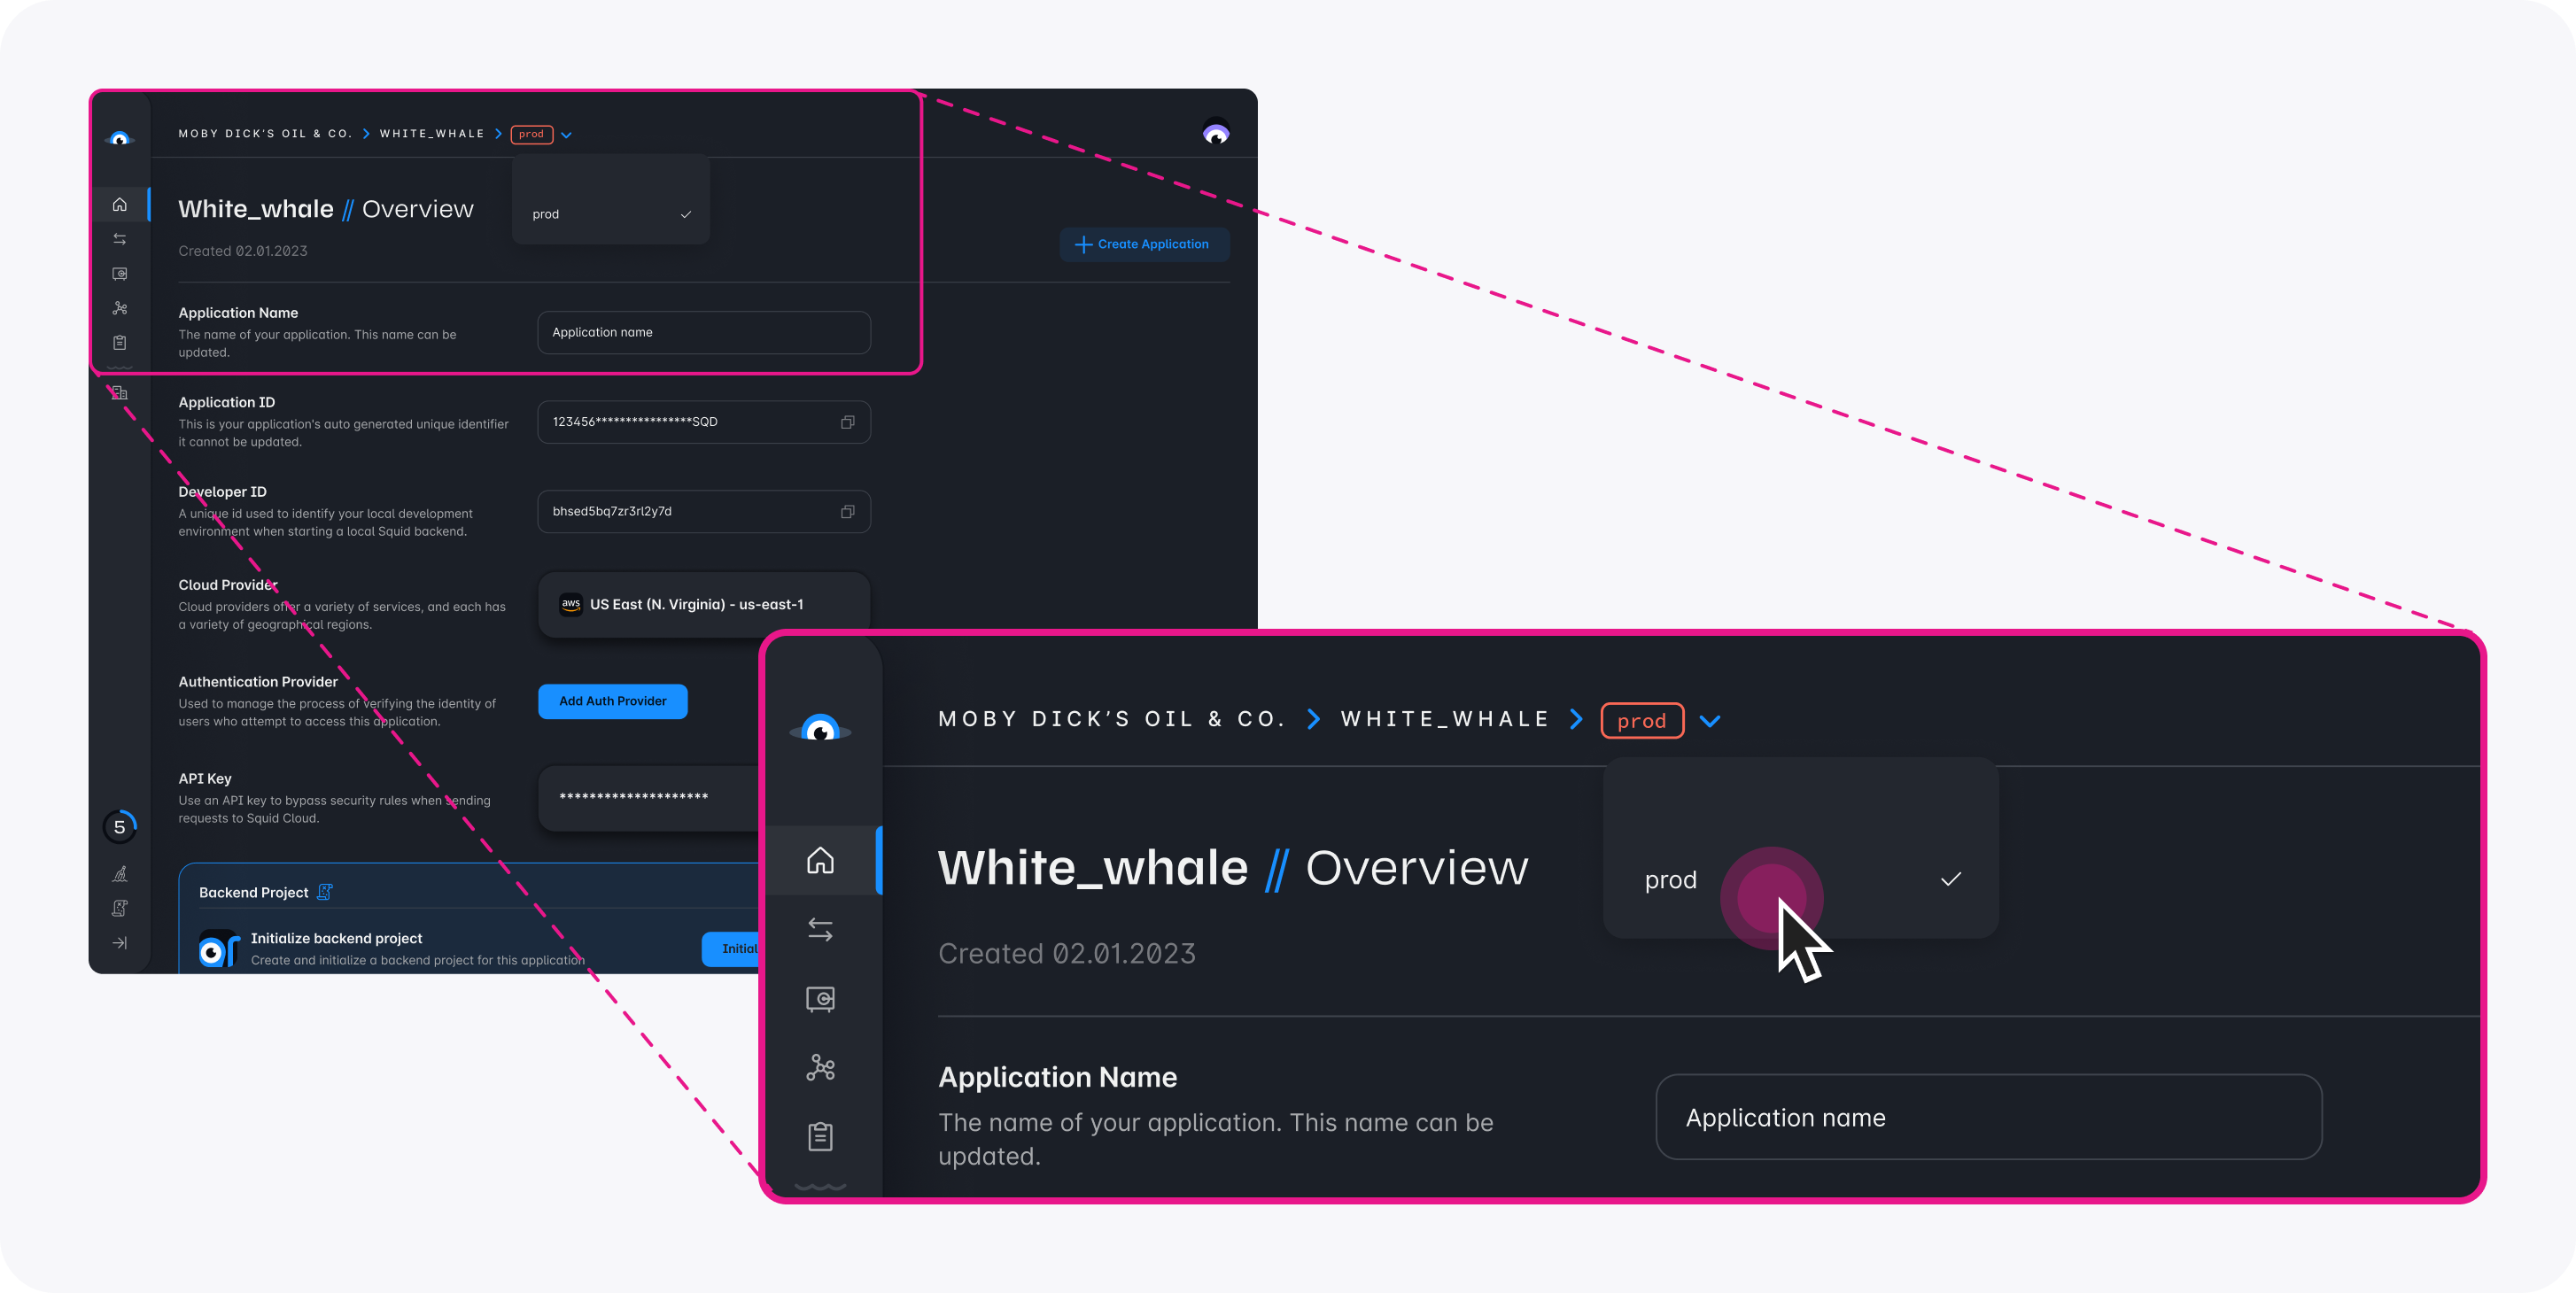
- Download the squid-ai-vacation code sample using the following command. Replace the placeholders with the values from your Squid application as shown in the console.
npx @squidcloud/cli init-sample squid-ai-vacation --template squid-ai-vacation --appId YOUR_SQUID_APP_ID --apiKey YOUR_SQUID_API_KEY --environmentId dev --squidDeveloperId YOUR_SQUID_DEVELOPER_ID --region YOUR_REGION
- Open the project in the IDE of your choice.
- Start the app locally by runnning the following command in the project folder:
npm run start
- To view the app, navigate to localhost:PORT where PORT is logged in the terminal. The address will likely be
http://localhost:5173.
Create a WeatherAPI.com account
To get weather forecasts, this application uses an API available from WeatherAPI.com. The API offers a free trial so you can use it in this sample at no charge.
Sign up for WeatherAPI.com's free trial.
In the WeatherAPI.com dashboard, you can find your WeatherAPI.com API key. Take note of this key because you will need it for the API integration.
Integrating with WeatherAPI.com
To integrate an API with Squid, you will most often add an HTTP API integration in the Squid Console, but it is not required for this tutorial. To learn more, check out the documentation on HTTP API integrations.
- For this application, you can generate the API integration using cURL commands. In a terminal window, run the following command, changing the placeholders for
YOUR_SQUID_APP_IDandYOUR_SQUID_API_KEYto the values from your Squid app. You can find the correct values in the Squid Console or in your.envfile.
curl -X PUT https://console.us-east-1.aws.squid.cloud/openapi/iac/applications/YOUR_SQUID_APP_ID-dev/integrations/weather -H "x-app-api-key: YOUR_SQUID_API_KEY" -H "Content-Type: application/json" -d '{
  "id": "weather",
  "configuration": {
    "discoveryOptions": {}
  },
  "type": "api"
}'
- Run the following cURL command to populate the API schema, changing the placeholders for
YOUR_SQUID_APP_IDandYOUR_SQUID_API_KEYto the values from your Squid app.
curl -X PUT https://console.us-east-1.aws.squid.cloud/openapi/iac/applications/YOUR_SQUID_APP_ID-dev/integrations/weather/schema -H "x-app-api-key: YOUR_SQUID_API_KEY" -H "Content-Type: application/json" -d '{
  "type": "api",
  "baseUrl": "https://api.weatherapi.com/v1",
  "endpoints": {
    "realtime-weather": {
      "relativePath": "/current.json",
      "method": "get",
      "requestSchema": {
        "q": {
          "location": "query",
          "description": null
        },
        "lang": {
          "location": "query",
          "description": null
        }
      },
      "responseSchema": {},
      "injectionSchema": null,
      "tags": null
    },
    "forecast-weather": {
      "relativePath": "/forecast.json",
      "method": "get",
      "requestSchema": {
        "q": {
          "location": "query",
          "description": null
        },
        "days": {
          "location": "query",
          "description": null
        },
        "dt": {
          "location": "query",
          "description": null
        },
        "unixdt": {
          "location": "query",
          "description": null
        },
        "hour": {
          "location": "query",
          "description": null
        },
        "lang": {
          "location": "query",
          "description": null
        },
        "alerts": {
          "location": "query",
          "description": null
        },
        "aqi": {
          "location": "query",
          "description": null
        },
        "tp": {
          "location": "query",
          "description": null
        }
      },
      "responseSchema": {},
      "injectionSchema": null,
      "tags": null
    },
    "future-weather": {
      "relativePath": "/future.json",
      "method": "get",
      "requestSchema": {
        "q": {
          "location": "query",
          "description": null
        },
        "dt": {
          "location": "query",
          "description": null
        },
        "lang": {
          "location": "query",
          "description": null
        }
      },
      "responseSchema": {
        "location": {
          "location": "body",
          "path": "location",
          "description": null
        },
        "forecast": {
          "location": "body",
          "path": "forecast",
          "description": null
        }
      },
      "injectionSchema": null,
      "tags": null
    },
    "history-weather": {
      "relativePath": "/history.json",
      "method": "get",
      "requestSchema": {
        "q": {
          "location": "query",
          "description": null
        },
        "dt": {
          "location": "query",
          "description": null
        },
        "unixdt": {
          "location": "query",
          "description": null
        },
        "end_dt": {
          "location": "query",
          "description": null
        },
        "unixend_dt": {
          "location": "query",
          "description": null
        },
        "hour": {
          "location": "query",
          "description": null
        },
        "lang": {
          "location": "query",
          "description": null
        }
      },
      "responseSchema": {},
      "injectionSchema": null,
      "tags": null
    },
    "marine-weather": {
      "relativePath": "/marine.json",
      "method": "get",
      "requestSchema": {
        "q": {
          "location": "query",
          "description": null
        },
        "days": {
          "location": "query",
          "description": null
        },
        "dt": {
          "location": "query",
          "description": null
        },
        "unixdt": {
          "location": "query",
          "description": null
        },
        "hour": {
          "location": "query",
          "description": null
        },
        "lang": {
          "location": "query",
          "description": null
        }
      },
      "responseSchema": {},
      "injectionSchema": null,
      "tags": null
    },
    "search-autocomplete-weather": {
      "relativePath": "/search.json",
      "method": "get",
      "requestSchema": {
        "q": {
          "location": "query",
          "description": null
        }
      },
      "responseSchema": {},
      "injectionSchema": null,
      "tags": null
    },
    "ip-lookup": {
      "relativePath": "/ip.json",
      "method": "get",
      "requestSchema": {
        "q": {
          "location": "query",
          "description": null
        }
      },
      "responseSchema": {},
      "injectionSchema": null,
      "tags": null
    },
    "time-zone": {
      "relativePath": "/timezone.json",
      "method": "get",
      "requestSchema": {
        "q": {
          "location": "query",
          "description": null
        }
      },
      "responseSchema": {},
      "injectionSchema": null,
      "tags": null
    },
    "astronomy": {
      "relativePath": "/astronomy.json",
      "method": "get",
      "requestSchema": {
        "q": {
          "location": "query",
          "description": null
        },
        "dt": {
          "location": "query",
          "description": null
        }
      },
      "responseSchema": {},
      "injectionSchema": {},
      "tags": null
    }
  },
  "injectionSchema": null
}'
View and update the Weather API schema
WeatherAPI.com requests require an API key. With Squid, you can securely store your API key using Squid Secrets. You can even automatically include the key with all requests using Squid's injection feature.
- In the Squid Console, navigate to your weather integration schema.
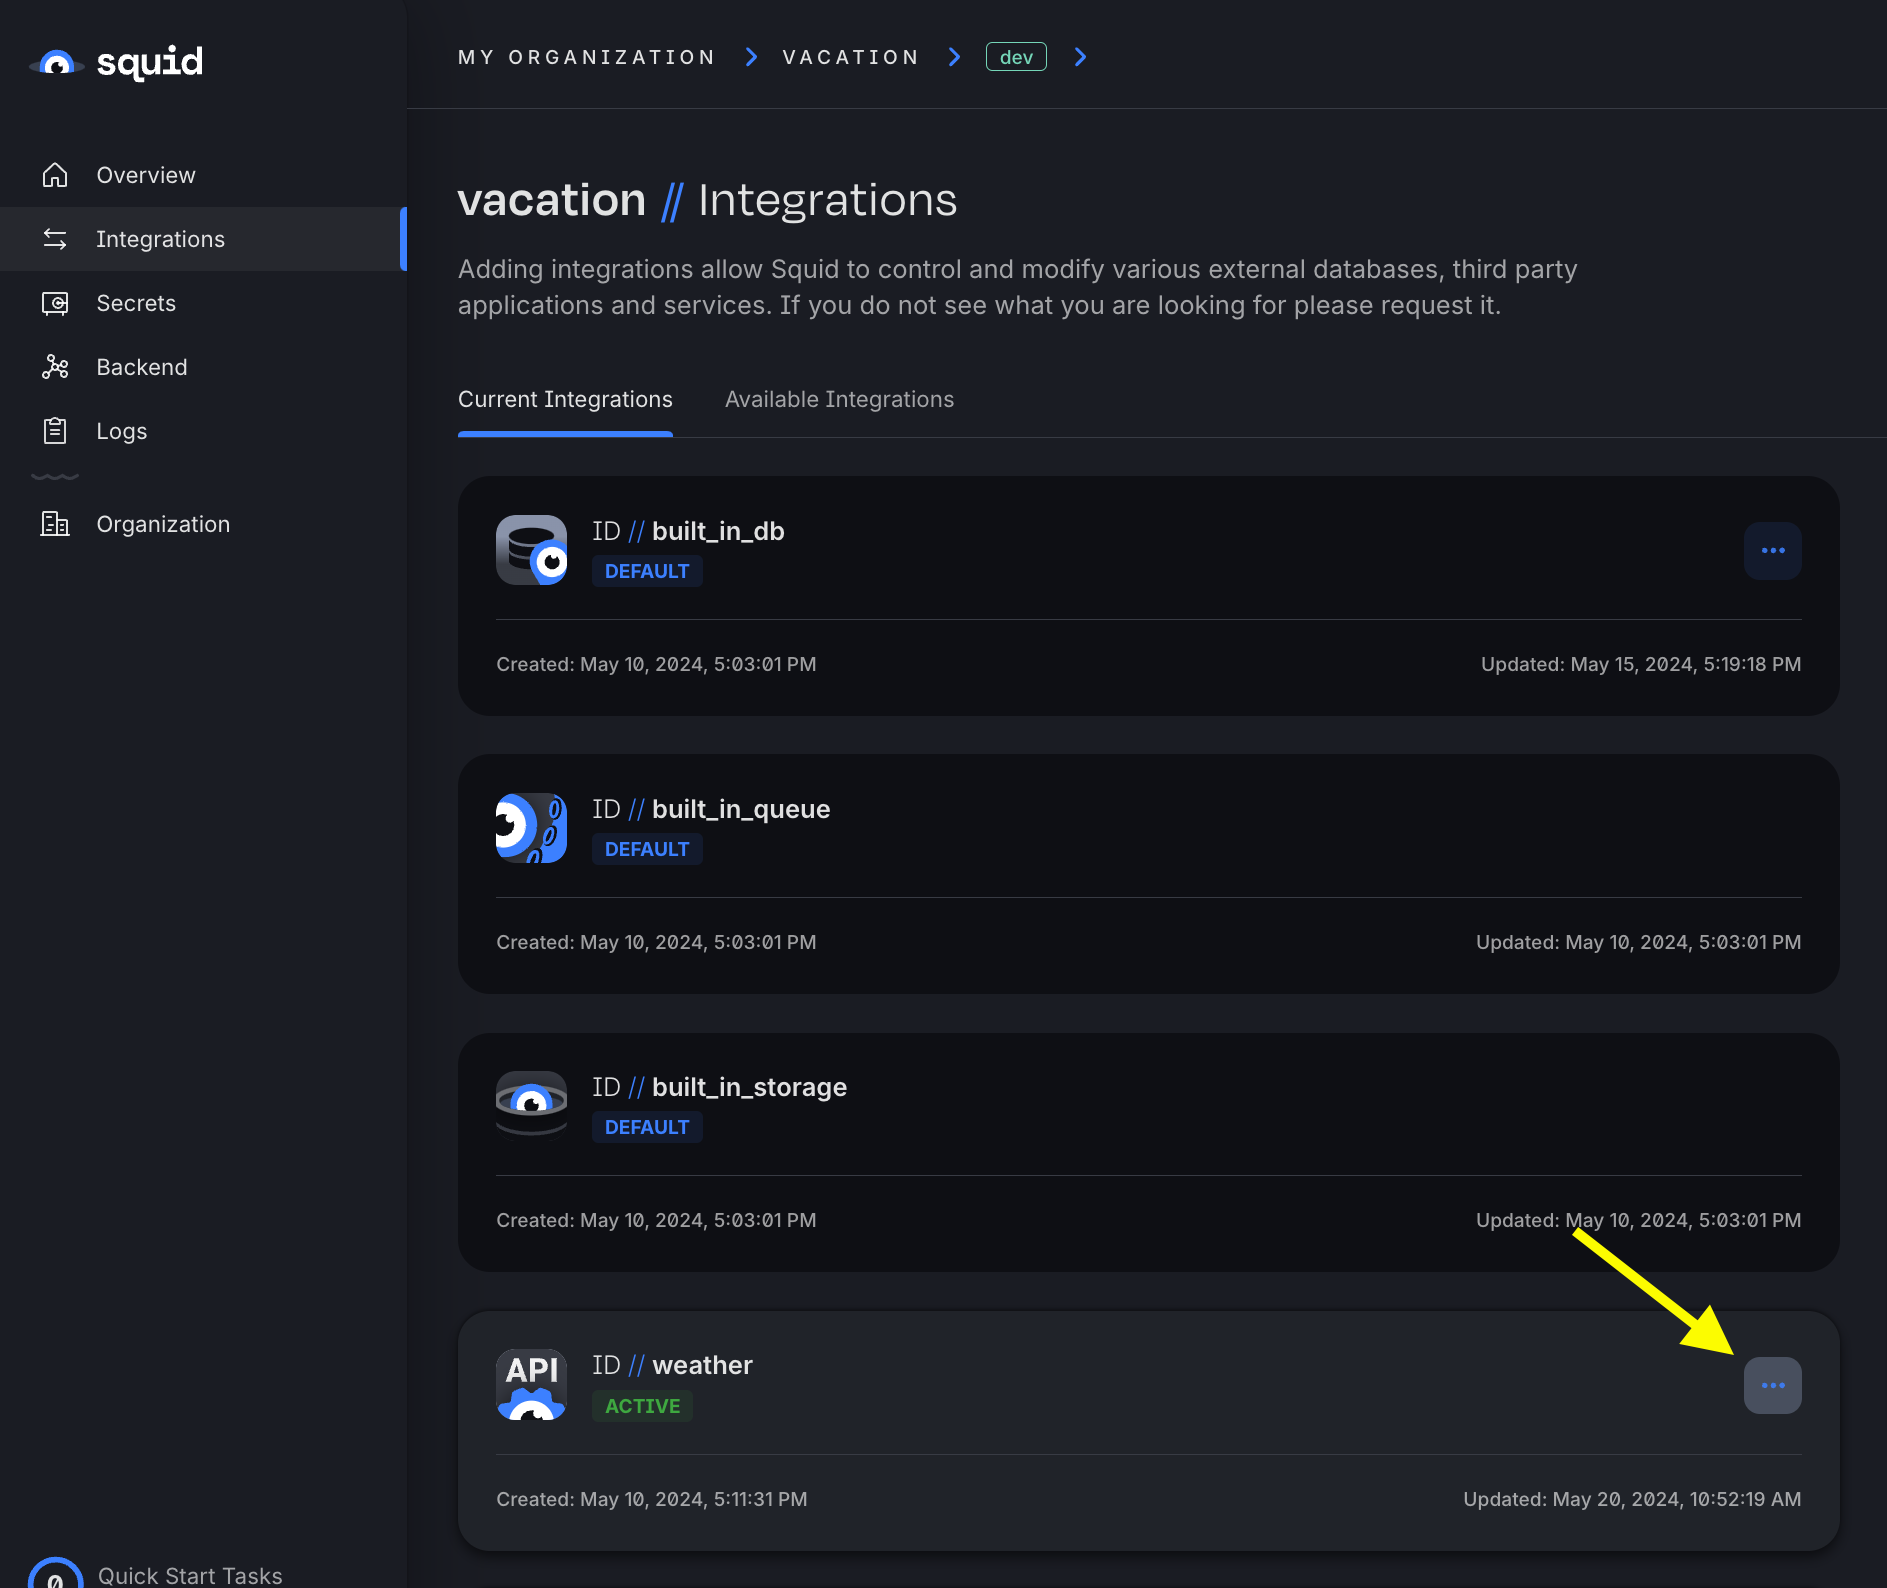
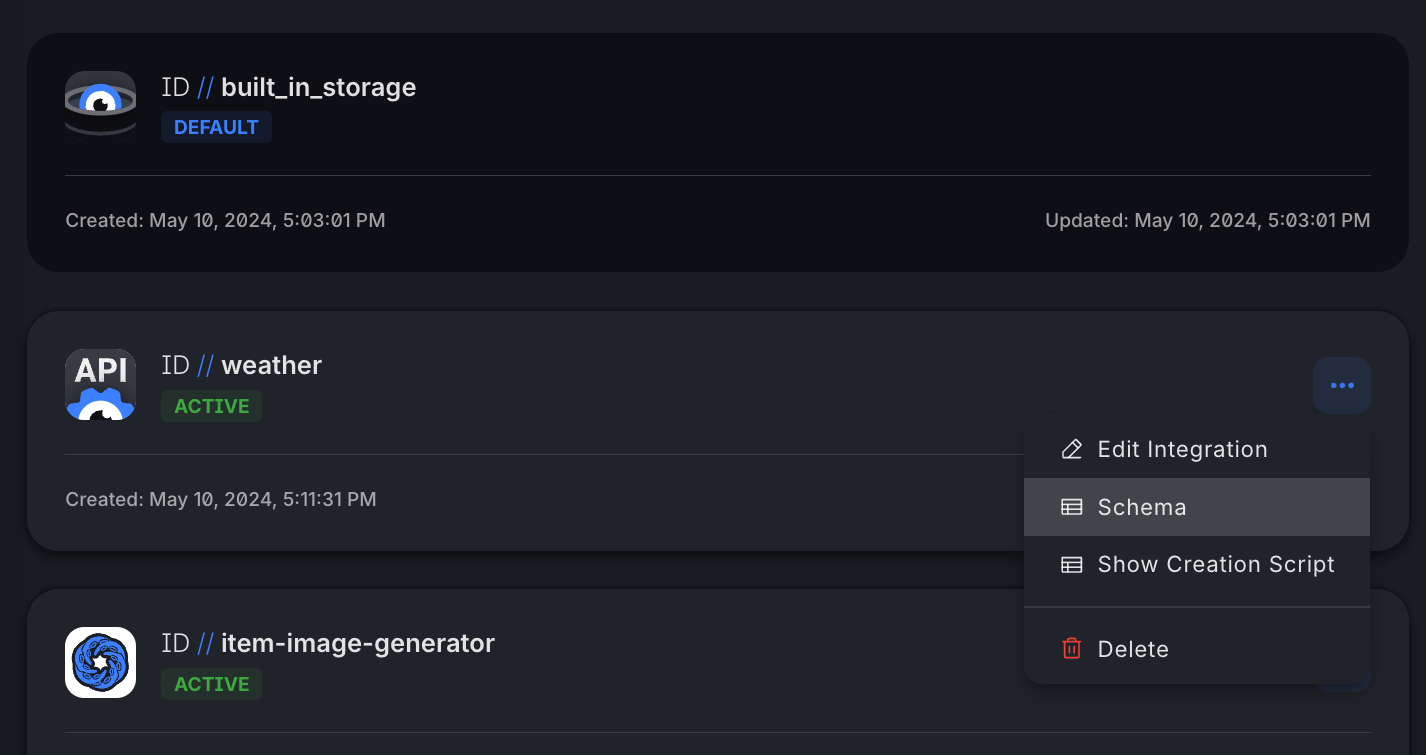
- Click on the base URL, which is
https://api.weatherapi.com/v1.
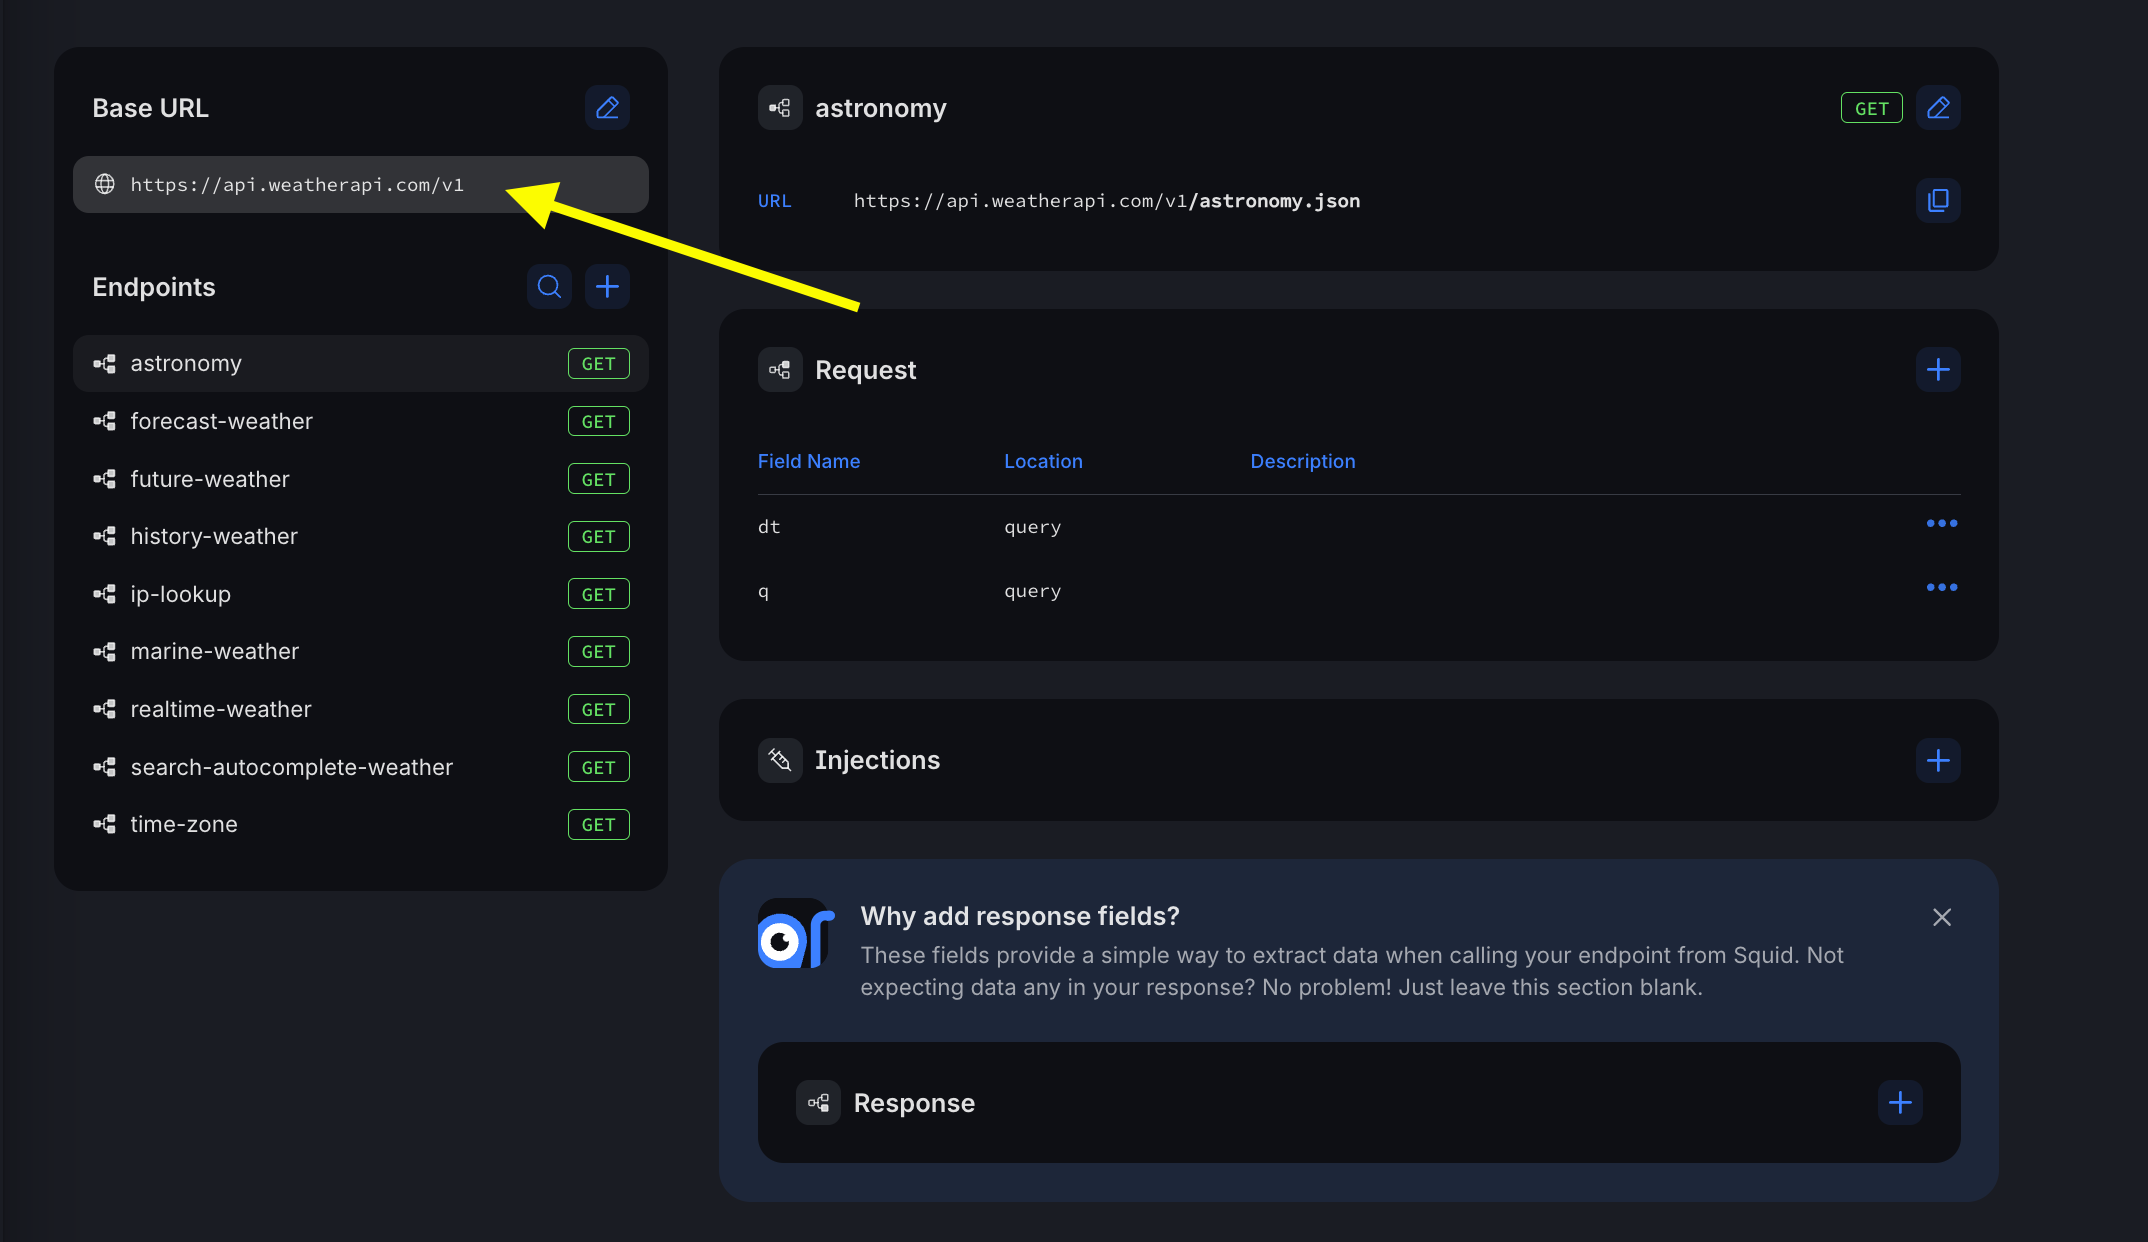
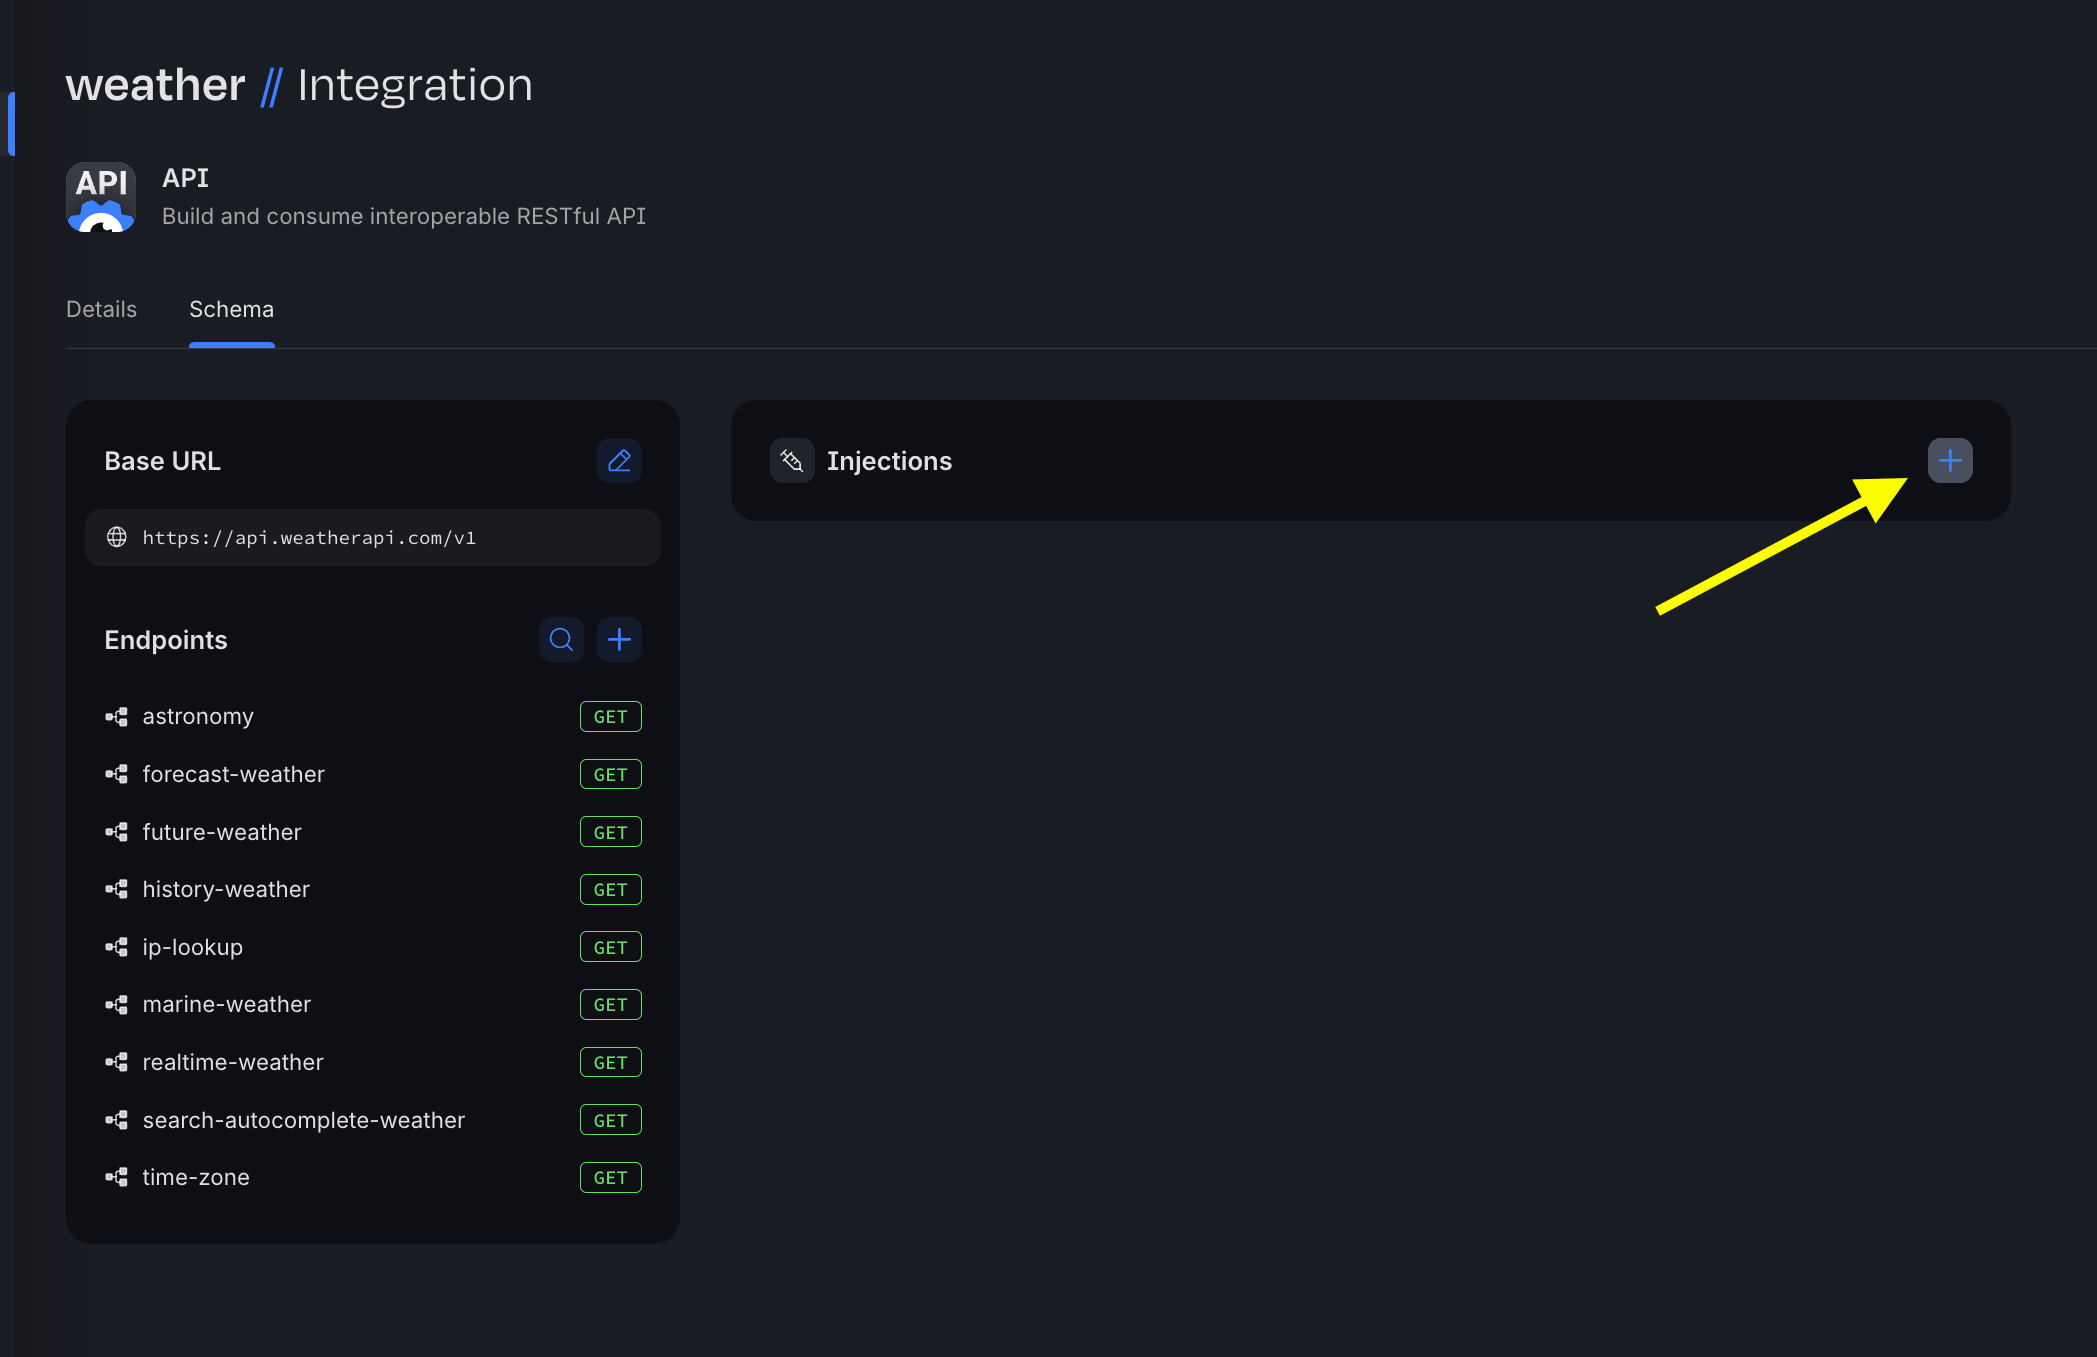
- Click the + in the Injections area to add a new injection.
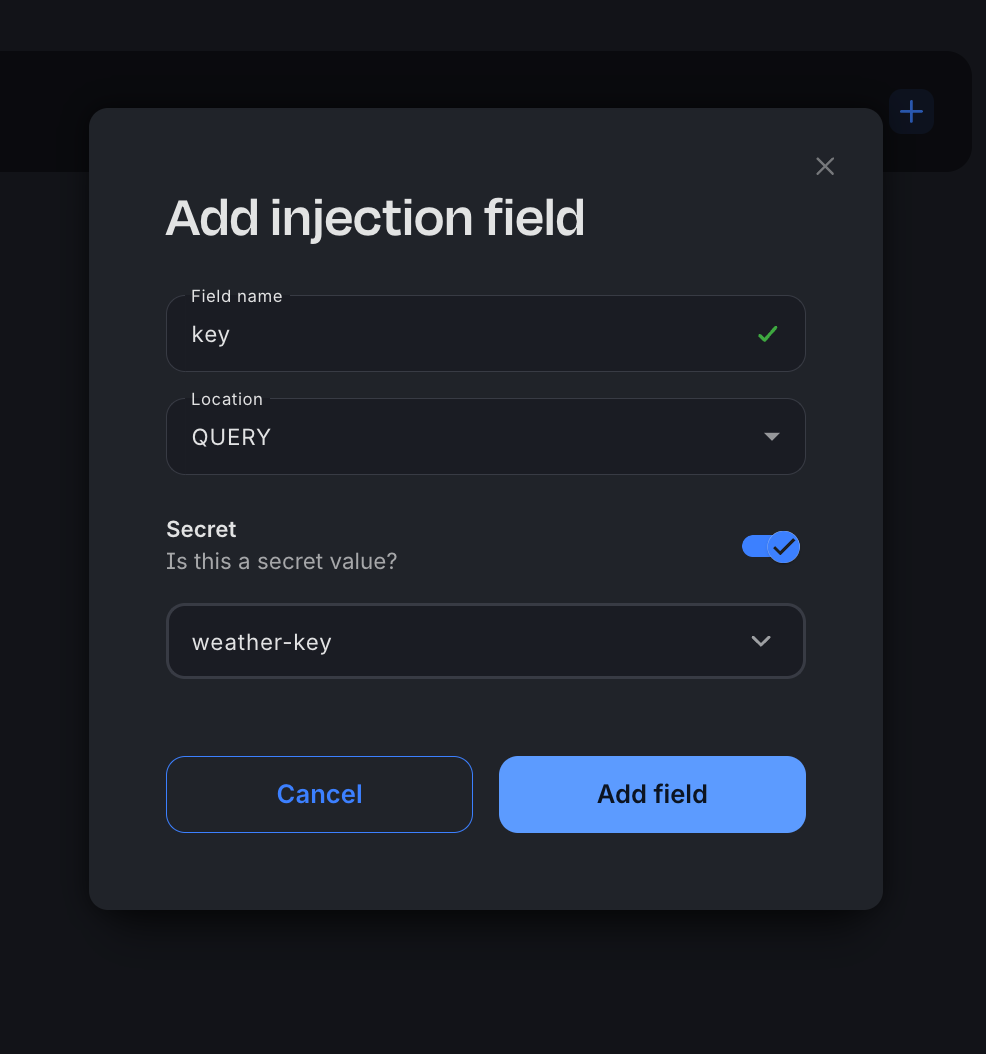
- The Field name is key and the Location is query. Toggle Secret on, and then create a new secret. For the secret value, paste in your WeatherAPI.com API key. Ensure that the secret is saved and selected, and then save the new injection.
Integrate with the Real-time Product Search API
In case you don't own an item that was suggested by the AI agent, the app provides links to Google Shopping so you can easily purchase what you need. This is achieved using a product search API available on RapidAPI.
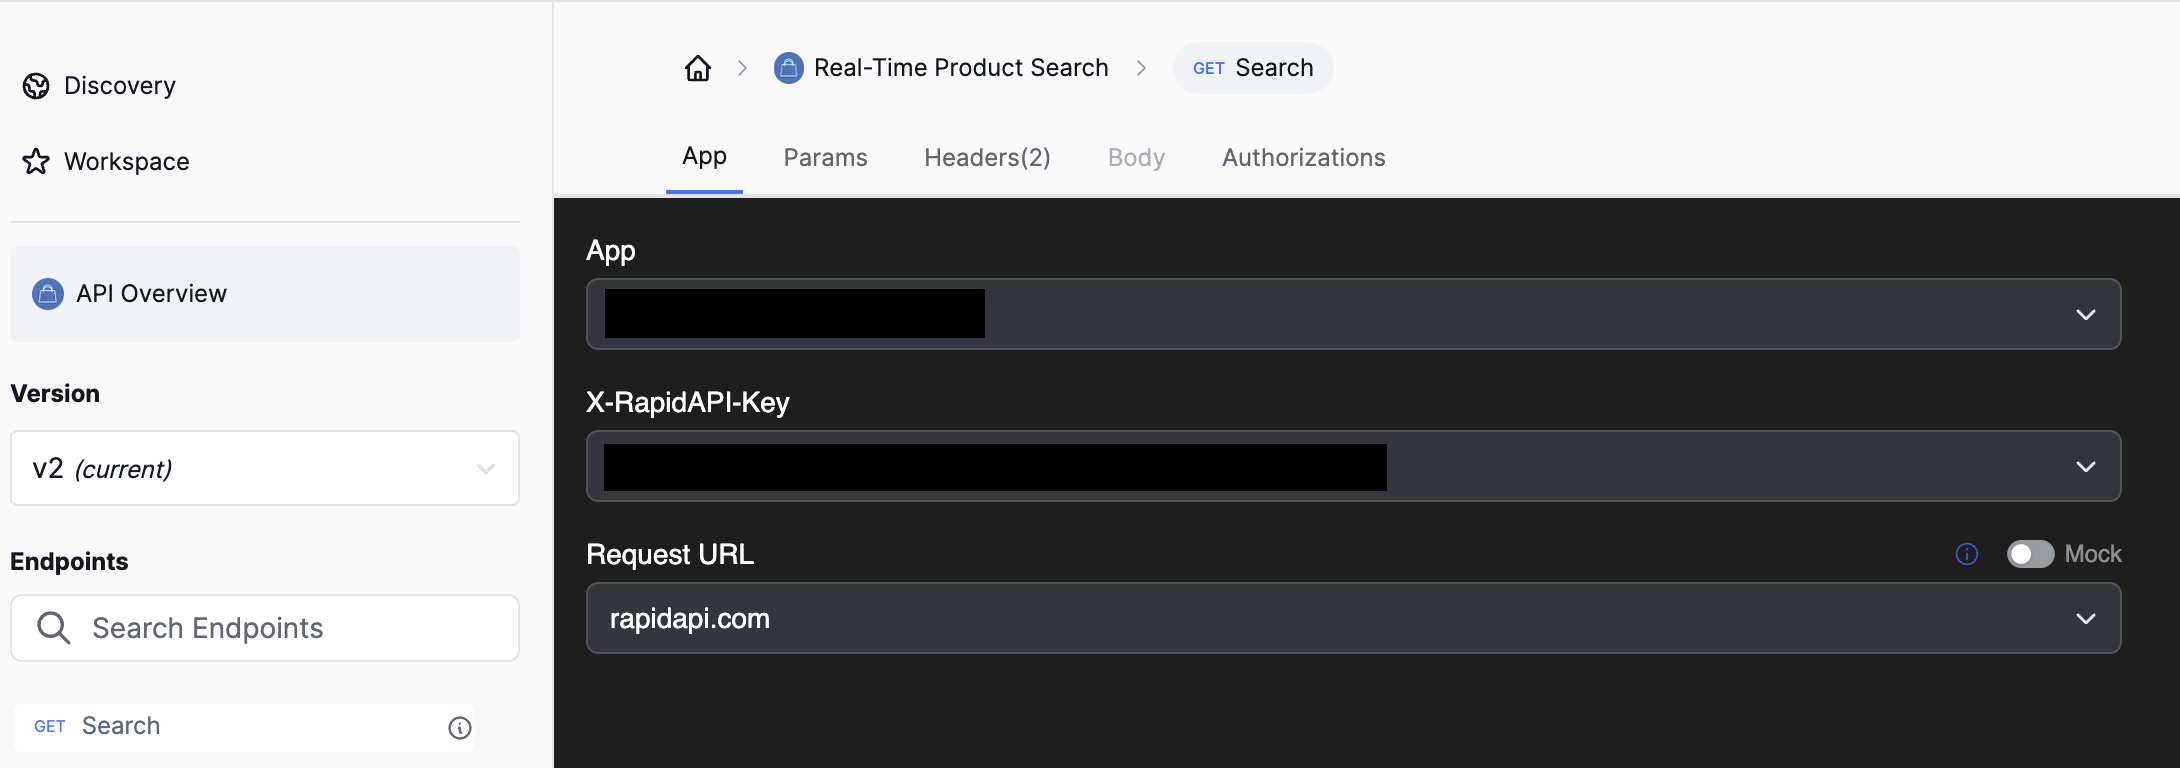
- Navigate to the Real-time Product Search API, and subscribe. Like the WeatherAPI.com API, you will need your API key. Once you sign up, your API key is visible on the API's landing page.
- Generate your Squid integration using the following command, changing the placeholders for
YOUR_SQUID_APP_IDandYOUR_SQUID_API_KEYto the values from your Squid app:
curl -X PUT https://console.us-east-1.aws.squid.cloud/openapi/iac/applications/YOUR_SQUID_APP_ID-dev/integrations/product-search -H "x-app-api-key: YOUR_SQUID_API_KEY" -H "Content-Type: application/json" -d '{
  "id": "product-search",
  "configuration": {
    "discoveryOptions": {}
  },
  "type": "api"
}'
- Add the API schema to the integration by running the following cURL command, changing the placeholders for
YOUR_SQUID_APP_IDandYOUR_SQUID_API_KEYto the values from your Squid app:
curl -X PUT https://console.us-east-1.aws.squid.cloud/openapi/iac/applications/YOUR_SQUID_APP_ID-dev/integrations/product-search/schema -H "x-app-api-key: YOUR_SQUID_API_KEY" -H "Content-Type: application/json" -d '{
  "type": "api",
  "baseUrl": "https://real-time-product-search.p.rapidapi.com",
  "endpoints": {
    "search": {
      "relativePath": "search",
      "method": "get",
      "requestSchema": {
        "q": {
          "location": "query",
          "description": null
        },
        "country": {
          "location": "query",
          "description": null
        },
        "language": {
          "location": "query",
          "description": null
        },
        "limit": {
          "location": "query",
          "description": null
        },
        "sort_by": {
          "location": "query",
          "description": null
        }
      },
      "responseSchema": {
        "data": {
          "location": "body",
          "path": "data",
          "description": null
        }
      },
      "injectionSchema": {
        "X-RapidAPI-Host": {
          "value": "real-time-product-search.p.rapidapi.com",
          "type": "regular",
          "location": "header"
        }
      },
      "tags": null
    }
  },
  "injectionSchema": null
}'
In the Squid Console, click the Integrations tab navigate to your product-search integration schema, just like you did with the weather integration.
Click on the search endpoint.
Click the + in the Injections area to add a new injection.
The Field name is X-RapidAPI-Key and the Location is header. Toggle Secret on, and then create a new secret. For the secret value, paste in your RapidAPI API key. Ensure that the secret is saved and selected, and then save the new injection.
Add the AI Agent
In the Squid Console, navigate to the AI Agents tab.
Under Agents, click the + to add an agent. Provide the following details, and then click Add:
- Agent ID:
planner - Model name:
GPT-4o
- Click the + next to Instructions, and add the following instructions to the agent:
You are designed to create a list of items to pack for a trip based on the provided weather forecast and date, where the date is a string. You should create 3-5 items.
These instructions tell the AI agent what actions to take.
Explore your Squid application
With both servers running, visit http://localhost:5173/ in your web browser. You're now ready to experiment with the count button and explore the functionalities of your Squid application:
Enter a zip code for a prospective vacation destination. For example, 90210.
Enter a start and end vacation date within the next 14-90 days. For demonstration purposes, this application limits you to a 5 day vacation. This helps limit the number of API calls the app makes.
Click Submit, and watch as your suggested packing items roll in!
Next steps
- To learn more about Squid AI agents, view the documentation.
- To learn more about Squid's real-time data capabilities, view the Client SDK documentation.
- To find out how to integrate with your own data sources, view the Database integrations documentation.